Record mode
Fade in/fade out function
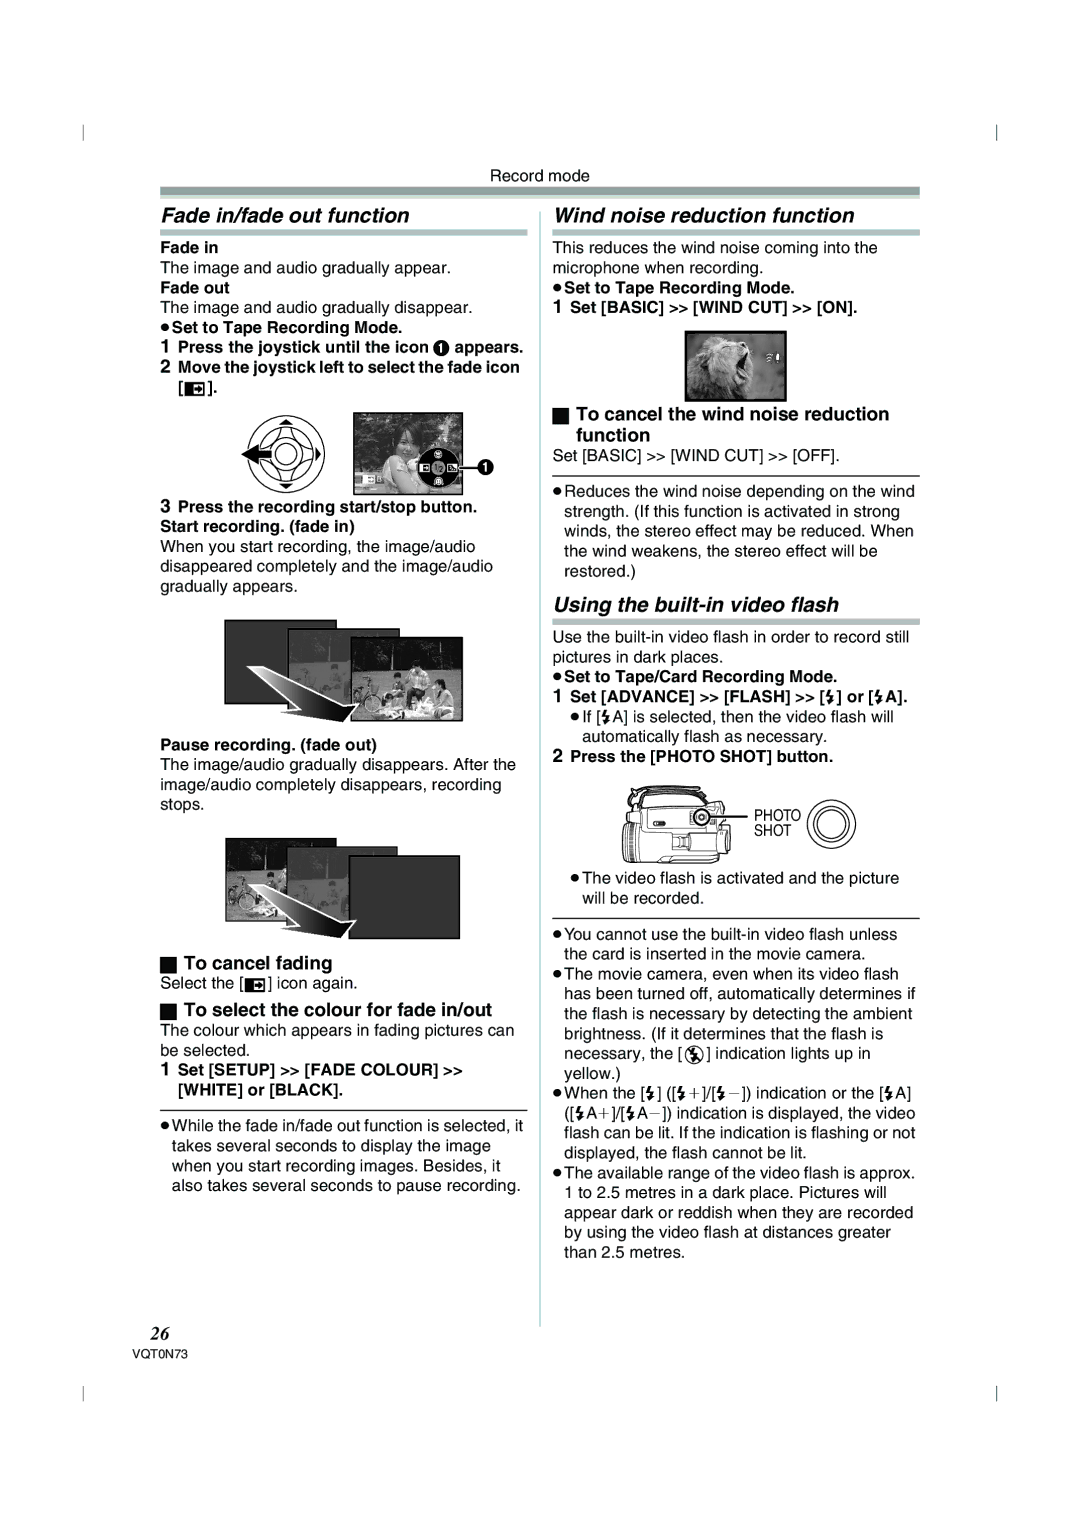
Fade in
The image and audio gradually appear.
Fade out
The image and audio gradually disappear. ≥Set to Tape Recording Mode.
1Press the joystick until the icon 1 appears.
2Move the joystick left to select the fade icon [![]() ].
].
![]() 1
1
![]() B
B
3Press the recording start/stop button. Start recording. (fade in)
When you start recording, the image/audio disappeared completely and the image/audio gradually appears.
Pause recording. (fade out)
The image/audio gradually disappears. After the image/audio completely disappears, recording stops.
ªTo cancel fading
Select the [![]() ] icon again.
] icon again.
ªTo select the colour for fade in/out
The colour which appears in fading pictures can be selected.
1 Set [SETUP] >> [FADE COLOUR] >> [WHITE] or [BLACK].
≥While the fade in/fade out function is selected, it takes several seconds to display the image when you start recording images. Besides, it also takes several seconds to pause recording.
Wind noise reduction function
This reduces the wind noise coming into the microphone when recording.
≥Set to Tape Recording Mode.
1Set [BASIC] >> [WIND CUT] >> [ON].
ªTo cancel the wind noise reduction
function
Set [BASIC] >> [WIND CUT] >> [OFF].
≥Reduces the wind noise depending on the wind strength. (If this function is activated in strong winds, the stereo effect may be reduced. When the wind weakens, the stereo effect will be restored.)
Using the built-in video flash
Use the
≥Set to Tape/Card Recording Mode.
1Set [ADVANCE] >> [FLASH] >> [ß] or [ßA].
≥If [ßA] is selected, then the video flash will automatically flash as necessary.
2Press the [PHOTO SHOT] button.
![]() PHOTO
PHOTO
SHOT
≥The video flash is activated and the picture will be recorded.
≥You cannot use the
≥The movie camera, even when its video flash has been turned off, automatically determines if the flash is necessary by detecting the ambient brightness. (If it determines that the flash is necessary, the [ ![]() ] indication lights up in yellow.)
] indication lights up in yellow.)
≥When the [ß] ([ßi]/[ßj]) indication or the [ßA] ([ßAi]/[ßAj]) indication is displayed, the video flash can be lit. If the indication is flashing or not displayed, the flash cannot be lit.
≥The available range of the video flash is approx. 1 to 2.5 metres in a dark place. Pictures will appear dark or reddish when they are recorded by using the video flash at distances greater than 2.5 metres.
26
VQT0N73
