Edit mode
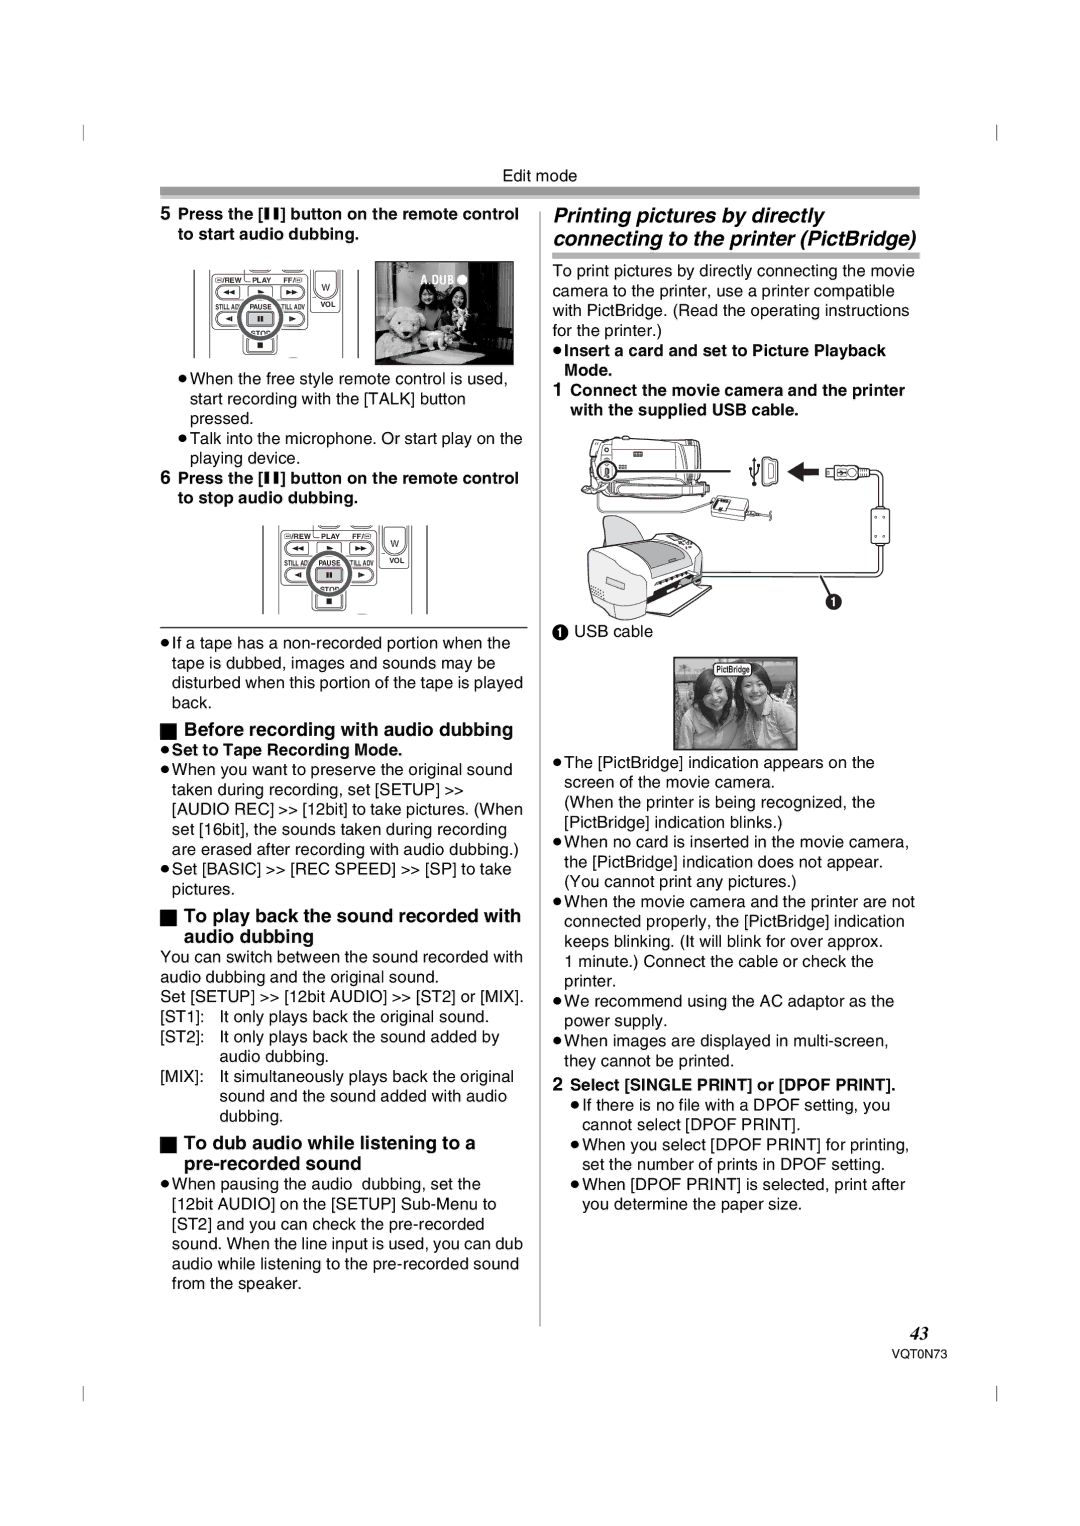
5Press the [;] button on the remote control to start audio dubbing.
V/REW | PLAY | FF/W | A.DUB ¥ |
|
|
| W |
STILL ADV | PAUSE | STILL ADV | VOL |
| STOP |
|
|
≥When the free style remote control is used, start recording with the [TALK] button pressed.
≥Talk into the microphone. Or start play on the playing device.
6Press the [;] button on the remote control to stop audio dubbing.
V/REW PLAY FF/W
W
STILL ADV PAUSE STILL ADV | VOL |
STOP
≥If a tape has a
ªBefore recording with audio dubbing
≥Set to Tape Recording Mode.
≥When you want to preserve the original sound taken during recording, set [SETUP] >> [AUDIO REC] >> [12bit] to take pictures. (When set [16bit], the sounds taken during recording are erased after recording with audio dubbing.)
≥Set [BASIC] >> [REC SPEED] >> [SP] to take pictures.
ªTo play back the sound recorded with
audio dubbing
You can switch between the sound recorded with audio dubbing and the original sound.
Set [SETUP] >> [12bit AUDIO] >> [ST2] or [MIX]. [ST1]: It only plays back the original sound. [ST2]: It only plays back the sound added by
audio dubbing.
[MIX]: It simultaneously plays back the original sound and the sound added with audio dubbing.
ªTo dub audio while listening to a
pre-recorded sound
≥When pausing the audio dubbing, set the [12bit AUDIO] on the [SETUP]
Printing pictures by directly connecting to the printer (PictBridge)
To print pictures by directly connecting the movie camera to the printer, use a printer compatible with PictBridge. (Read the operating instructions for the printer.)
≥Insert a card and set to Picture Playback
Mode.
1Connect the movie camera and the printer with the supplied USB cable.
1
1USB cable
PictBridge
≥The [PictBridge] indication appears on the screen of the movie camera.
(When the printer is being recognized, the [PictBridge] indication blinks.)
≥When no card is inserted in the movie camera, the [PictBridge] indication does not appear. (You cannot print any pictures.)
≥When the movie camera and the printer are not connected properly, the [PictBridge] indication keeps blinking. (It will blink for over approx.
1 minute.) Connect the cable or check the printer.
≥We recommend using the AC adaptor as the power supply.
≥When images are displayed in
2Select [SINGLE PRINT] or [DPOF PRINT].
≥If there is no file with a DPOF setting, you cannot select [DPOF PRINT].
≥When you select [DPOF PRINT] for printing, set the number of prints in DPOF setting.
≥When [DPOF PRINT] is selected, print after you determine the paper size.
43
VQT0N73