OPTION1 settings
 After all the data has been input, press the MENU button.
The “COLOR MATCHING:MEASURE” screen will be displayed.
Inputting the coordinates of a desired colour
![]() Press
Press ![]()
![]() to select “TARGET DATA”.
to select “TARGET DATA”. ![]() Press the ENTER button.
Press the ENTER button.
The “TARGET DATA” screen will be displayed.
![]() Press
Press ![]()
![]() to select the desired
to select the desired
colours, and press ![]()
![]() to input their coordinates.
to input their coordinates.
![]() After all the data has been input, press the MENU button.
After all the data has been input, press the MENU button.
Note • If the target data is outside the colour range of the projector, the colours will not be projected correctly.
•When “AUTO TESTPATTERN” is set to “ON”, the test pattern for adjusting the adjustment colour is automatically displayed.
•Set “PICTURE MODE” to “DYNAMIC” when measuring the measured data using a colourimeter or other measuring device.
•Depending on the measuring device being used and the environment in which measurements are made, discrepancies sometimes occur in the colour coordinates of the target data and the values given by the measuring device.
 COLOR CORRECTION
OFF : This is the standard setting.
USER : The six colours of red, green, blue, cyan, magenta and yellow can be adjusted and registered for each of four signal systems: Video,
YPBPR.
Press the ENTER button to make the detailed settings.
COLOR CORRECTION |
|
| RGB |
R | 0 |
G | 0 |
B | 0 |
Cy | 0 |
Mg | 0 |
Ye | 0 |
MENU SELECT |
|
ADJUST |
|
The current signal system is displayed.
 CONTRAST MODE
There are two modes for adjusting to the operating environment.
NORMAL : The brightness is set to maximum.
HIGH | : The contrast is set to maximum. |
 AUTO SIGNAL
The position where the screen is displayed can be adjusted automatically without pressing the AUTO SETUP button on the remote control each time signals are input when signals are input frequently such as when the projector is used at a conference.
ON | : Auto setup is performed automatically |
| when the video signals of the images |
| being projected have changed. |
OFF | : The input auto setup function is set to |
| OFF. |
 BACK COLOR
You can set the colours of the screen when no signal is input to the projector.
BLUE | : Set screen colour to blue. |
BLACK | : Set screen colour to black. |
LOGO1 : The picture registered by the user will be projected.
LOGO2 : The Panasonic logo is projected.
 STARTUP LOGO
This sets the startup logo that is projected when the power is turned on.
LOGO2 : This is the standard setting. The Panasonic logo is projected.
NONE : “STARTUP LOGO” is disabled.
LOGO1 : The picture registered by the user will be projected.
Note • Separate software is required in order to create the pictures to use for “LOGO1”. Consult your dealer.
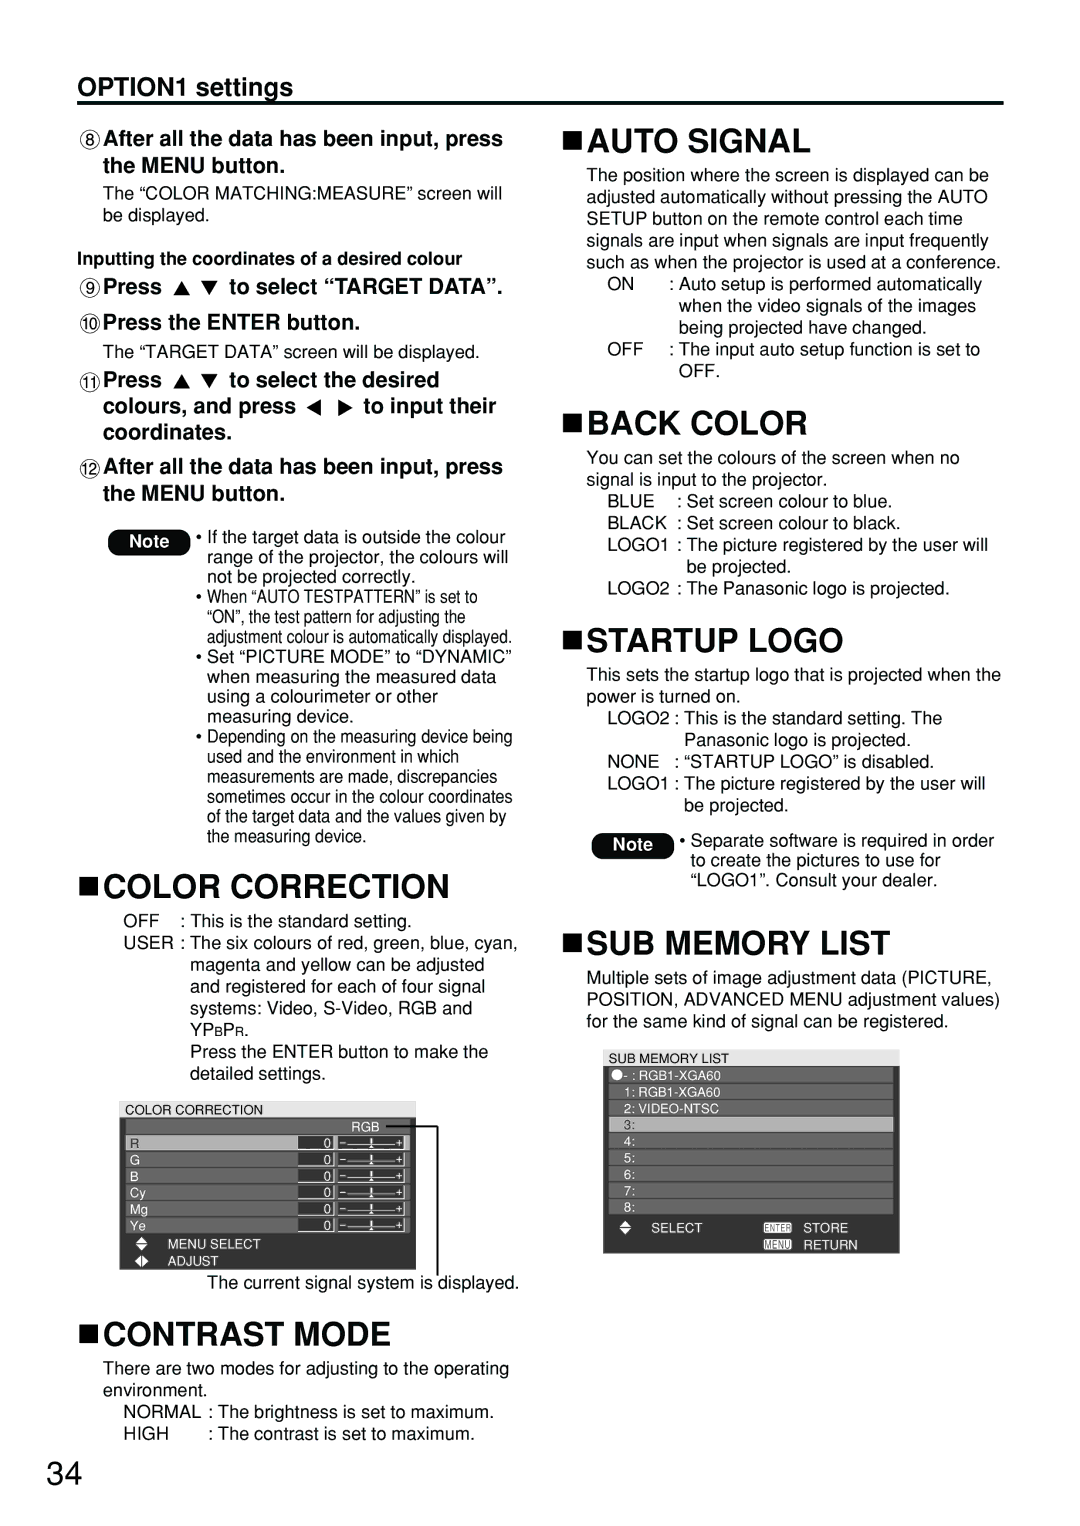
 SUB MEMORY LIST
Multiple sets of image adjustment data (PICTURE, POSITION, ADVANCED MENU adjustment values) for the same kind of signal can be registered.
SUB MEMORY LIST
![]() - :
- :
1:
2:
SELECT![]() STORE
STORE
RETURN
34