How to use ADVANCED MENU
 Press
Press  to select an item, and press
  to adjust the setting.
Once adjustment is complete, press the MENU button to return to “BRIGHT ADJUST”.
![]() Press
Press ![]() to select the part of “UPPER”, “LOWER”, “RIGHT”, “LEFT”.
to select the part of “UPPER”, “LOWER”, “RIGHT”, “LEFT”.
![]() Use
Use ![]() to adjust the width for correcting the “BRIGHT INSIDE” setting (0 to 255).
to adjust the width for correcting the “BRIGHT INSIDE” setting (0 to 255).
![]() Press
Press ![]() to select “BRIGHT OUTSIDE”.
to select “BRIGHT OUTSIDE”. ![]() Press the ENTER button.
Press the ENTER button.
The “BRIGHT OUTSIDE” adjustment screen will be displayed.
When “INTERLOCKED” is set to “OFF”, individual adjustment of “R”, “G” and “B” will be possible.
 RASTER POSITION
When the whole area where the input picture can be displayed is not used, the picture can be moved to any position inside the display area.
![]() : These adjust the value in the horizontal direction.
: These adjust the value in the horizontal direction.
![]() : These adjust the value in the vertical direction.
: These adjust the value in the vertical direction.
 XGA MODE
This mode takes effect only when XGA (RGB) signals are input.
XGA : This is the standard setting.
WXGA : Select this mode when WXGA signals are input.
![]() Press
Press ![]() to select an item, and press
to select an item, and press ![]() to adjust the setting.
to adjust the setting.
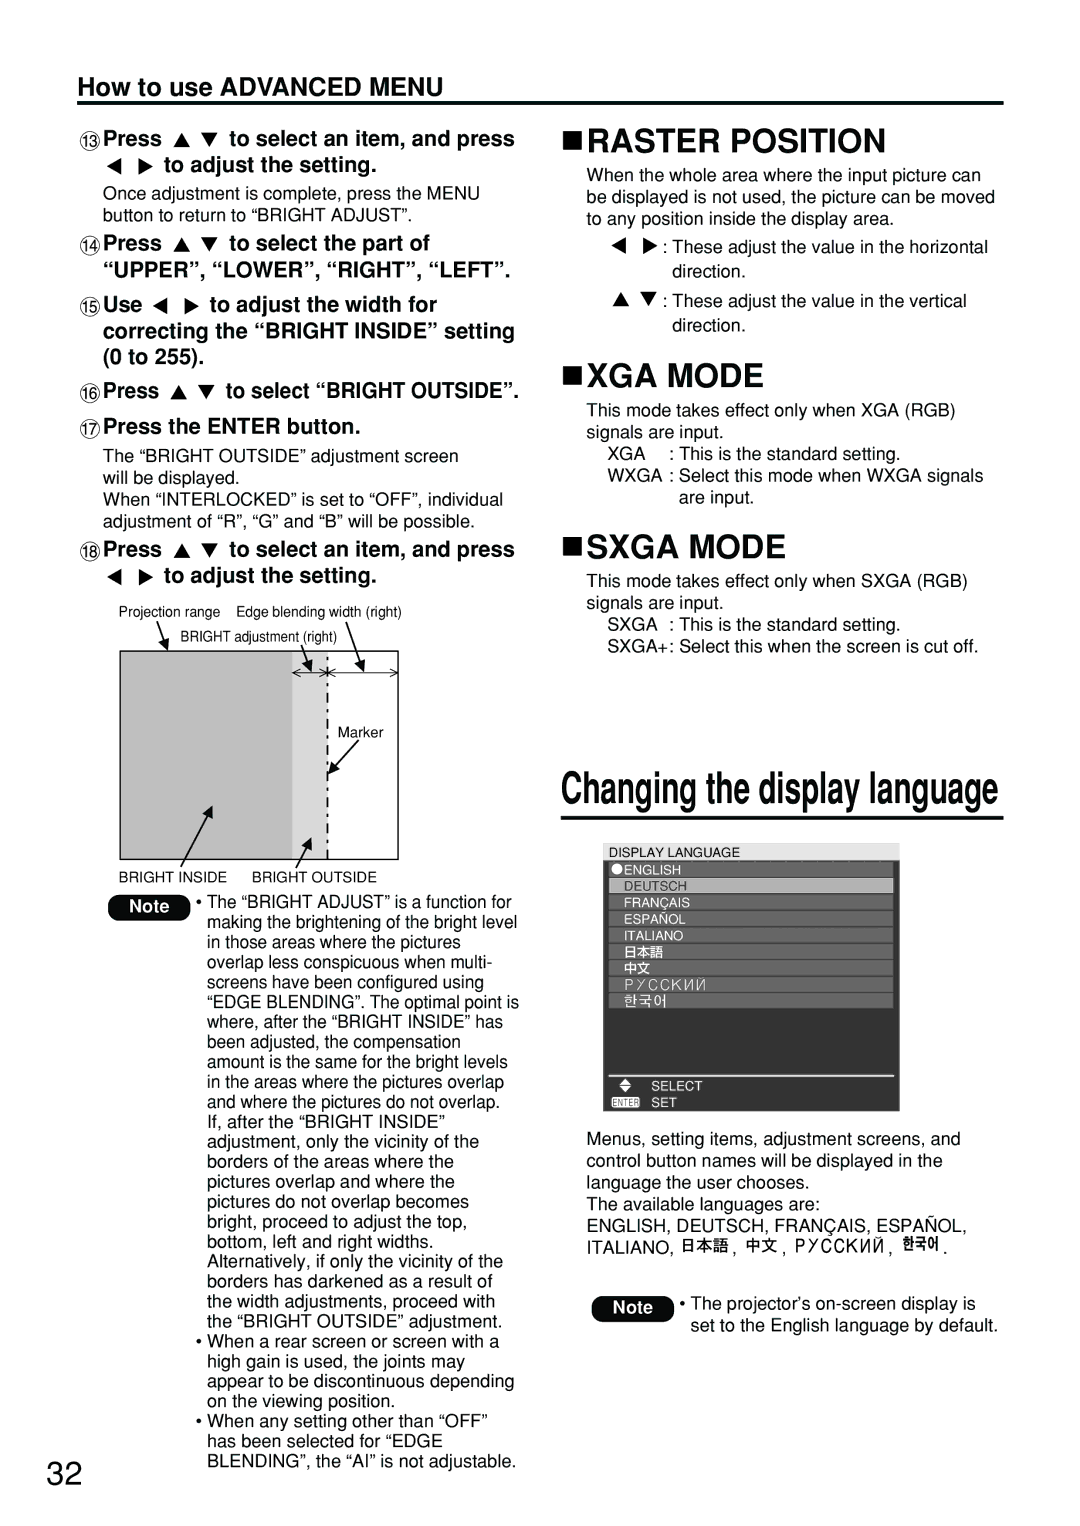
Projection range Edge blending width (right)
BRIGHT adjustment (right)
Marker
| BRIGHT INSIDE BRIGHT OUTSIDE |
| Note • The “BRIGHT ADJUST” is a function for |
| making the brightening of the bright level |
| in those areas where the pictures |
| overlap less conspicuous when multi- |
| screens have been configured using |
| “EDGE BLENDING”. The optimal point is |
| where, after the “BRIGHT INSIDE” has |
| been adjusted, the compensation |
| amount is the same for the bright levels |
| in the areas where the pictures overlap |
| and where the pictures do not overlap. |
| If, after the “BRIGHT INSIDE” |
| adjustment, only the vicinity of the |
| borders of the areas where the |
| pictures overlap and where the |
| pictures do not overlap becomes |
| bright, proceed to adjust the top, |
| bottom, left and right widths. |
| Alternatively, if only the vicinity of the |
| borders has darkened as a result of |
| the width adjustments, proceed with |
| the “BRIGHT OUTSIDE” adjustment. |
| • When a rear screen or screen with a |
| high gain is used, the joints may |
| appear to be discontinuous depending |
| on the viewing position. |
| • When any setting other than “OFF” |
| has been selected for “EDGE |
32 | BLENDING”, the “AI” is not adjustable. |
|
 SXGA MODE
This mode takes effect only when SXGA (RGB) signals are input.
SXGA : This is the standard setting.
SXGA+: Select this when the screen is cut off.
Changing the display language
DISPLAY LANGUAGE
![]() ENGLISH
ENGLISH
DEUTSCH
FRANÇAIS
ESPAÑOL
ITALIANO
日本語
中文
SELECT
SET
Menus, setting items, adjustment screens, and control button names will be displayed in the language the user chooses.
The available languages are:
ENGLISH, DEUTSCH, FRANÇAIS, ESPAÑOL,
ITALIANO, ![]()
![]()
![]() ,
, ![]()
![]() ,
, ![]()
![]()
![]()
![]()
![]()
![]()
![]() ,
, ![]()
![]()
![]() .
.
Note • The projector’s
