Using the Built-in Light
To brighten the natural colors in a scene.
Before Using
Before you begin
•Connect the Palmcorder to a power source. (pp. 14, 15)
•Set POWER to CAMERA or
Before
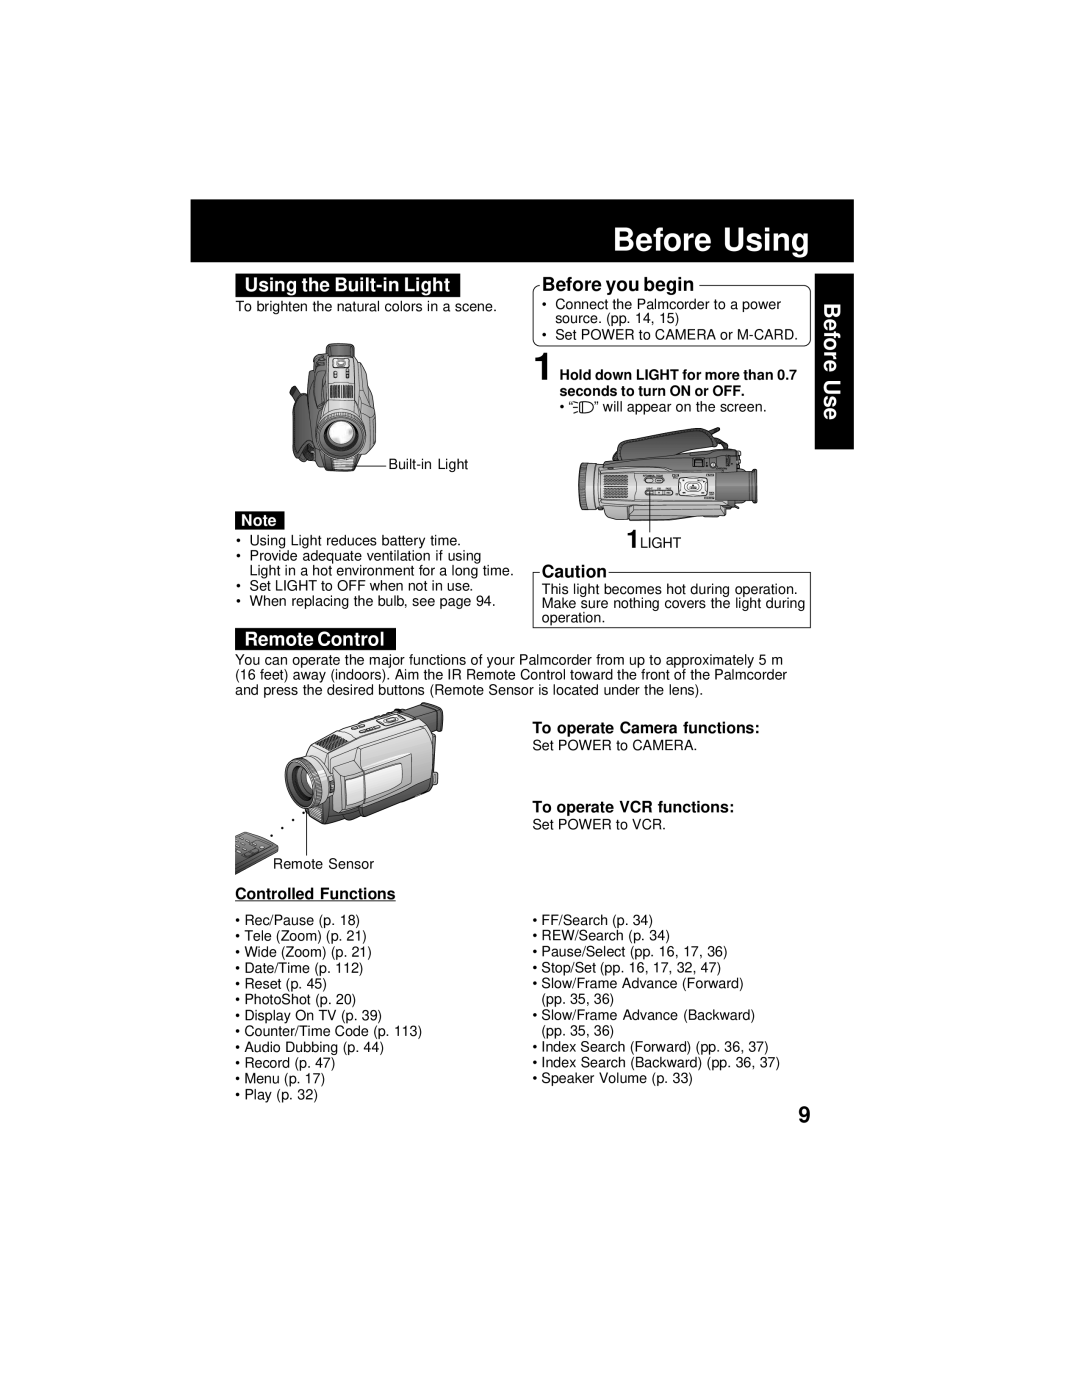
1 Hold down LIGHT for more than 0.7 seconds to turn ON or OFF.
• “ ” will appear on the screen.
Use
Note
•Using Light reduces battery time.
•Provide adequate ventilation if using Light in a hot environment for a long time.
•Set LIGHT to OFF when not in use.
•When replacing the bulb, see page 94.
1LIGHT
Caution
This light becomes hot during operation. Make sure nothing covers the light during operation.
Remote Control
You can operate the major functions of your Palmcorder from up to approximately 5 m (16 feet) away (indoors). Aim the IR Remote Control toward the front of the Palmcorder and press the desired buttons (Remote Sensor is located under the lens).
| To operate Camera functions: |
| Set POWER to CAMERA. |
| To operate VCR functions: |
| Set POWER to VCR. |
Remote Sensor |
|
Controlled Functions |
|
• Rec/Pause (p. 18) | • FF/Search (p. 34) |
• Tele (Zoom) (p. 21) | • REW/Search (p. 34) |
• Wide (Zoom) (p. 21) | • Pause/Select (pp. 16, 17, 36) |
• Date/Time (p. 112) | • Stop/Set (pp. 16, 17, 32, 47) |
• Reset (p. 45) | • Slow/Frame Advance (Forward) |
• PhotoShot (p. 20) | (pp. 35, 36) |
• Display On TV (p. 39) | • Slow/Frame Advance (Backward) |
• Counter/Time Code (p. 113) | (pp. 35, 36) |
• Audio Dubbing (p. 44) | • Index Search (Forward) (pp. 36, 37) |
• Record (p. 47) | • Index Search (Backward) (pp. 36, 37) |
• Menu (p. 17) | • Speaker Volume (p. 33) |
• Play (p. 32) |
|
9