Manual Clock Set |
| Reset all unit Memory Functions |
If AUTO CLOCK SET was incomplete, manually | When moving unit to a new location, or if a mistake | |
set the clock as follows. | was made in the Initial Setup section. | |
|
| • Make sure a tape is not inserted in the unit. |
Initial
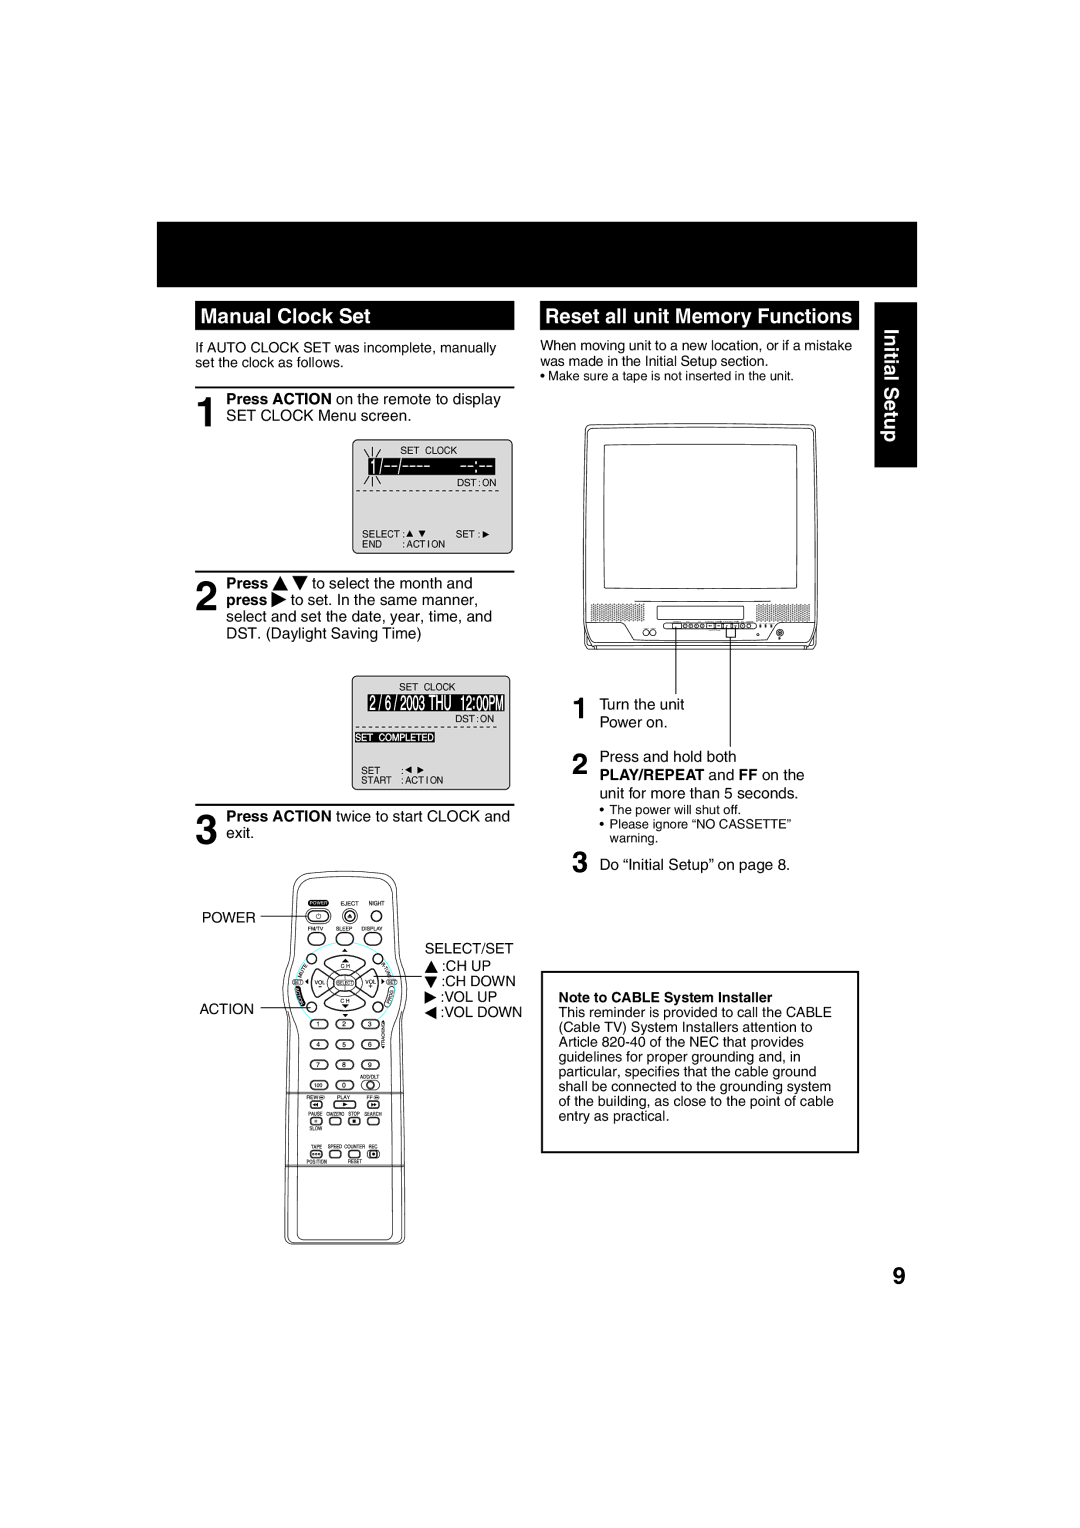
Press ACTION on the remote to display
1 SET CLOCK Menu screen.
|
|
| SET CLOCK | |
|
|
|
| |
1 / | / | : | ||
|
|
|
| DST : ON |
|
|
|
| |
SELECT : | SET : | |||
END | : ACT I ON |
| ||
Press ![]()
![]() to select the month and
to select the month and
2 press to set. In the same manner, select and set the date, year, time, and DST. (Daylight Saving Time)
SET CLOCK
2 / 6 / 2003 THU 12:00PM
DST : ON
SET COMPLETED
SET | : |
START | : ACT I ON |
Press ACTION twice to start CLOCK and
3 exit.
POWER |
|
| SELECT/SET |
| :CH UP |
| :CH DOWN |
ACTION | :VOL UP |
:VOL DOWN |
POWER | VOL | CH | STOP/EJECT REW/ PLAY/REPEAT FF/ | REC TIMER/FM |
1 Turn the unit Power on.
2 Press and hold both PLAY/REPEAT and FF on the unit for more than 5 seconds.
•The power will shut off.
•Please ignore “NO CASSETTE” warning.
3 Do “Initial Setup” on page 8.
Note to CABLE System Installer
This reminder is provided to call the CABLE (Cable TV) System Installers attention to Article
Setup
9