*Important: If a remote control button does not work when pressed, press the ![]()
![]() button on the remote and try the button again.
button on the remote and try the button again.
Manual Clock Set
If AUTO CLOCK SET was incomplete, manually set the clock as follows.
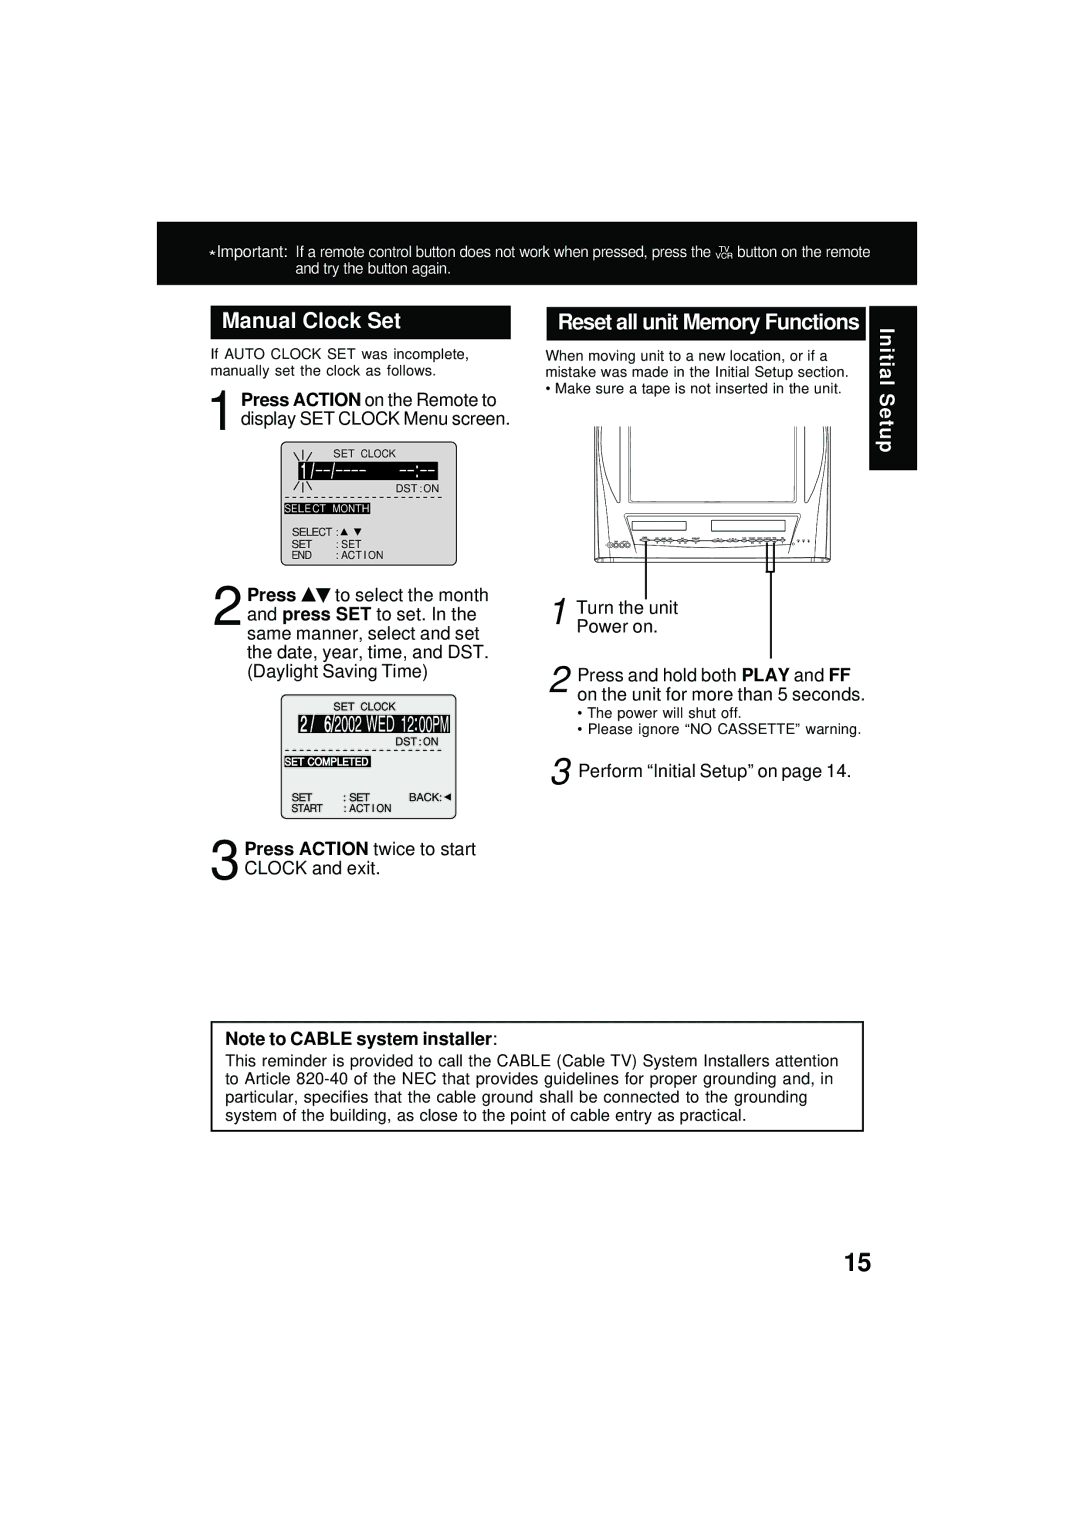
1Press ACTION on the Remote to display SET CLOCK Menu screen.
SET CLOCK
DST : ON
SELE CT MONTH
SELECT : ![]()
SET | : SET |
END | : ACT I ON |
Reset all unit Memory Functions
When moving unit to a new location, or if a mistake was made in the Initial Setup section.
•Make sure a tape is not inserted in the unit.
Initial Setup
2Press ![]()
![]() to select the month and press SET to set. In the same manner, select and set the date, year, time, and DST. (Daylight Saving Time)
to select the month and press SET to set. In the same manner, select and set the date, year, time, and DST. (Daylight Saving Time)
3Press ACTION twice to start CLOCK and exit.
1 Turn the unit Power on.
2 Press and hold both PLAY and FF on the unit for more than 5 seconds.
•The power will shut off.
•Please ignore “NO CASSETTE” warning.
3 Perform “Initial Setup” on page 14.
Note to CABLE system installer:
This reminder is provided to call the CABLE (Cable TV) System Installers attention to Article
15