OPERATING PROCEDURES
■Power Up
Before operating the monitor, confirm that the cameras and peripherals are connected correctly and securely.
1.Turn on the monitor by pressing the POWER button. The Power Indicator lights in green.
2.Select the desired input to be displayed by pressing the INPUT SELECT button.
Pressing this button will select the display (or audio) input in the sequence shown below.
![]() VIDEO IN A
VIDEO IN A ![]() VIDEO IN B
VIDEO IN B ![]()
![]()
![]()
Onscreen Display | Video Input | Audio Input | |
|
|
| |
A CH | VIDEO IN A | AUDIO IN A | |
|
|
| |
B CH | VIDEO IN B | AUDIO IN B | |
|
| ||
| |||
|
|
|
The selected input picture appears on the monitor screen.
■Display Setting
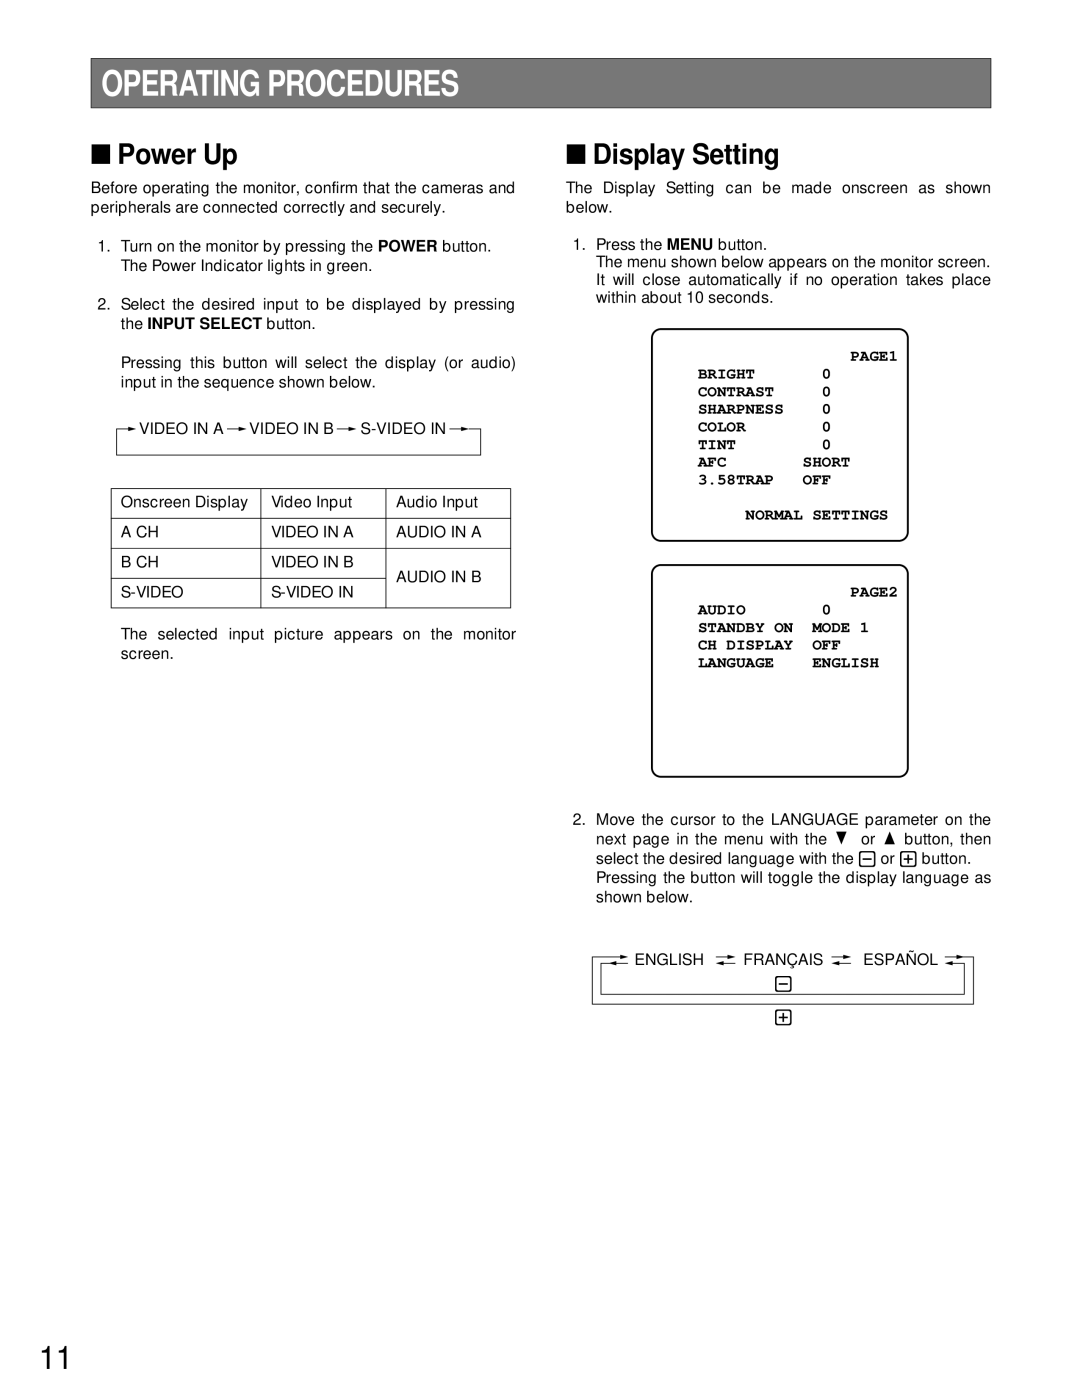
The Display Setting can be made onscreen as shown below.
1.Press the MENU button.
The menu shown below appears on the monitor screen. It will close automatically if no operation takes place within about 10 seconds.
PAGE1
BRIGHT 0
CONTRAST 0
SHARPNESS 0
COLOR 0
TINT 0
AFC SHORT 3.58TRAP OFF
NORMAL SETTINGS
| PAGE2 |
AUDIO | 0 |
STANDBY ON | MODE 1 |
CH DISPLAY | OFF |
LANGUAGE | ENGLISH |
2.Move the cursor to the LANGUAGE parameter on the next page in the menu with the C or D button, then select the desired language with the - or + button.
Pressing the button will toggle the display language as shown below.
 ENGLISH
 FRANÇ AIS
 ESPAÑ OL

-
+
11
