18ENGLISH
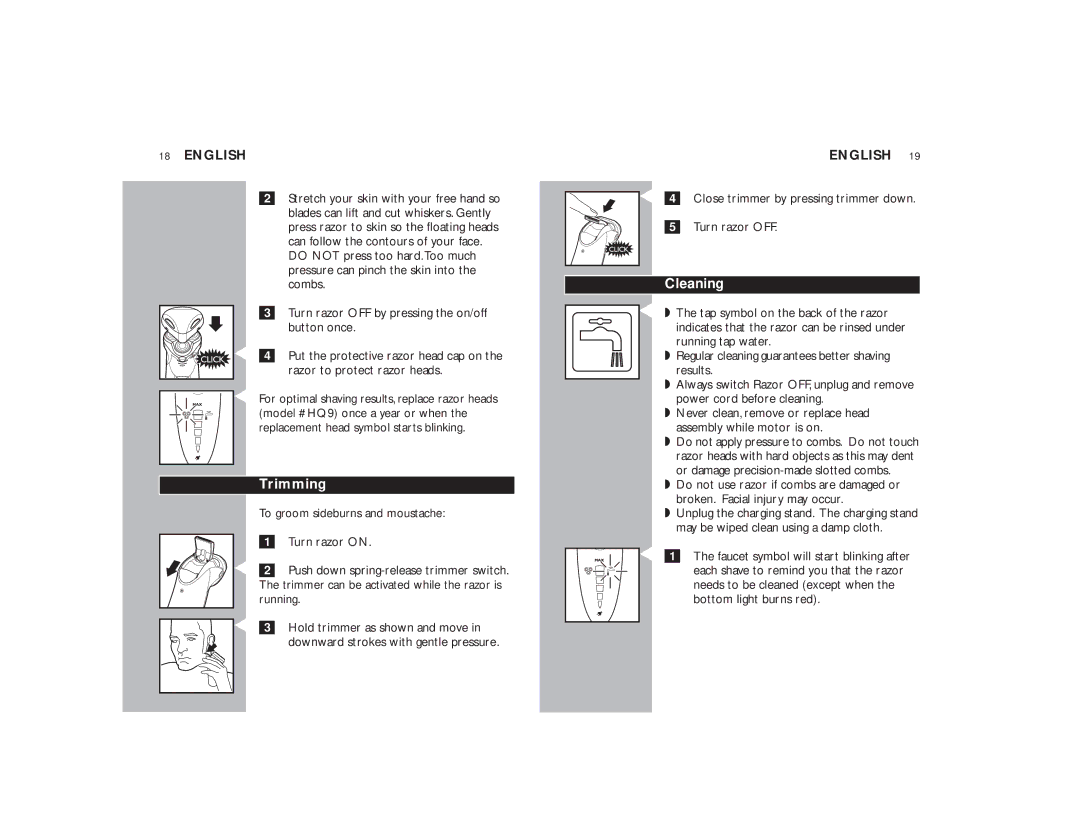
2Stretch your skin with your free hand so blades can lift and cut whiskers. Gently press razor to skin so the floating heads can follow the contours of your face. DO NOT press too hard.Too much pressure can pinch the skin into the combs.
3Turn razor OFF by pressing the on/off
button once.
C 4 Put the protective razor head cap on the razor to protect razor heads.
C For optimal shaving results, replace razor heads (model #HQ9) once a year or when the replacement head symbol starts blinking.
Trimming
To groom sideburns and moustache:
|
| 1 | Turn razor ON. |
| C |
| Push down |
2 | |||
|
| The trimmer can be activated while the razor is | |
|
| running. | |
| C |
| Hold trimmer as shown and move in |
| 3 | ||
|
|
| downward strokes with gentle pressure. |
|
|
|
|
ENGLISH 19
C 4 Close trimmer by pressing trimmer down.
5Turn razor OFF.
Cleaning
C ◗ The tap symbol on the back of the razor indicates that the razor can be rinsed under running tap water.
◗Regular cleaning guarantees better shaving results.
◗Always switch Razor OFF, unplug and remove power cord before cleaning.
◗Never clean, remove or replace head assembly while motor is on.
◗Do not apply pressure to combs. Do not touch razor heads with hard objects as this may dent or damage
◗Do not use razor if combs are damaged or broken. Facial injury may occur.
◗Unplug the charging stand. The charging stand may be wiped clean using a damp cloth.
C 1 The faucet symbol will start blinking after each shave to remind you that the razor needs to be cleaned (except when the bottom light burns red).
