BE F O R E Y O U S TA R T
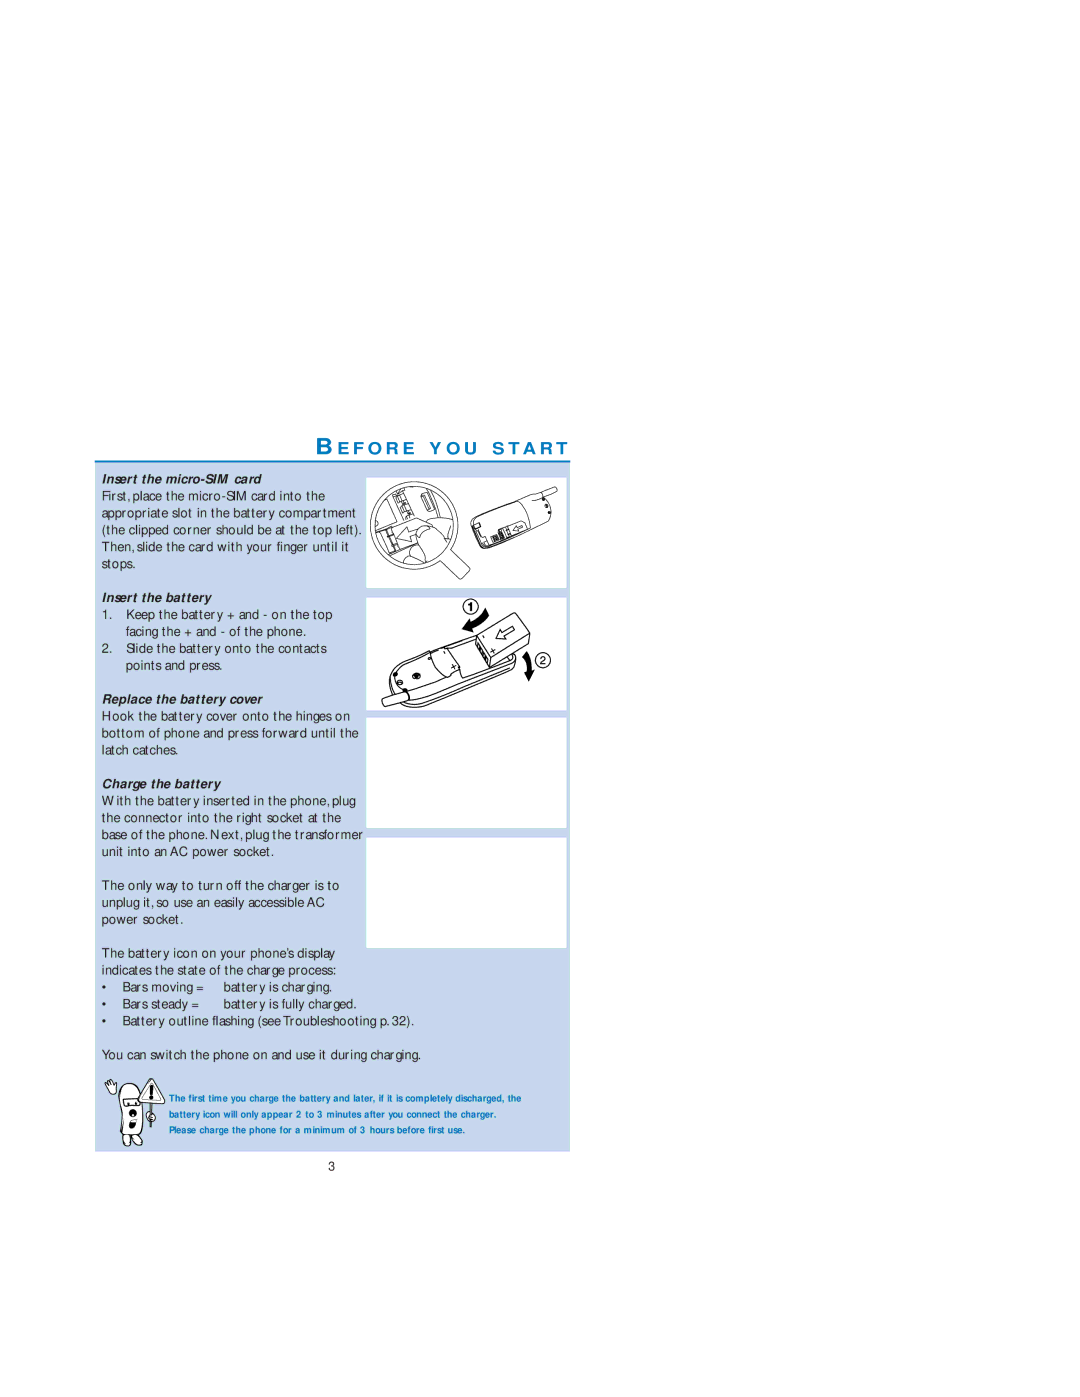
Insert the micro-SIM card
First, place the
Insert the battery
1.Keep the battery + and - on the top
facing the + and - of the phone.
2. Slide the battery onto the contacts points and press.
Replace the battery cover
Hook the battery cover onto the hinges on bottom of phone and press forward until the latch catches.
Charge the battery
With the battery inserted in the phone, plug the connector into the right socket at the base of the phone. Next, plug the transformer unit into an AC power socket.
The only way to turn off the charger is to unplug it, so use an easily accessible AC power socket.
The battery icon on your phone’s display indicates the state of the charge process:
•Bars moving = battery is charging.
•Bars steady = battery is fully charged.
•Battery outline flashing (see Troubleshooting p. 32).
You can switch the phone on and use it during charging.
![]() The first time you charge the battery and later, if it is completely discharged, the
The first time you charge the battery and later, if it is completely discharged, the
battery icon will only appear 2 to 3 minutes after you connect the charger. Please charge the phone for a minimum of 3 hours before first use.
3