Record on Hard Disk (continued)
A Connect the DV camcorder to the DV IN socket on the front panel of this recorder.
B Find the footage on the DV camcorder that you want to start recording from and set the camcorder to pause mode.
C Switch on the TV to the correct programme number for the recorder (e.g. ‘EXT’, ‘0’, ‘AV’).
D Switch on the recorder and press DV on the remote control.
An information box will be displayed.
System State: Stop DV State: Stop Record to Hard Disk As Standard Play Elapsed Time: 00:00:00 Remaining Time: 00:00:00
Press SELECT repeatedly to change the mode of record quality.
E Press RECâ to start recording and press the PLAY key on the DV camcorder to start playback.
To pause the recording, press PAUSEÅ. To resume recording, press PLAY X again.
A new chapter marker is created after recording restarts.
F To stop recording, press STOPÇ.
A new title will be created when you begin another recording.
To record directly to a recordable DVD, see the chapter ”Record on Recordable DVD”.
Recording from an external device (Camcorder/VCR/ DVD player)
A copy protection system has been built into this recorder to prevent the transfer of data from
Note: Set the preferred mode of record quality before proceeding, see “Before Recording - Default Recording Settings.”
![]()
![]()
![]() TUNER
TUNER
![]()
![]()
![]() SOURCE
SOURCE
![]()
![]()
![]() PAUSE
PAUSE![]()
REC![]()
![]()
![]()
![]()
![]()
![]()
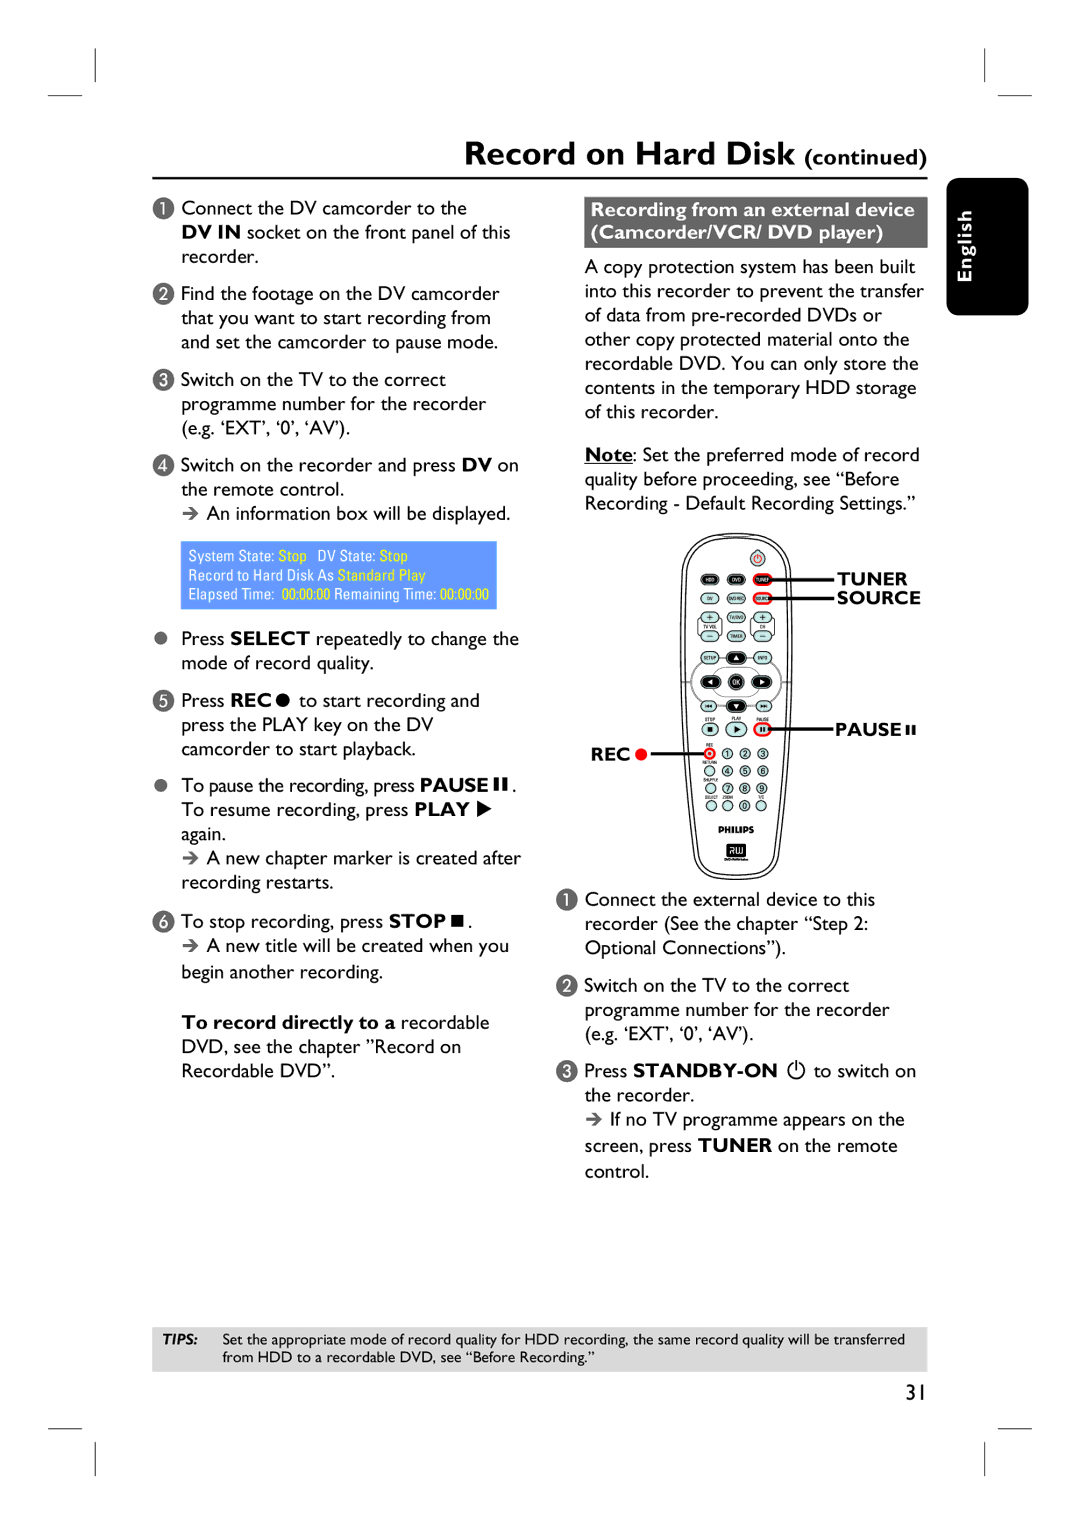
A Connect the external device to this recorder (See the chapter “Step 2: Optional Connections”).
B Switch on the TV to the correct programme number for the recorder (e.g. ‘EXT’, ‘0’, ‘AV’).
C Press
If no TV programme appears on the screen, press TUNER on the remote control.
English
TIPS: Set the appropriate mode of record quality for HDD recording, the same record quality will be transferred from HDD to a recordable DVD, see “Before Recording.”
31