DVD Setup Menu Options
HD JPEG Mode
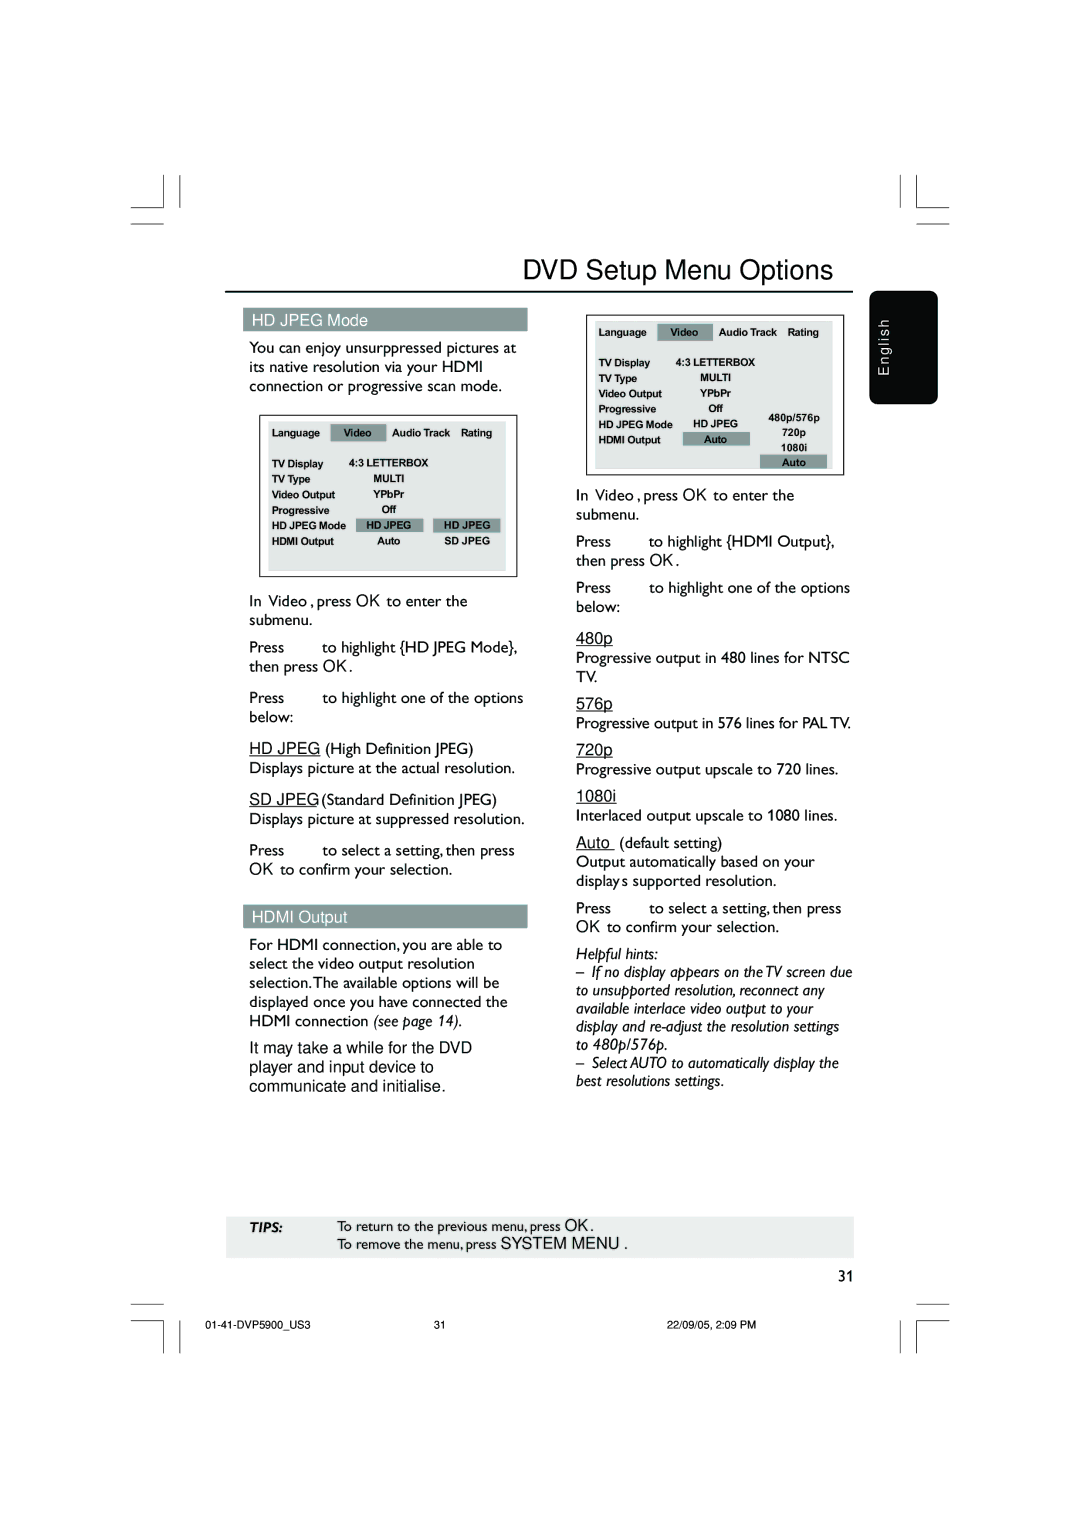
You can enjoy unsurppressed pictures at its native resolution via your HDMI connection or progressive scan mode.
|
|
|
|
|
|
|
|
|
|
| Language |
| Video | Audio Track Rating |
| ||||
| TV Display |
| 4:3 LETTERBOX |
|
| ||||
| TV Type |
|
| MULTI |
|
| |||
| Video Output |
|
| YPbPr |
|
| |||
| Progressive |
|
| Off |
|
| |||
| HD JPEG Mode |
| HD JPEG |
| HD JPEG |
| |||
| HDMI Output |
|
| Auto | SD JPEG |
| |||
|
|
|
|
|
|
|
|
|
|
|
|
|
|
|
|
|
|
|
|
1In ‘Video’, press OK to enter the submenu.
2Press 3 4 to highlight {HD JPEG Mode}, then press OK.
3Press 3 4 to highlight one of the options below:
HD JPEG (High Definition JPEG) Displays picture at the actual resolution.
SD JPEG (Standard Definition JPEG) Displays picture at suppressed resolution.
4Press 3 4 to select a setting, then press OK to confirm your selection.
HDMI Output
For HDMI connection, you are able to select the video output resolution selection.The available options will be displayed once you have connected the HDMI connection (see page 14).
It may take a while for the DVD player and input device to communicate and initialise.
|
|
|
|
|
|
|
|
| sh |
| Language |
| Video | Audio Track Rating |
| ||||
|
|
| ngli | ||||||
| TV Display | 4:3 LETTERBOX |
|
| |||||
| TV Type |
| MULTI |
|
| E | |||
|
|
|
|
| |||||
| Video Output |
| YPbPr |
|
|
| |||
| Progressive |
| Off | 480p/576p |
|
| |||
| HD JPEG Mode HD JPEG |
|
| ||||||
| 720p |
|
| ||||||
| HDMI Output |
| Auto |
|
|
| |||
|
|
| 1080i |
|
| ||||
|
|
|
|
|
|
|
|
| |
|
|
|
|
|
|
| Auto |
|
|
|
|
|
|
|
|
|
|
|
|
1In ‘Video’, press OK to enter the submenu.
2Press 3 4to highlight {HDMI Output}, then press OK.
3Press 3 4 to highlight one of the options below:
480p
Progressive output in 480 lines for NTSC TV.
576p
Progressive output in 576 lines for PAL TV.
720p
Progressive output upscale to 720 lines.
1080i
Interlaced output upscale to 1080 lines.
Auto (default setting)
Output automatically based on your display’s supported resolution.
4Press 3 4 to select a setting, then press OK to confirm your selection.
Helpful hints:
–If no display appears on the TV screen due to unsupported resolution, reconnect any available interlace video output to your display and
–Select AUTO to automatically display the best resolutions settings.
TIPS: To return to the previous menu, press OK.
To remove the menu, press SYSTEM MENU.
31
31 | 22/09/05, 2:09 PM |
