Preparations
IMPORTANT!
–Make sure to complete the preparation procedures before operating the system.
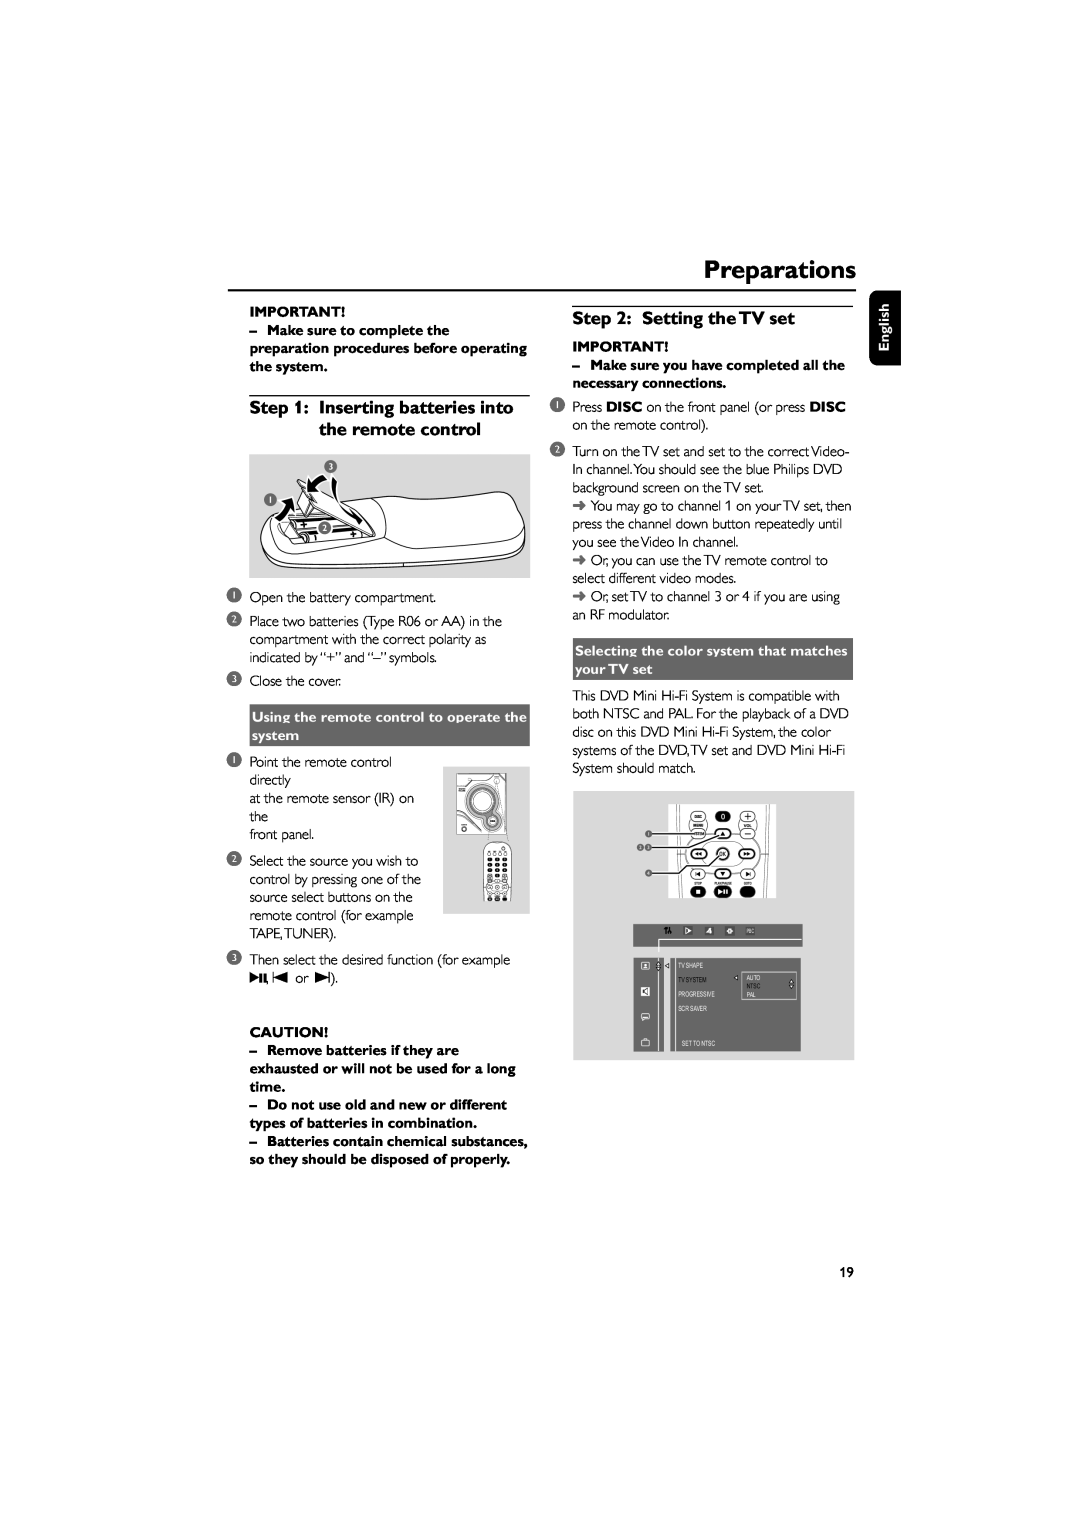
Step 1: Inserting batteries into the remote control
1Open the battery compartment.
2Place two batteries (Type R06 or AA) in the compartment with the correct polarity as indicated by “+” and
3Close the cover.
Using the remote control to operate the
system
1Point the remote control
directly
at the remote sensor (IR) on the
front panel.
2 Select the source you wish to control by pressing one of the source select buttons on the remote control (for example TAPE,TUNER).
3Then select the desired function (for example 2;, O or P).
CAUTION!
–Remove batteries if they are exhausted or will not be used for a long time.
–Do not use old and new or different types of batteries in combination.
–Batteries contain chemical substances, so they should be disposed of properly.
Step 2: Setting the TV set
IMPORTANT!
– Make sure you have completed all the necessary connections.
1 Press DISC on the front panel (or press DISC on the remote control).
2Turn on the TV set and set to the correct Video- In channel.You should see the blue Philips DVD background screen on the TV set.
➜You may go to channel 1 on your TV set, then press the channel down button repeatedly until you see the Video In channel.
➜Or, you can use the TV remote control to select different video modes.
➜Or, set TV to channel 3 or 4 if you are using an RF modulator.
Selecting the color system that matches
your TV set
This DVD Mini
1
23
4
| PBC |
TV SHAPE |
|
TV SYSTEM | AUTO |
| NTSC |
PROGRESSIVE | PAL |
SCR SAVER |
|
SET TO NTSC |
|
English
19
