HTS8141/12 specifications
The Philips HTS8141/12 is a sophisticated home theater system that elevates the home entertainment experience with its advanced technology and innovative features. Synthesizing style, performance, and user-friendliness, it caters to both audiophiles and casual viewers alike.At the core of the HTS8141/12 is its impressive surround sound capabilities. Equipped with 5.1 channels, the system envelops the listener in a multi-dimensional audio experience. The built-in Dolby Digital and DTS decoding ensure that movies and music alike are reproduced with clarity and depth. This home theater system utilizes the Ambisound technology, which optimizes sound delivery to create a realistic surround sound experience even in small spaces.
One of the standout features of the HTS8141/12 is its sleek and stylish design. The system boasts an elegant form factor that effortlessly blends into modern interiors. The mirrored surface and clean lines of the player and speaker units reflect a premium aesthetic while also being practical, as it minimizes clutter and enhances the visual appeal of your entertainment setup.
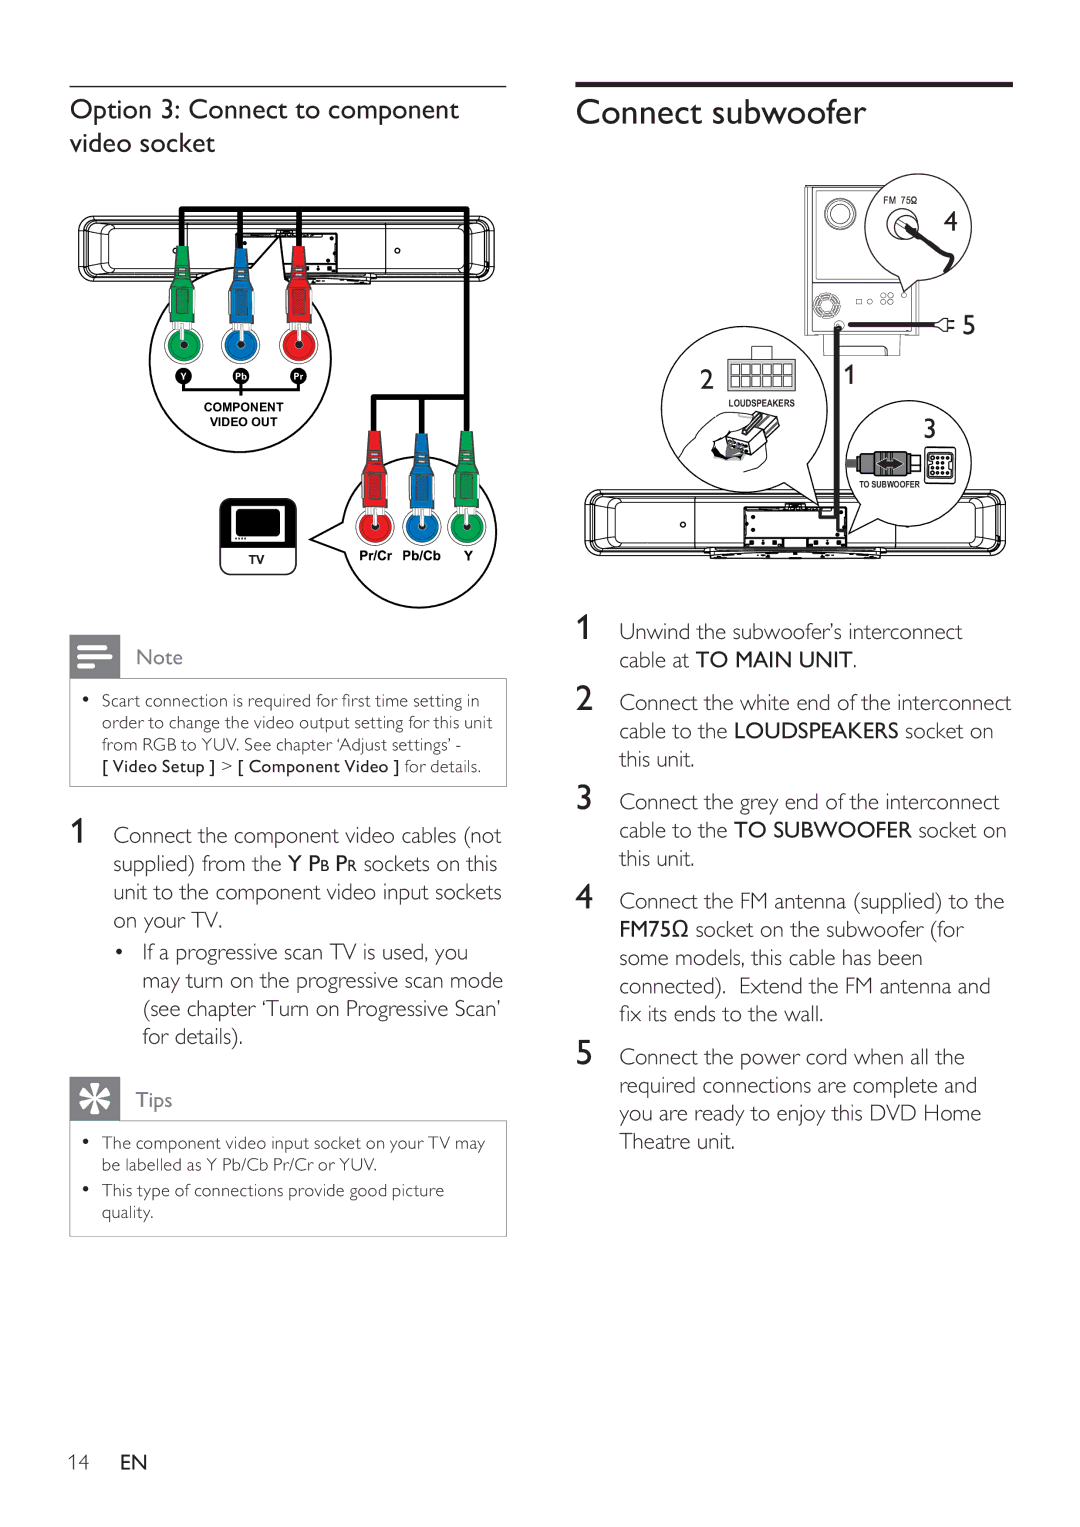
Connectivity is another strong point of the Philips HTS8141/12. It comes equipped with HDMI inputs, making it easy to connect multiple devices like gaming consoles, Blu-ray players, and streaming devices. The system also supports HDMI 1.3, allowing for high-definition audio and video transmission, ensuring that your home entertainment is always at its best. An integrated USB port offers additional convenience, enabling playback directly from USB flash drives.
The system supports a variety of media formats, providing versatility for users. Whether you are watching a DVD, streaming online, or listening to music, the HTS8141/12 ensures compatibility and ease of use. The intuitive user interface and remote control further enhance the viewing experience, enabling effortless navigation through different settings and features.
Moreover, the Philips HTS8141/12 includes features such as the EasyLink technology that utilizes HDMI-CEC, allowing control of multiple devices with a single remote. This simplifies the overall experience, eliminating the hassle of juggling various controllers.
Overall, the Philips HTS8141/12 stands out as a notable choice for those seeking an exceptional home theater experience, combining innovative technology, impressive sound quality, and elegant design into one complete system. Its blend of performance and style makes it a worthy addition to any home entertainment setup.

