HTS9800W specifications
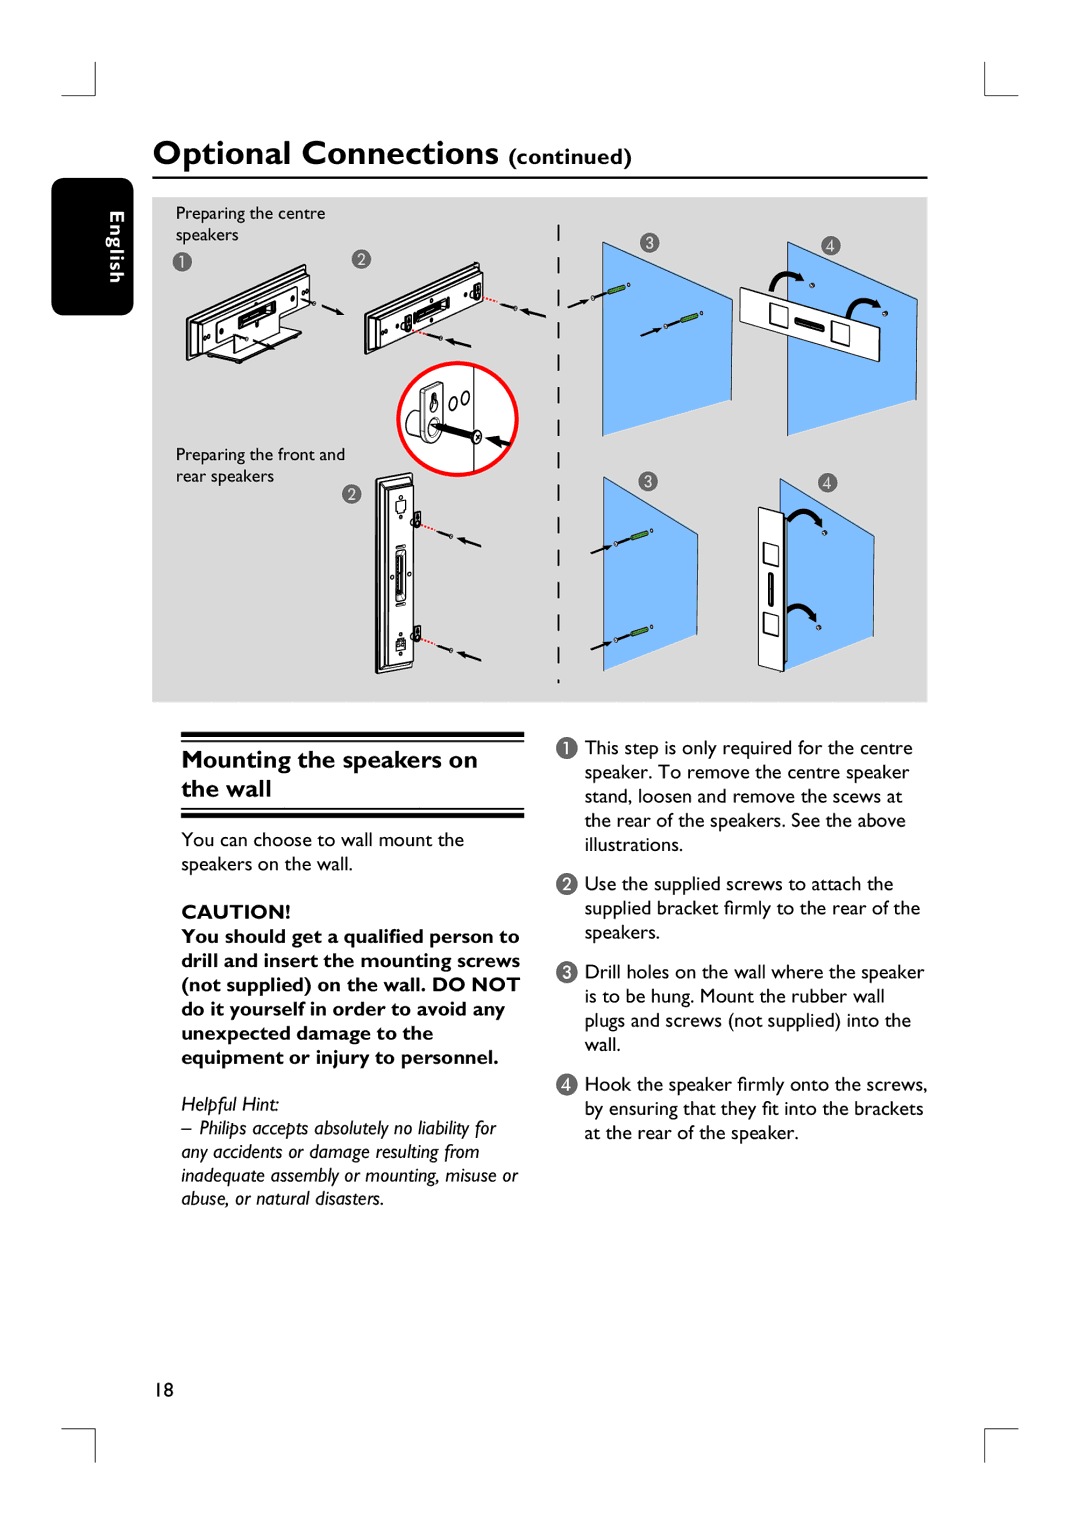
The Philips HTS9800W is a cutting-edge home theater system that brings cinema-quality audio and video into the comfort of your living room. Designed for audiophiles and movie enthusiasts alike, this system is characterized by its innovative wireless technology and a range of features that enhance the overall home entertainment experience.One of the standout features of the HTS9800W is its wireless rear speakers, which eliminate the clutter of cables while delivering rich surround sound. This system is equipped with the unique Ambisound technology, which creates a three-dimensional audio experience. By utilizing advanced algorithms and multiple speaker placements, Ambisound ensures that sound envelops the listener, making you feel like you're in the midst of a cinematic environment.
The HTS9800W also supports high-definition video playback, making it compatible with various formats including Blu-ray discs. This allows viewers to enjoy stunning visuals with vibrant colors and sharp detail. With Full HD 1080p resolution, the clarity of images is breathtaking, enhancing the overall viewing experience.
Another impressive aspect of this home theater system is its Connectivity. The HTS9800W offers multiple HDMI inputs, which provide seamless connectivity to numerous devices such as gaming consoles, streaming boxes, and set-top boxes. This versatility allows for an easy setup, where users can switch between different media sources without any hassle.
In terms of design, the Philips HTS9800W boasts a sleek and stylish aesthetic that complements modern home décor. The compact components can fit into various spaces while adding an element of sophistication to your living area.
Streaming capabilities are also a significant highlight of this system. With built-in support for popular streaming services, users can enjoy their favorite movies and shows directly from the internet. Additionally, the system's USB and audio-in ports allow for easy playback from various external devices.
Finally, the user-friendly interface and remote control provide convenient navigation through different media options, ensuring an effortless home entertainment experience.
The Philips HTS9800W is truly a remarkable home theater system that combines advanced audio technologies, high-definition video capabilities, and a user-friendly approach, making it an excellent choice for anyone looking to elevate their entertainment setup.

