Philips MCD759D quick start Progressive scan mode on your TV, Below menu appears on the TV

Models: MCD759D

1 47
Download 47 pages 13.5 Kb
Page 20
Image 20
Press SYSTEM MENU.
5
Getting Started
Setting up Progressive Scan feature (for
Progressive Scan TV only)
The progressive scan display twice the number of frames per seconds than interlaced scanning (ordinary normal TV system). With nearly double the number of lines, progressive scan offers higher picture resolution and quality.
IMPORTANT!
Before enabling the progressive scan feature, you must ensure:
1) Your TV can accept progressive signals, a progressive scan TV is required.
2) You have connected the DVD player to your TV using Y Pb Pr (see “Connections-Step 5: Connecting TV- Using Component Video jacks”.)
3) You have selected “Pr/Cr Pb/Cb Y” for “COMPONENT” on the “VIDEO SETUP PAGE”. Otherwise, the “P-SCAN” option will be unavailable.
1 Turn on your TV.
2 Turn off your TV progressive scan mode or turn on interlaced mode (refer to your TV user manual).
3 Press STANDBY-ON/ECO POWER B (B on the remote) to turn on the DVD player.
4 Select the correct Video Input channel.
The DVD background screen appears on the TV.

English

8Press 1 2 to highlight OK in the menu and press OK to confirm.

There will be a distorted picture on your TV at this state until you turn on the

progressive scan mode on your TV.

9Turn on your TV progressive scan mode (refer to your TV user manual).
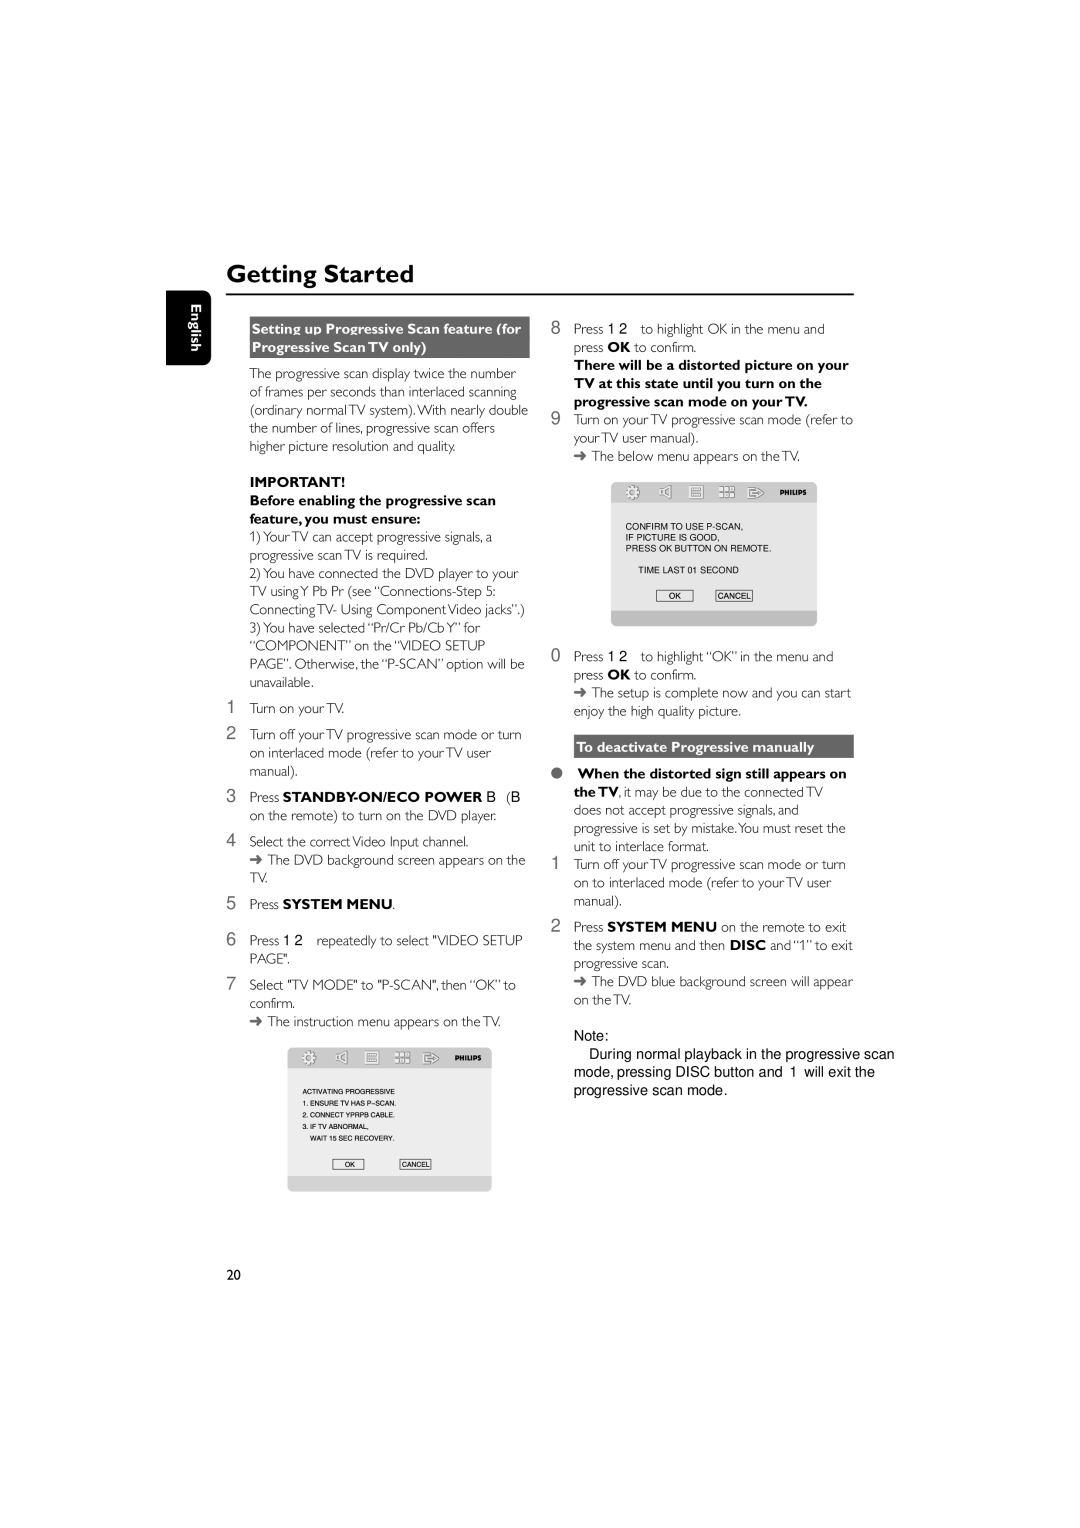
The below menu appears on the TV.

CONFIRM TO USE P-SCAN,

IF PICTURE IS GOOD,

PRESS OK BUTTON ON REMOTE.

TIME LAST 01 SECOND

6Press 1 2 repeatedly to select "VIDEO SETUP PAGE".

7Select "TV MODE" to "P-SCAN", then “OK” to confirm.

The instruction menu appears on the TV.

20

0Press 1 2 to highlight “OK” in the menu and press OK to confirm.

The setup is complete now and you can start enjoy the high quality picture.

To deactivate Progressive manually

When the distorted sign still appears on the TV, it may be due to the connected TV does not accept progressive signals, and progressive is set by mistake.You must reset the

unit to interlace format.

1Turn off your TV progressive scan mode or turn on to interlaced mode (refer to your TV user manual).

2Press SYSTEM MENU on the remote to exit the system menu and then DISC and “1” to exit progressive scan.

The DVD blue background screen will appear on the TV.

Note:

During normal playback in the progressive scan mode, pressing DISC button and “1” will exit the progressive scan mode.

Page 20
Image 20
Philips MCD759D Progressive scan mode on your TV, Below menu appears on the TV, To deactivate Progressive manually