Manuals
/
Philips
/
Home Audio
/
Home Theater System
Philips
SL400i/37
manual
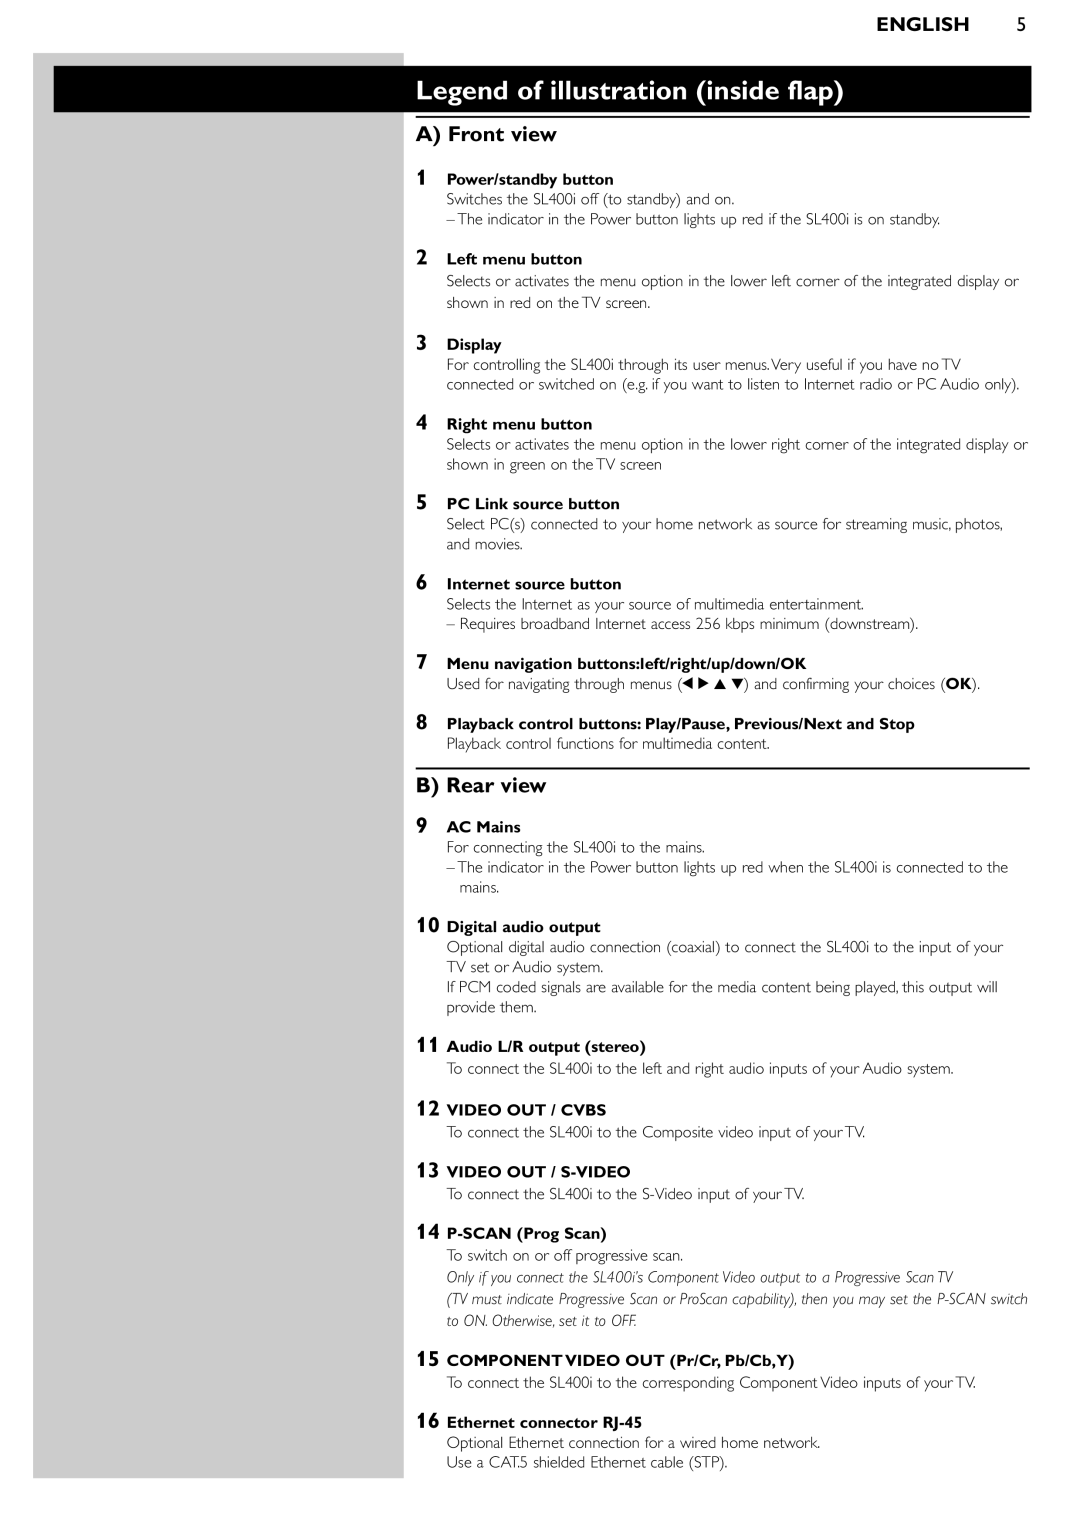
Legend of illustration inside flap, A Front view, B Rear view, English
Models:
SL400i/37
1
5
55
55
Download
55 pages
18.42 Kb
1
2
3
4
5
6
7
8
Install
of your wireless network
Problem solving
Static IP settings
Wi-Fi
Remote Control
What is
Safety Precautions
Upgradeability
Solution
Page 5
Image 5
Page 4
Page 6
Page 5
Image 5
Page 4
Page 6
Contents
Wifi Wireless Multimedia Link
English
SL400i
Instructions for use
B Rear view
A Front view
Canada
HelplineUSA
ranty
Introduction
How to use
Packaging contents
A Front view
Legend of illustration inside flap
B Rear view
ENGLISH
6ENGLISH
Index
ENGLISH
Important information
Safety Precautions
8ENGLISH
Chapter 1 - Installing the software
Start by installing Philips Media Manager
Go to chapter 2.1 on page
Chapter 2 - Connecting the SL400i
Go to chapter 2.2 on page
Go to chapter 2.3 on page
10ENGLISH
Installing
Have fun
ENGLISH
of your wireless network
Installing
Wireless Network Name SSID
12ENGLISH
If you do not see any messages on the TV screen
ENGLISH
Have fun
14ENGLISH
ENGLISH
Installing
Ethernet port required Network hub
16ENGLISH
Have fun
ENGLISH
7Explore the PC Link menu on the TV screen
INTERNET
ENGLISH
3.3 Registration for free Internet services
RC Key
SMS-stylealphanumeric entry order
Have fun
20ENGLISH
4.1 Internet
Chapter 4 - Using the SL400i
4.2 PC Link
ENGLISH
22ENGLISH
Chapter 5 - Basic navigation
To go back to a previous menu, press
Upgradeability
Additional information
Environmental information
Disclaimer
6.1 Audio/video problems
Chapter 6 - Problem solving
Problem
Solution
Solution
Problem
6.2 PC / Network problems
Problem
26ENGLISH
Solution
1 2 6 3
Chapter 7 - Remote Control
7.1 Remote control buttons
ENGLISH
28ENGLISH
7.3 Using the remote control
7.2 Placing batteries
Navigation keys
ENGLISH
Direct number key entry
SMS TEXT-stylekeys
SL400i functions
Chapter 9 - Advanced navigation and advanced
9.1.1 Jump To number keys on the remote control
30ENGLISH
ENGLISH
9.2 Play View
9.1.3 FAVORITES, RETURN, INFO!, RECENT
9.2.1 For movies
9.2.3 For music
32ENGLISH
9.2.2 For photos
About ‘My.Philips.com’
Chapter 10 - Advanced Philips Media Manager uses
ENGLISH
Using S-Video
Chapter 11 - Overview of SL400i connections
Using Component Video Pr/Cr, Pb/Cb,Y or YUV
34ENGLISH
ENGLISH
Chapter 12 - Options menu
12.1 Main Menu System Menu
TV Shape
12.2 Picture Menu
36ENGLISH
ENGLISH
12.3 Network menu
38ENGLISH
12.3.1 Static IP settings
Parental Level Disclaimer
12.4 Preferences menu
ENGLISH
WIRED
Chapter 13 - What you need to know about networks
WIRELESS
40ENGLISH
WIRED NETWORK WITH MORE THAN TWO PCs
ONE-ON-ONEWIRED NETWORK
HOW TO INTERCONNECT WIRED NETWORKS
ONE-ON-ONEWIRELESS NETWORK
Securing your wireless network
What are wireless network connections?
Securing your network from Internet access
What is WEP?
DONT
ENGLISH
44ENGLISH
Chapter 15 - Entering an encryption key
a Setting the encryption key for the SL400i
ENGLISH
Example, for the Philips Wireless USB Adapter
46ENGLISH
Chapter 16 - Internet Connection Sharing
ICS configuration and usage issues
ENGLISH
Enabling Internet Connection Sharing ICS
48ENGLISH
The Home Networking wizard will appear
ENGLISH
50ENGLISH
Enabling Internet Connection Sharing for Windows
Check with your Internet Service Provider
Chapter 17 - Advanced Network Problem solving
Check your networks IP configuration
ENGLISH
52ENGLISH
Check your computers IP configuration as follows
For Windows 98SE / Windows Me
For Windows XP / Windows
ENGLISH
Chapter 18 - Glossary
54ENGLISH
Chapter 19 - Technical specifications
3103
Top
Page
Image
Contents