3 Getting started
3.1Install the software  Note
Note
Please make sure that the USB connector is NOT plugged in before installation starts.
VOIP151 driver is provided in the enclosed CD.
1Unwind the USB cable from your phone.
2Insert the installation CD into the computer's CD ROM (or DVD ROM) drive.
3The installation program will start automatically.
4Follow the instructions on the screen. You will be asked to connect the USB plug directly to your PC’s USB slot. Connect the USB plug once instructed.
5Go on following instructions on the screen.
6 Click on Exit when it is finished.
7 Remove the installation CD from the CD ROM (or DVD ROM) drive.
 Tip
Tip
If for some reasons the installation does not start automatically:
• In Windows, click on Start, and then select
Run.
• Type in explorer and navigate to the CD ROM (or DVD ROM) drive.
•
![]() Note
Note
The VOIP151 driver should start automatically if
Autorun VOIP151 driver at Windows startup
option is ticked during installation.
![]() Note
Note
Use the Skype version provided on the installation CD for the phone to work properly. New features from upgraded Skype version may not be available on VOIP151. Check compatibility on www.philips.com/support.
![]() Note
Note
If your operating system is Windows 2000, you need to restart your computer to complete the installation.
![]() Note
Note
No battery is required. Power for the phone is supplied by the computer through the USB cable.
3.2Setting up for the first time
1 Make sure that the phone is directly
connected to a USB slot on your computer.
2If this is your first installation, the VOIP151 may be launched automatically. It depends on
your selection during the installation.
3Otherwise, if the driver is not running, start the VOIP151 driver by double clicking the
shortcut icon created on your desktop.
4Start Skype if VOIP151 driver has not started Skype for you. Login with your Skype
account.
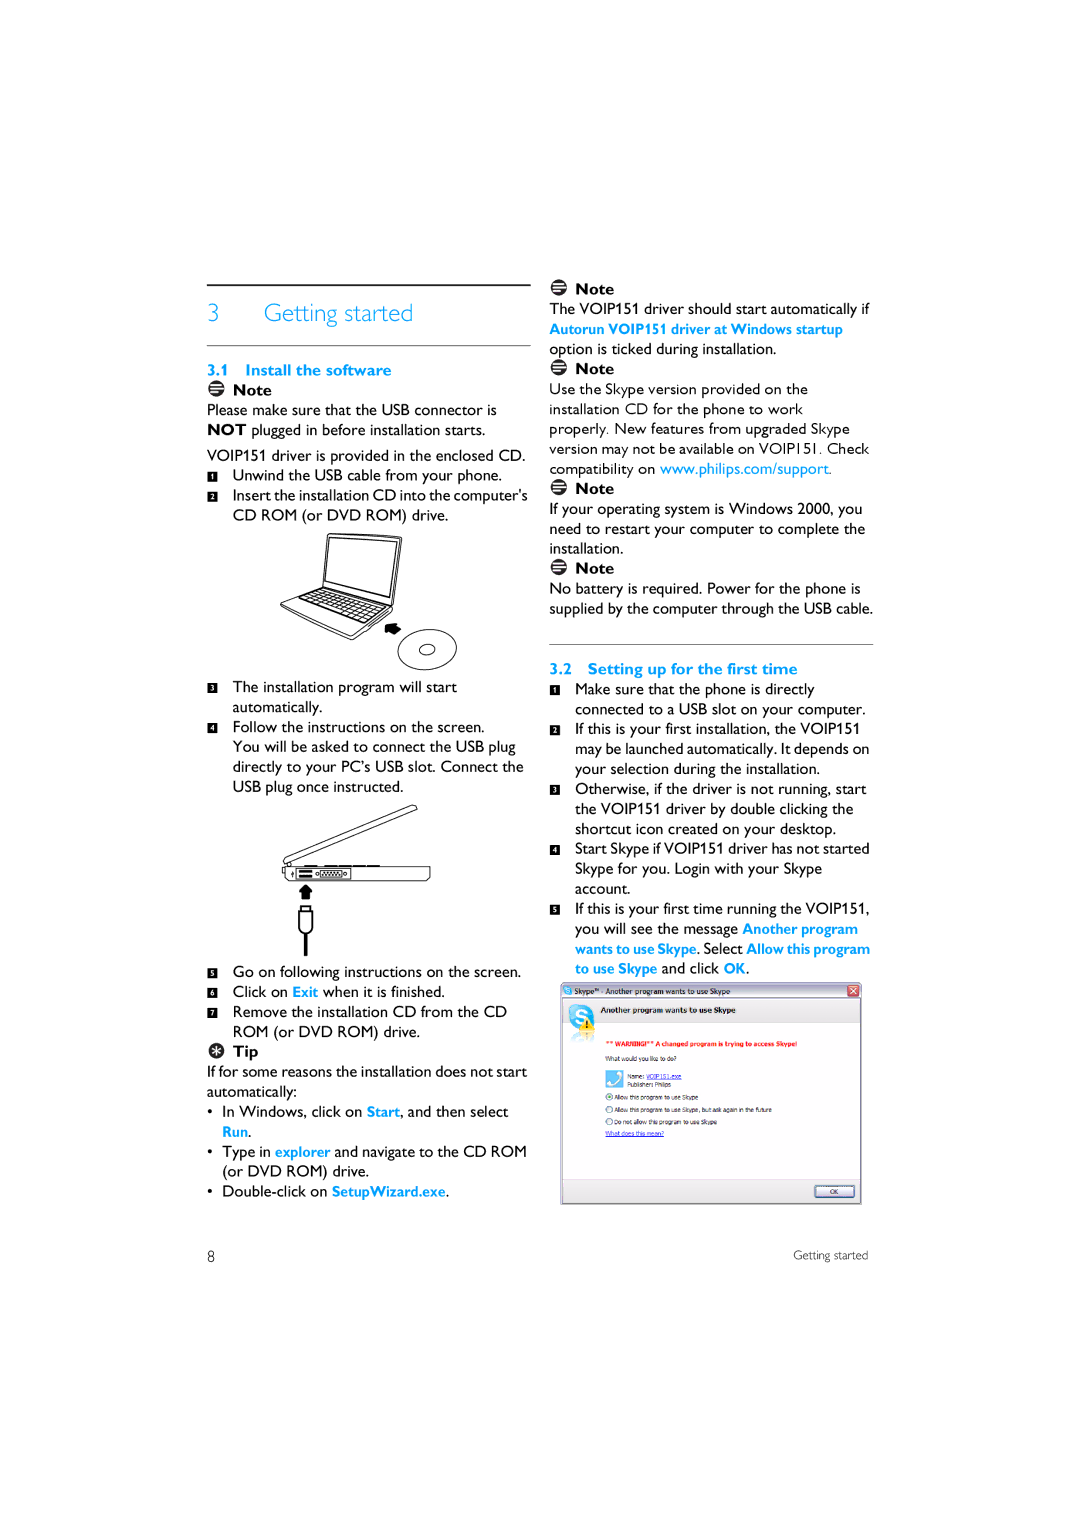
5If this is your first time running the VOIP151, you will see the message Another program wants to use Skype. Select Allow this program to use Skype and click OK.
8 | Getting started |
