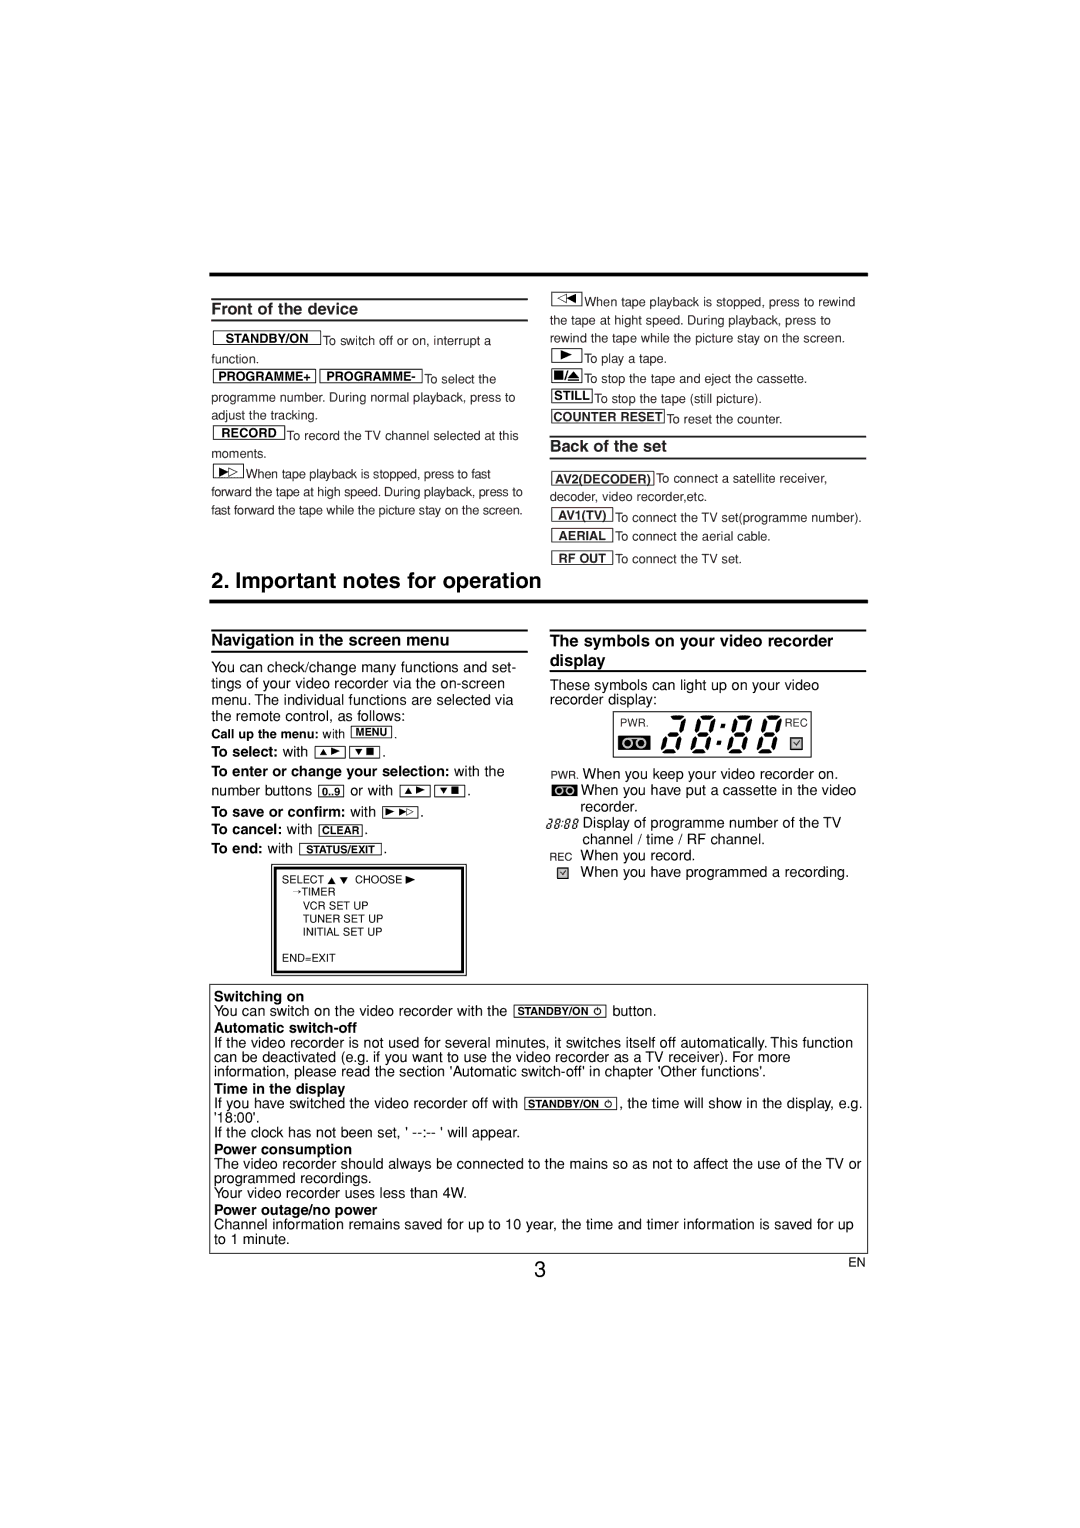
Front of the device
STANDBY/ON | To switch off or on, interrupt a |
function. |
|
PROGRAMME+ | PROGRAMME- To select the |
programme number. During normal playback, press to adjust the tracking.
RECORD To record the TV channel selected at this moments.
1When tape playback is stopped, press to fast forward the tape at high speed. During playback, press to fast forward the tape while the picture stay on the screen.
0When tape playback is stopped, press to rewind the tape at hight speed. During playback, press to rewind the tape while the picture stay on the screen.
BTo play a tape.
C/A To stop the tape and eject the cassette. STILL To stop the tape (still picture).
COUNTER RESET To reset the counter.
Back of the set
AV2(DECODER) To connect a satellite receiver, decoder, video recorder,etc.
AV1(TV) To connect the TV set(programme number). AERIAL To connect the aerial cable.
RF OUT To connect the TV set.
2. Important notes for operation
Navigation in the screen menu
You can check/change many functions and set- tings of your video recorder via the
Call up the menu: with MENU .
To select: with K B ![]()
![]() L C .
L C .
To enter or change your selection: with the
number buttons 0..9 or with K B ![]()
![]() L C .
L C .
To save or confirm: with B 1 .
To cancel: with CLEAR .
To end: with STATUS/EXIT .
SELECT K L CHOOSE B →TIMER
VCR SET UP TUNER SET UP INITIAL SET UP
END=EXIT
The symbols on your video recorder display
These symbols can light up on your video recorder display:
PWR. ![]()
![]()
![]()
![]()
![]()
![]()
![]()
![]() REC
REC
When you keep your video recorder on.
![]() When you have put a cassette in the video recorder.
When you have put a cassette in the video recorder.
![]()
![]()
![]()
![]()
![]()
![]()
![]()
![]()
![]()
![]()
![]()
![]() Display of programme number of the TV
Display of programme number of the TV
channel / time / RF channel. When you record.
When you have programmed a recording.
Switching on
You can switch on the video recorder with the
STANDBY/ON y
button.
Automatic switch-off
If the video recorder is not used for several minutes, it switches itself off automatically. This function can be deactivated (e.g. if you want to use the video recorder as a TV receiver). For more information, please read the section 'Automatic
Time in the display
If you have switched the video recorder off with '18:00'.
If the clock has not been set, '
STANDBY/ON y
, the time will show in the display, e.g.
Power consumption
The video recorder should always be connected to the mains so as not to affect the use of the TV or programmed recordings.
Your video recorder uses less than 4W.
Power outage/no power
Channel information remains saved for up to 10 year, the time and timer information is saved for up to 1 minute.
3 | EN |
|
