Section
07Initial Settings
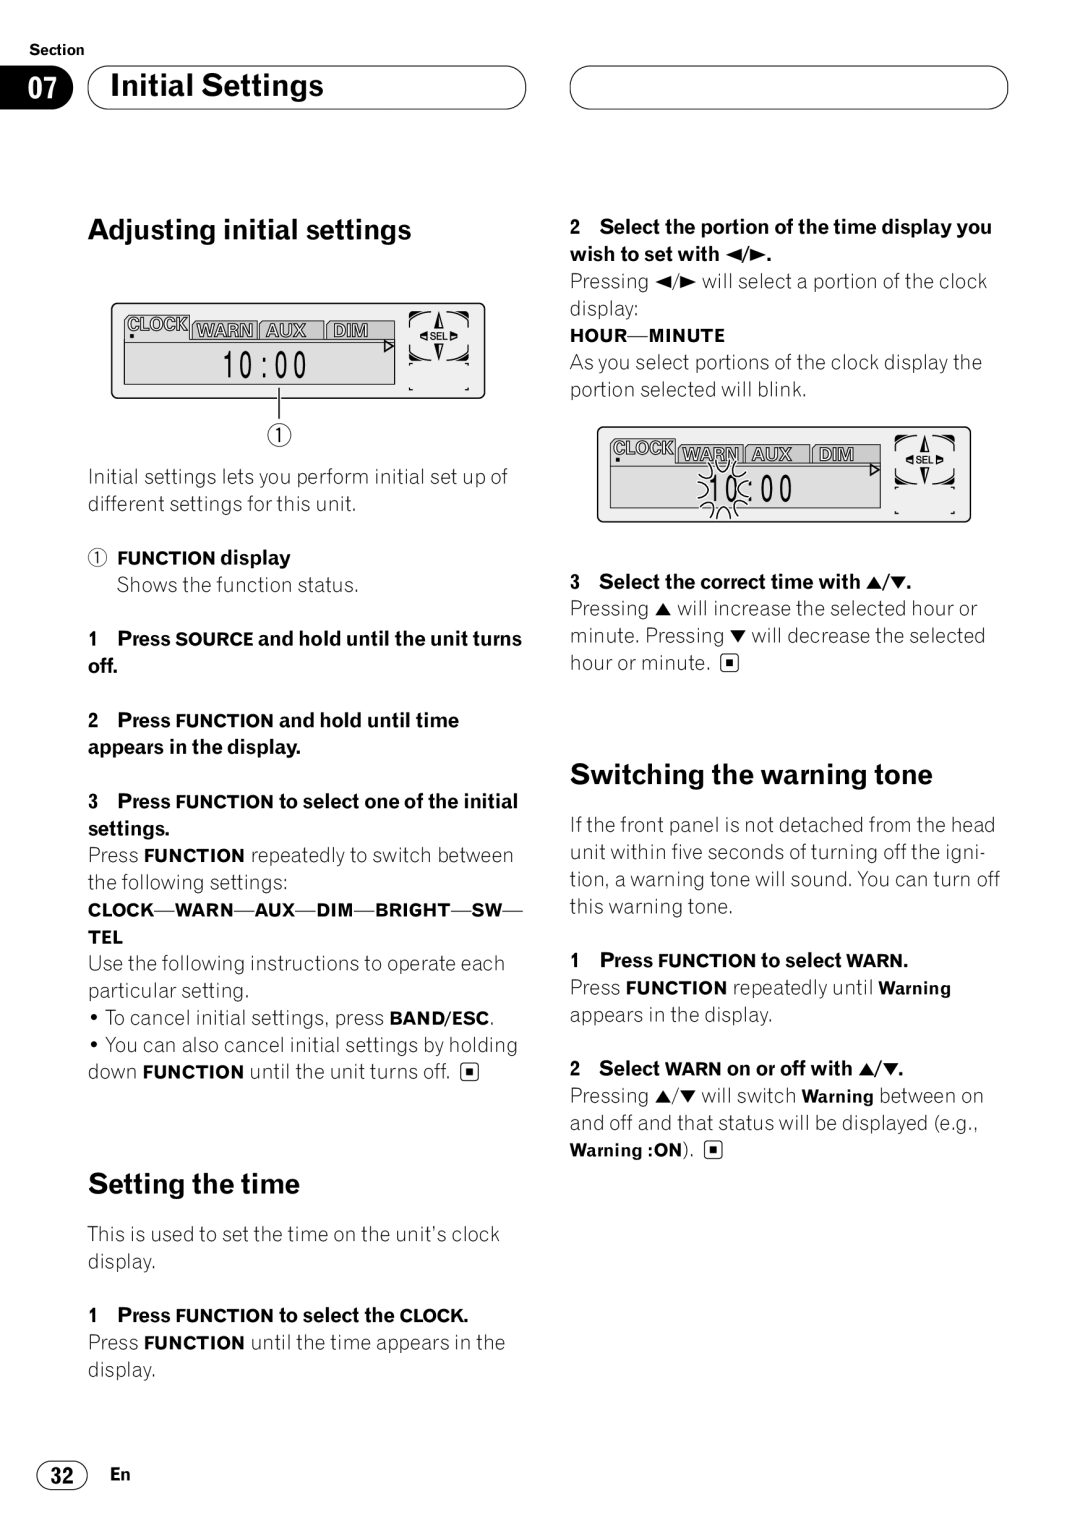
Adjusting initial settings
1
Initial settings lets you perform initial set up of different settings for this unit.
1FUNCTION display
Shows the function status.
1Press SOURCE and hold until the unit turns off.
2Press FUNCTION and hold until time appears in the display.
3Press FUNCTION to select one of the initial settings.
Press FUNCTION repeatedly to switch between the following settings:
TEL
Use the following instructions to operate each particular setting.
•To cancel initial settings, press BAND/ESC.
•You can also cancel initial settings by holding down FUNCTION until the unit turns off. ![]()
Setting the time
This is used to set the time on the unit’s clock display.
1Press FUNCTION to select the CLOCK. Press FUNCTION until the time appears in the display.
2Select the portion of the time display you wish to set with 2/3.
Pressing 2/3 will select a portion of the clock display:
As you select portions of the clock display the portion selected will blink.
3Select the correct time with 5/∞. Pressing 5 will increase the selected hour or minute. Pressing ∞ will decrease the selected hour or minute. ![]()
Switching the warning tone
If the front panel is not detached from the head unit within five seconds of turning off the igni- tion, a warning tone will sound. You can turn off this warning tone.
1Press FUNCTION to select WARN. Press FUNCTION repeatedly until Warning appears in the display.
2Select WARN on or off with 5/∞. Pressing 5/∞ will switch Warning between on and off and that status will be displayed (e.g.,
Warning :ON). ![]()
32En