Adjusting the Video Quality
–DVD/Super VCD/Video CD
You can either select a preprogrammed setting designed to match certain program types or make adjustments to match your own preferences and save them in the player’s memory.
Make changes to the [Video Adjust] setting in the Setup screen Video 2 menu.
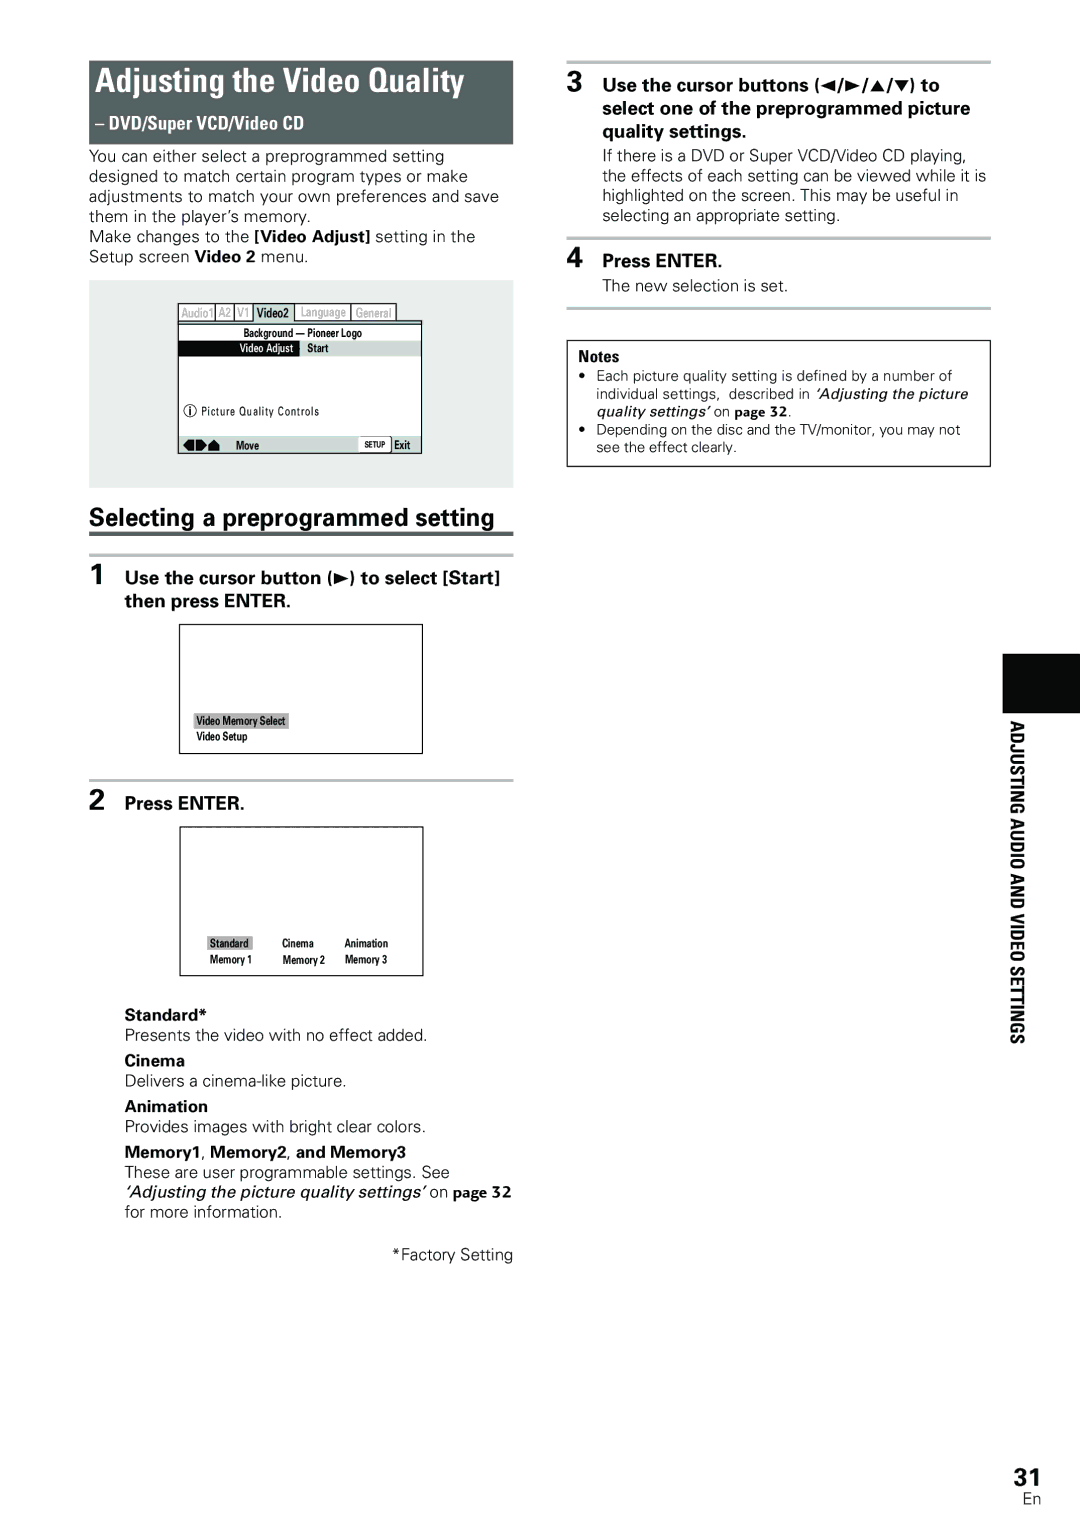
Audio1 A2 | V1 Video2 | Language | General |
|
| Background — Pioneer Logo |
| ||
| Video Adjust | Start |
|
|
Picture Quality Controls |
|
| ||
| Move |
| SETUP | Exit |
3 Use the cursor buttons (2/3/5/∞) to select one of the preprogrammed picture quality settings.
If there is a DVD or Super VCD/Video CD playing, the effects of each setting can be viewed while it is highlighted on the screen. This may be useful in selecting an appropriate setting.
4 Press ENTER.
The new selection is set.
Notes
•Each picture quality setting is defined by a number of individual settings, described in ‘Adjusting the picture quality settings’ on page 32.
•Depending on the disc and the TV/monitor, you may not see the effect clearly.
Selecting a preprogrammed setting
1 Use the cursor button (3) to select [Start] then press ENTER.
Video Memory Select
Video Setup
2 Press ENTER.
|
|
|
|
| Standard | Cinema | Animation |
| Memory 1 | Memory 2 | Memory 3 |
|
|
|
|
Standard*
Presents the video with no effect added.
Cinema
Delivers a
Animation
Provides images with bright clear colors.
Memory1, Memory2, and Memory3 These are user programmable settings. See
‘Adjusting the picture quality settings’ on page 32 for more information.
*Factory Setting
ADJUSTING AUDIO AND VIDEO SETTINGS
31
En