DV-989AVi-GDV-989AVi-S
Class Laser Product
Operating Environment
POWER-CORD Caution
Contents
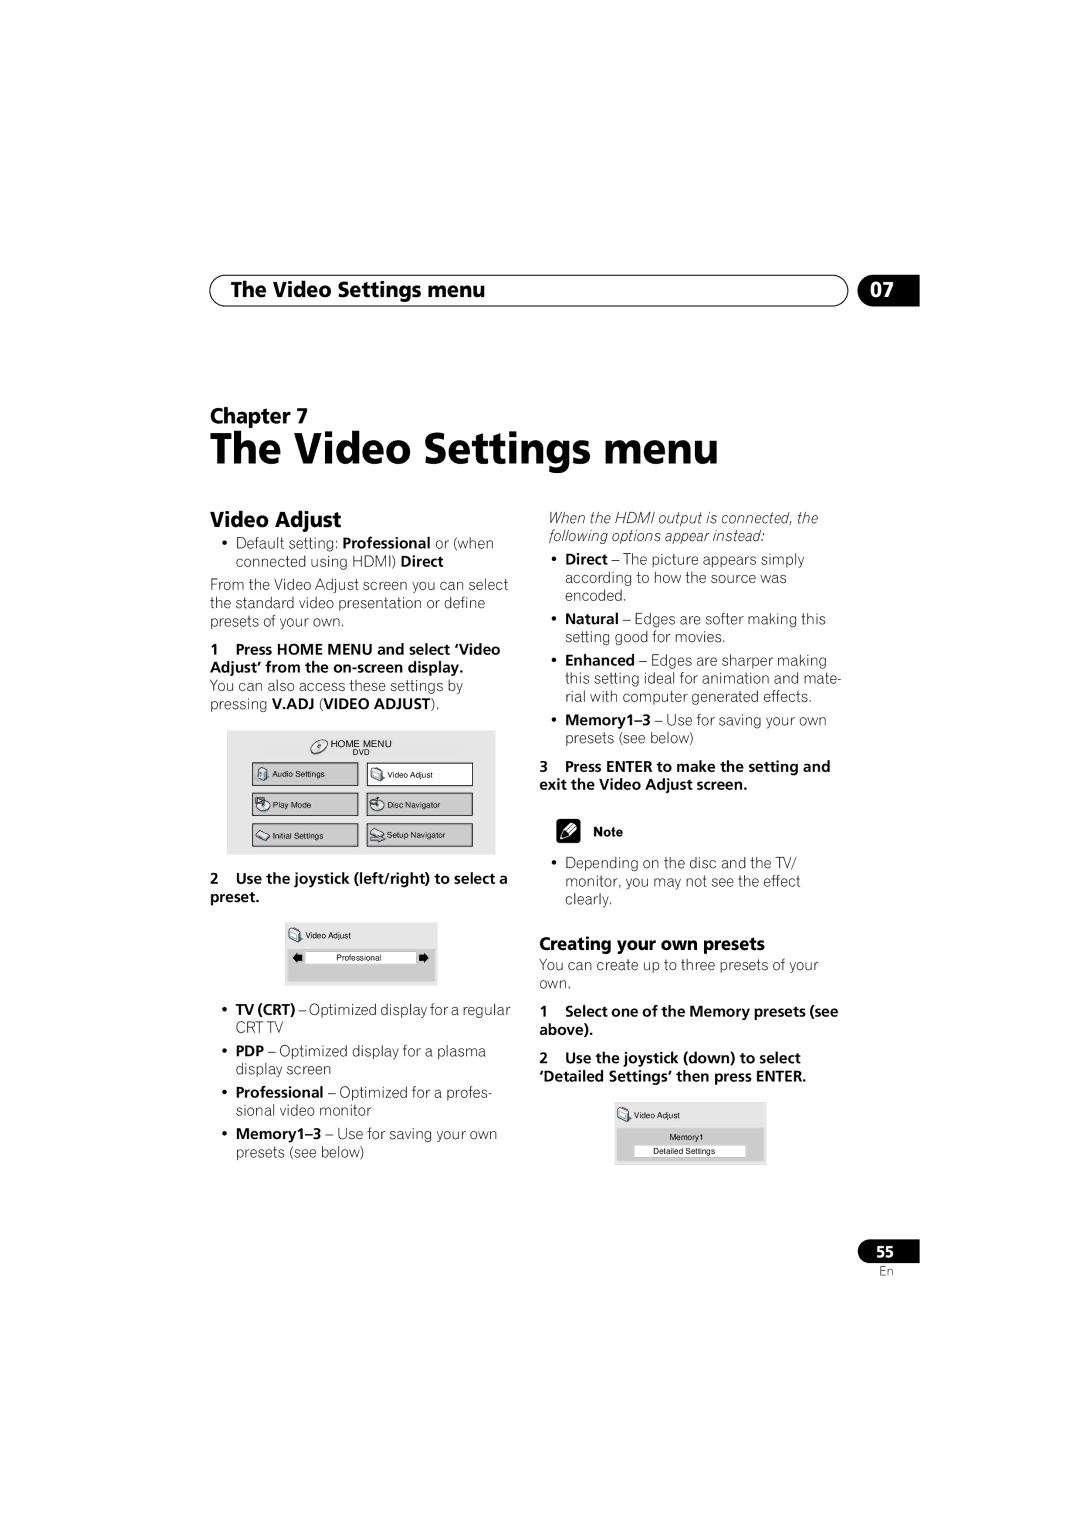
Video Adjust
Audio Settings menu
Video Settings menu
Initial Settings menu
Before you start
Features
Before you start Chapter
Before you start
Using the remote control
Putting the batteries in the remote control
Before you start What’s in the box
Photo CD, DVD-RAM, DVD-ROM, CD
General disc compatibility
CD-R/RW compatibility
Super Audio CD
Compressed Audio Compatibility
DVD-R/RW Compatibility
PC Created Disc Compatibility
DVD-Video regions
Before you start Titles, chapters, groups and tracks
CDs, SACDs and Video CD/Super VCDs are divided into tracks
Connecting up Chapter
Connecting up
Rear panel
11 D1/D2 Video OUT Except Australian model
Connecting up
Easy connections
Component Video OUT
Connecting using an S-Video output
Using other types of video output
Connecting using the component video output
Connecting for multichannel surround sound
Connecting using the D1/D2 video output
Connecting using a digital audio output
Connecting using the multichannel analog outputs
Digital Optical
Connector AV receiver
Connecting using i.LINK
Creating an i.LINK network
About i.LINK
To connect components for two-way commu- nication
Hdmi
Connecting using Hdmi
About Hdmi
Control
Controls and displays Chapter
Controls and displays
Front panel
About progressive scan video
Controls and displays
OPEN/CLOSE
Title
Part
Prgsve
GRP
Controls and displays Remote control
TOP Menu
JOG JOG Mode
Angle
Subtitle
Getting Started Chapter
Setting the TV System
Switching on
Getting Started
Let’s Get Started
Getting Started
Menu play
Using the on-screen displays
Press Enter again to finish setting up
Home Display/exit the on-screen dis
Select a DVD language
Getting Started Setting up with the Setup Navigator
Select ‘Setup Navigator’
On-screen display OSD appears
Did you connect this player to an AV receiver?
Congratulations, setup is complete
Press play to start playback
Getting Started Playing discs
Basic playback controls
Press OPEN/CLOSE to open the disc tray Load a disc
Front panel controls
DVD disc menus
Displays the PBC menu
Video CD/Super VCD PBC menus
Disc may have been illegally copied
Why won’t the disc I loaded play?
Why does the volume level seem lower during Sacd playback?
Playing discs Chapter
Playing discs
Introduction
To resume normal playback, press play
Scanning discs
Press repeatedly to change the slow motion speed
Playing discs Using the Multi Dial
Playing in slow motion
During playback, press Pause Press and hold Until
Looping a section of a disc
Playing discs Frame advance/frame reverse
Using random play
Playing discs Using repeat play
Random Group Random Track Random Off
Creating a program list
Select a random play option
Random Title Random Chapter Random Off
Select ‘Create/Edit’ from the list of program options
Repeat to build up a program List
Editing a program list
To play the program list, press play
Other functions available from the program menu
Searching a disc
Select a program play function
Press Subtitle repeatedly to select a subtitle option
Switching subtitles
Switching the DVD audio language
Press Enter to start playback
Displaying disc information
Switching DVD-RW audio channels
Switching DVD-Audio audio channels
Switching camera angles
During PBC playback only
DVD-RW displays
Sacd displays
CD and Video CD Displays
Audio DRC
Audio Settings menu
Audio Settings menu Chapter
Default setting Off
Virtual Surround
Audio Settings menu
There are four settings, plus Off
Hi-Bit
Channel Level
Speaker Distance
Creating your own presets
Video Settings menu
Video Settings menu Chapter
Video Adjust
Adjust the picture quality settings
Video Settings menu
Video Settings menu
Default setting On
Initial Settings menu
Initial Settings menu Chapter
Using the Initial Settings Digital Audio Out settings Menu
Linear PCM Out
Initial Settings menu
Dolby Digital Out
DTS Out
Component Out
Video Output settings
Mpeg Out
TV Screen
Audio Language
Language settings
Video Out
Still Picture
Auto Language
Subtitle Language
Display settings
Screen Saver
Registering a new password
Options
Background
Use number buttons to enter your password, then press Enter
Changing your password
Setting/changing the Parental Lock level
Select ‘Password Change’
Select a new level
Setting/changing the Country/Area code
You may also want to refer to the Country/Area code list on
Bonus Group
Auto Disc Menu
DVD Playback Mode
Default setting Single
Default setting DVD-Audio
Default setting 2ch Area
Hdmi Settings
Sacd Playback
Aspect Ratio
Resolution
Colour
Audio
Default setting PCM Playback
CD Playback
Video Memory
DTS Downmix
Audio Output Mode
Speaker Installation
Speakers
Speaker Distance
Default setting all speakers 3 m
L and R speakers are paired you can’t set them differently
Speaker Distance screen
Speaker Distance settings do not affect Sacd playback
Channel Level
Move the cursor left to go back to
Connections Setup
Link Setup
Audio Out
Auto Select Play
Default setting 5.1 Channel
DVD-Audio Out
Additional information Chapter
Additional information
Taking care of your player and discs
Additional information
Standard TV users
Resetting the player
Screen sizes and disc formats
Widescreen TV users
DTS CD
Additional information About the audio output settings
DTS*2
Additional information About the Hdmi output settings
DTS
DTS CD
Hdmi Ver .1 Incompatible with
Hdmi output with DVD-Audio sources
Channel compatible*1
Hdmi Ver .1 DVD-Audio
Mpeg
Additional information About the i.LINK output settings
Country/Area, Country/Area code, Country/Area code letter
Additional information Language code list
Country/Area code list
Language Language code letter, Language code
Glossary
Link
Dynamic range
File extension
Mpeg audio
Slideshow DVD, Video CD/Super VCD
Pqls Precision Quartz Lock System rate control
Progressive scan video
Sampling frequency
General
Additional information Troubleshooting
Disc won’t play or is automatically ejected after loading
DVD/CD/Video CD/Super VCD player
This is due to differences in the audio format and is not a
Amplifier/receiver
SACDs and some DVD-Audio discs do not output digital audio
Listen through the player’s analog audio outputs
Effectiveness of TruSurround varies with the disc
Check that Linear PCM Out is set to Down Sample Off
Right or sounds incomplete
Dialog
Be made with components compatible with both DVI and High
Hdmi troubleshooting
Bandwidth Digital Content Protection Hdcp
Isn’t damaged
Component you have connected using HDMI. See Hdmi Settings
Make sure the resolution on this player matches that
On page 68 to change the Hdmi resolution
Output Mode is set to 5.1 Channel see Audio Output Mode on
Link troubleshooting
Link Check
LINK-related messages
Additional information Specifications
Pioneer Corporation