
PDR-W839 specifications
The Pioneer PDR-W839 is a sophisticated component designed for audio enthusiasts who appreciate the nostalgia and warmth of CD recording and playback technology. This versatile CD recorder combines advanced digital audio technology with user-friendly features, making it an appealing addition to any home audio setup.One of the standout features of the PDR-W839 is its ability to easily record from various sources, such as vinyl records, cassette tapes, or even through external microphones. The device is equipped with a high-quality analog-to-digital converter, which ensures that recordings maintain their integrity, capturing every nuance and detail of the audio source. This feature positions the PDR-W839 as an excellent tool for archiving old audio content into modern formats.
The PDR-W839 supports a wide range of CD formats, including CD-R and CD-RW, allowing users to create permanent or rewritable discs based on their needs. The process of recording is streamlined through an intuitive interface that allows for easy track selection and disc management. Users can easily edit tracks or create seamless transitions between songs, offering a personalized touch to their recordings.
Another notable characteristic is its dual digital audio inputs, including optical and coaxial connections, enabling users to connect various digital devices for high-fidelity recording. This ensures that recordings capture the best possible sound quality, minimizing any loss during the transfer process.
In terms of playback, the Pioneer PDR-W839 boasts robust sound quality, with support for various playback formats. The device features advanced error correction technology, ensuring smooth playback even when the discs are less than perfect. Users can enjoy their recordings with clarity, experiencing music as it was meant to be heard.
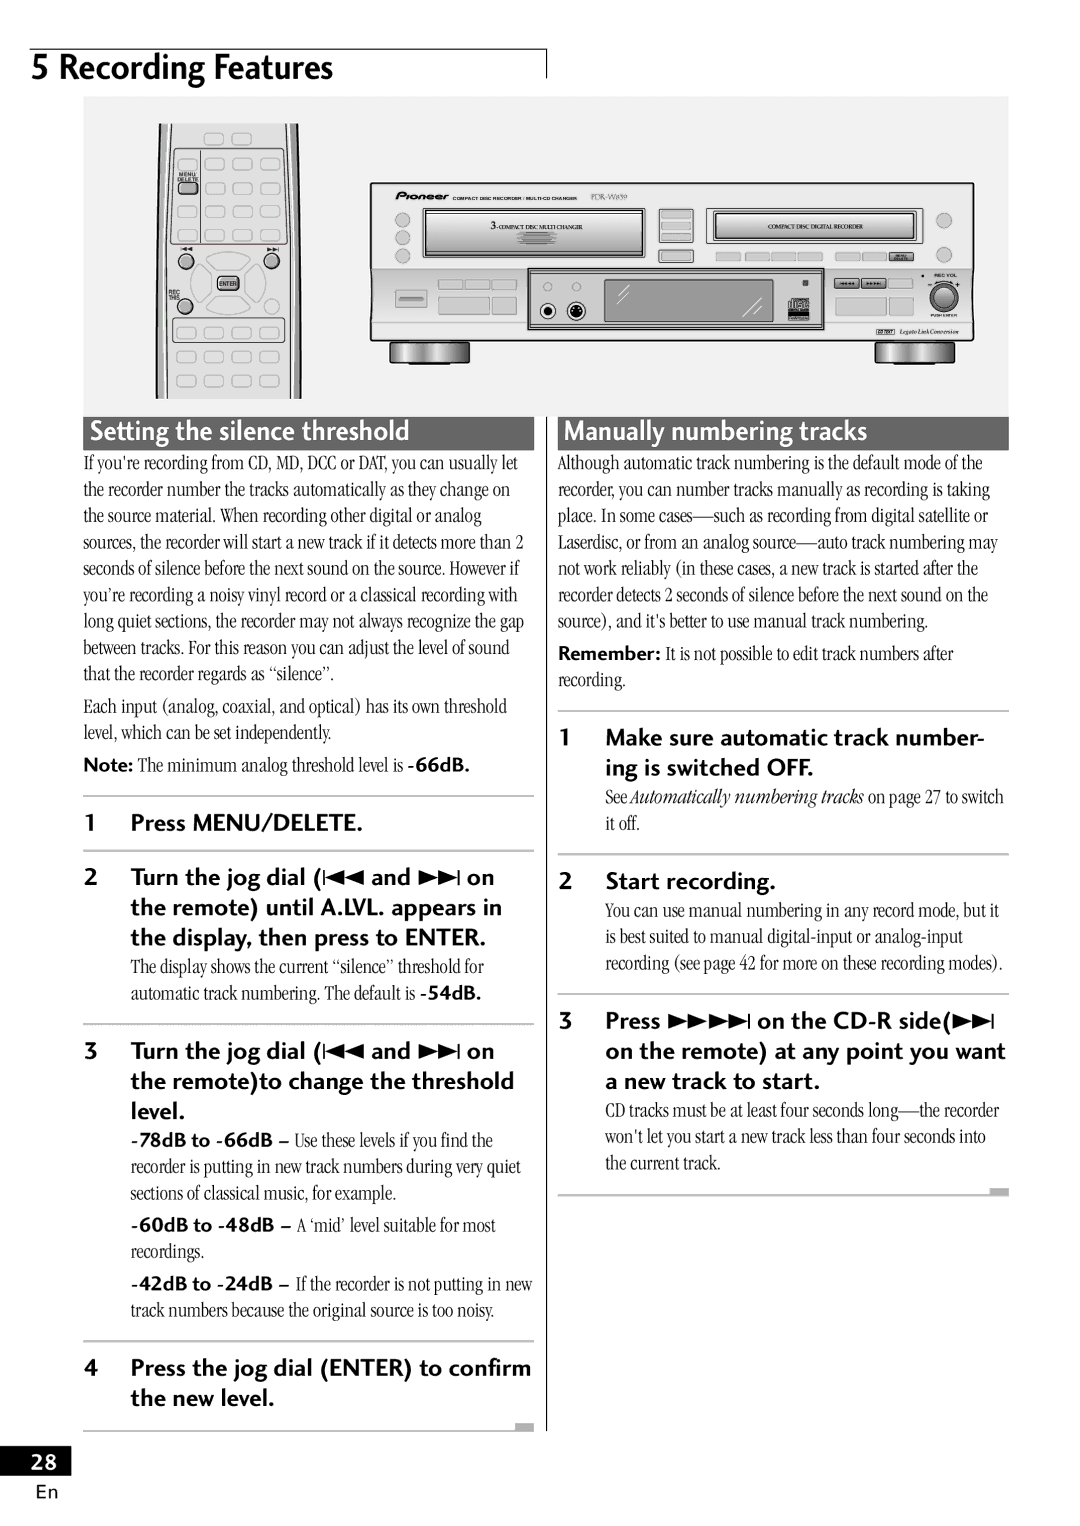
Additionally, the PDR-W839 is equipped with a convenient LCD display that provides essential information during operation, such as track number and remaining time. The user-friendly remote control allows for easy navigation through menus and settings, offering flexibility in how users interact with their audio library.
Overall, the Pioneer PDR-W839 stands out for its combination of high-quality recording capabilities, multiple connectivity options, and user-friendly design. This makes it an invaluable asset for anyone looking to preserve and enjoy their audio collections in a modern format.