Fine Tuning Your Surround Sound
Personalizing Your Surround Sound
This receiver will make the necessary speakers settings automatically so you can use it to get enjoyable sur- round sound without doing anything, but making more exact settings here will give you finer surround sound.
For better surround sound complete the instructions that follow the speaker settings. Use the first two steps on this page and continue on page 30. In this way you can get maximum performance out of the receiver.
For best results, start with Front speakers setting mode and make your initial adjustments in the order described below.
The current settings are displayed automatically.
•Front speakers setting mode (page 30)
Use to specify the size and configuration of the FRONT speakers you have connected.
•Center speaker setting mode (page 30)
Use to specify the size and configuration of the CENTER speaker you have connected.
•Surround speaker setting mode (page 30) Use to specify the size and configuration of the SURROUND speakers you have connected.
•Subwoofer setting mode (page 30)
English
You only need to do these settings once (unless you change the placement of your current speaker system or add new speakers, etc.). The following pages offer a more detailed description of the settings available for each mode. The default setting is also shown on each page.
1 | RECEIVER |
|
| SOURCE |
|
| SIGNAL SELECT |
|
|
| |
|
|
|
| SLEEP |
|
| DVD | TV/SAT | FRONT |
|
|
|
|
|
| DIMMER |
|
| DVR/ VCR | FM / AM |
|
|
|
| AUTO | SURROUND ADVANCED | SOUND |
| |
| MODE |
| |||
2 | SETUP | TEST TONE | CH_SELECT | ROOM |
|
SETUP |
| ||||
|
|
| ENTER | 3 | |
| MUTE |
|
|
| |
|
| MASTER |
| ||
|
| VOLUME |
|
| |
| TOP MENU | DISPLAY | T.EDIT MENU |
| |
| DTV MENU | TUNE |
|
| |
|
|
|
|
| |
| ST |
| ST |
|
|
|
| ENTER |
|
| |
| AUDIO | TUNE | SUBTITLE |
| |
|
|
|
| ||
|
|
| GUIDE |
| |
| CH RETURN | DTV ON /OFF | DTV INFO |
| |
|
| CLASS | MPX | D.ACCESS |
|
ENTER
![]() 10
10
TV CONTROL
INPUT
CHANNEL SELECT CHANNEL VOLUME
RECEIVER
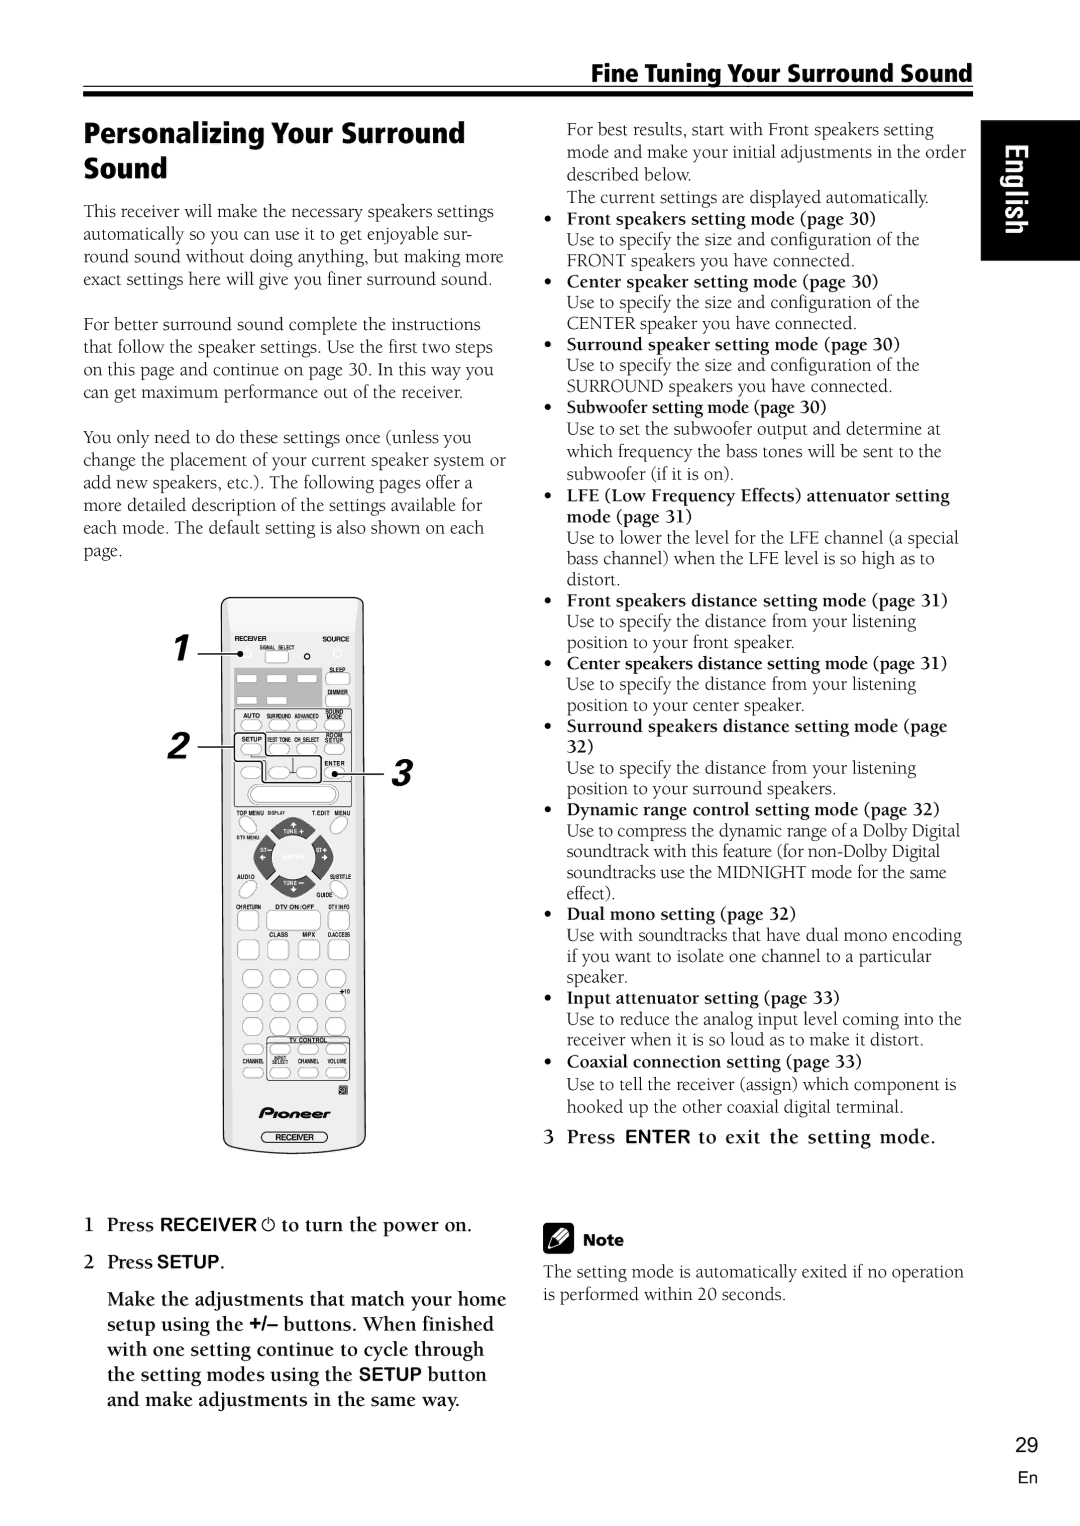
1Press RECEIVER ![]() to turn the power on.
to turn the power on.
2Press SETUP.
Make the adjustments that match your home setup using the +/– buttons. When finished with one setting continue to cycle through the setting modes using the SETUP button and make adjustments in the same way.
Use to set the subwoofer output and determine at which frequency the bass tones will be sent to the subwoofer (if it is on).
•LFE (Low Frequency Effects) attenuator setting mode (page 31)
Use to lower the level for the LFE channel (a special bass channel) when the LFE level is so high as to distort.
•Front speakers distance setting mode (page 31) Use to specify the distance from your listening position to your front speaker.
•Center speakers distance setting mode (page 31) Use to specify the distance from your listening position to your center speaker.
•Surround speakers distance setting mode (page 32)
Use to specify the distance from your listening position to your surround speakers.
•Dynamic range control setting mode (page 32) Use to compress the dynamic range of a Dolby Digital soundtrack with this feature (for
•Dual mono setting (page 32)
Use with soundtracks that have dual mono encoding if you want to isolate one channel to a particular speaker.
•Input attenuator setting (page 33)
Use to reduce the analog input level coming into the receiver when it is so loud as to make it distort.
•Coaxial connection setting (page 33)
Use to tell the receiver (assign) which component is hooked up the other coaxial digital terminal.
3 Press ENTER to exit the setting mode.
The setting mode is automatically exited if no operation is performed within 20 seconds.
29
En
