DLP® Projector – User’s Manual
Computer Menu
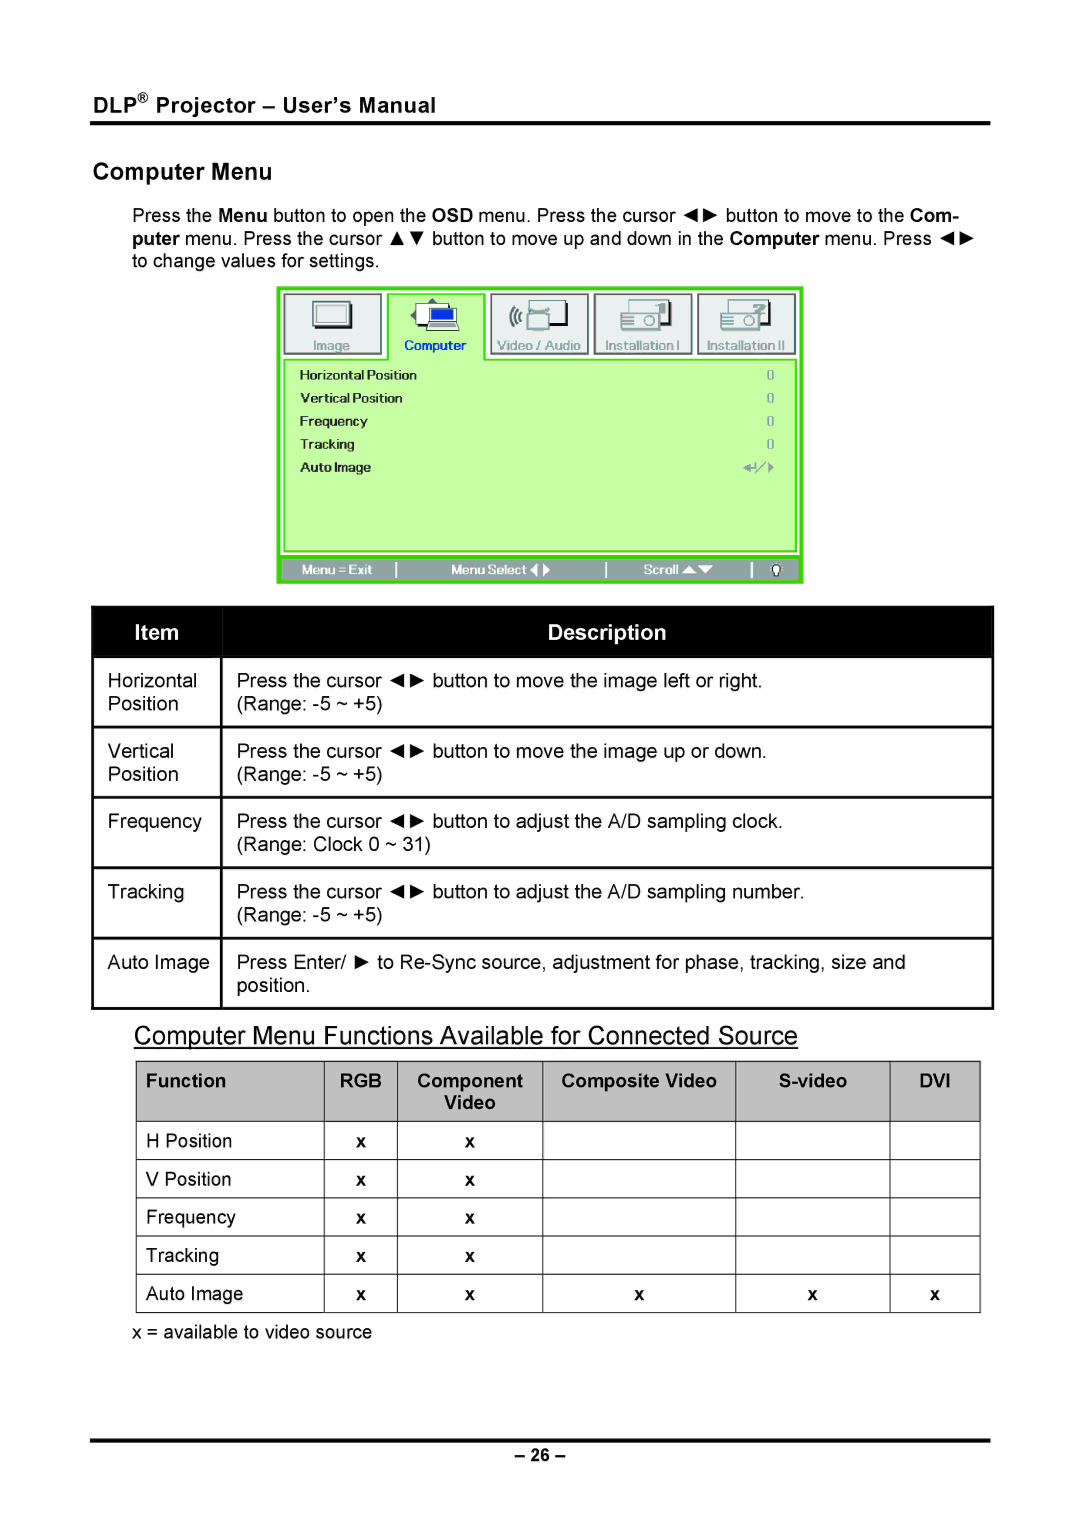
Press the Menu button to open the OSD menu. Press the cursor ◄► button to move to the Com- puter menu. Press the cursor ▲▼ button to move up and down in the Computer menu. Press ◄► to change values for settings.
Item | Description |
|
|
Horizontal | Press the cursor ◄► button to move the image left or right. |
Position | (Range: |
|
|
Vertical | Press the cursor ◄► button to move the image up or down. |
Position | (Range: |
|
|
Frequency | Press the cursor ◄► button to adjust the A/D sampling clock. |
| (Range: Clock 0 ~ 31) |
|
|
Tracking | Press the cursor ◄► button to adjust the A/D sampling number. |
| (Range: |
|
|
Auto Image | Press Enter/ ► to |
| position. |
|
|
Computer Menu Functions Available for Connected Source
Function | RGB | Component | Composite Video | DVI | |
|
| Video |
|
|
|
H Position | x | x |
|
|
|
|
|
|
|
|
|
V Position | x | x |
|
|
|
|
|
|
|
|
|
Frequency | x | x |
|
|
|
|
|
|
|
|
|
Tracking | x | x |
|
|
|
|
|
|
|
|
|
Auto Image | x | x | x | x | x |
|
|
|
|
|
|
x = available to video source
– 26 –
