DLP® Projector – User’s Manual
Video/Audio Menu
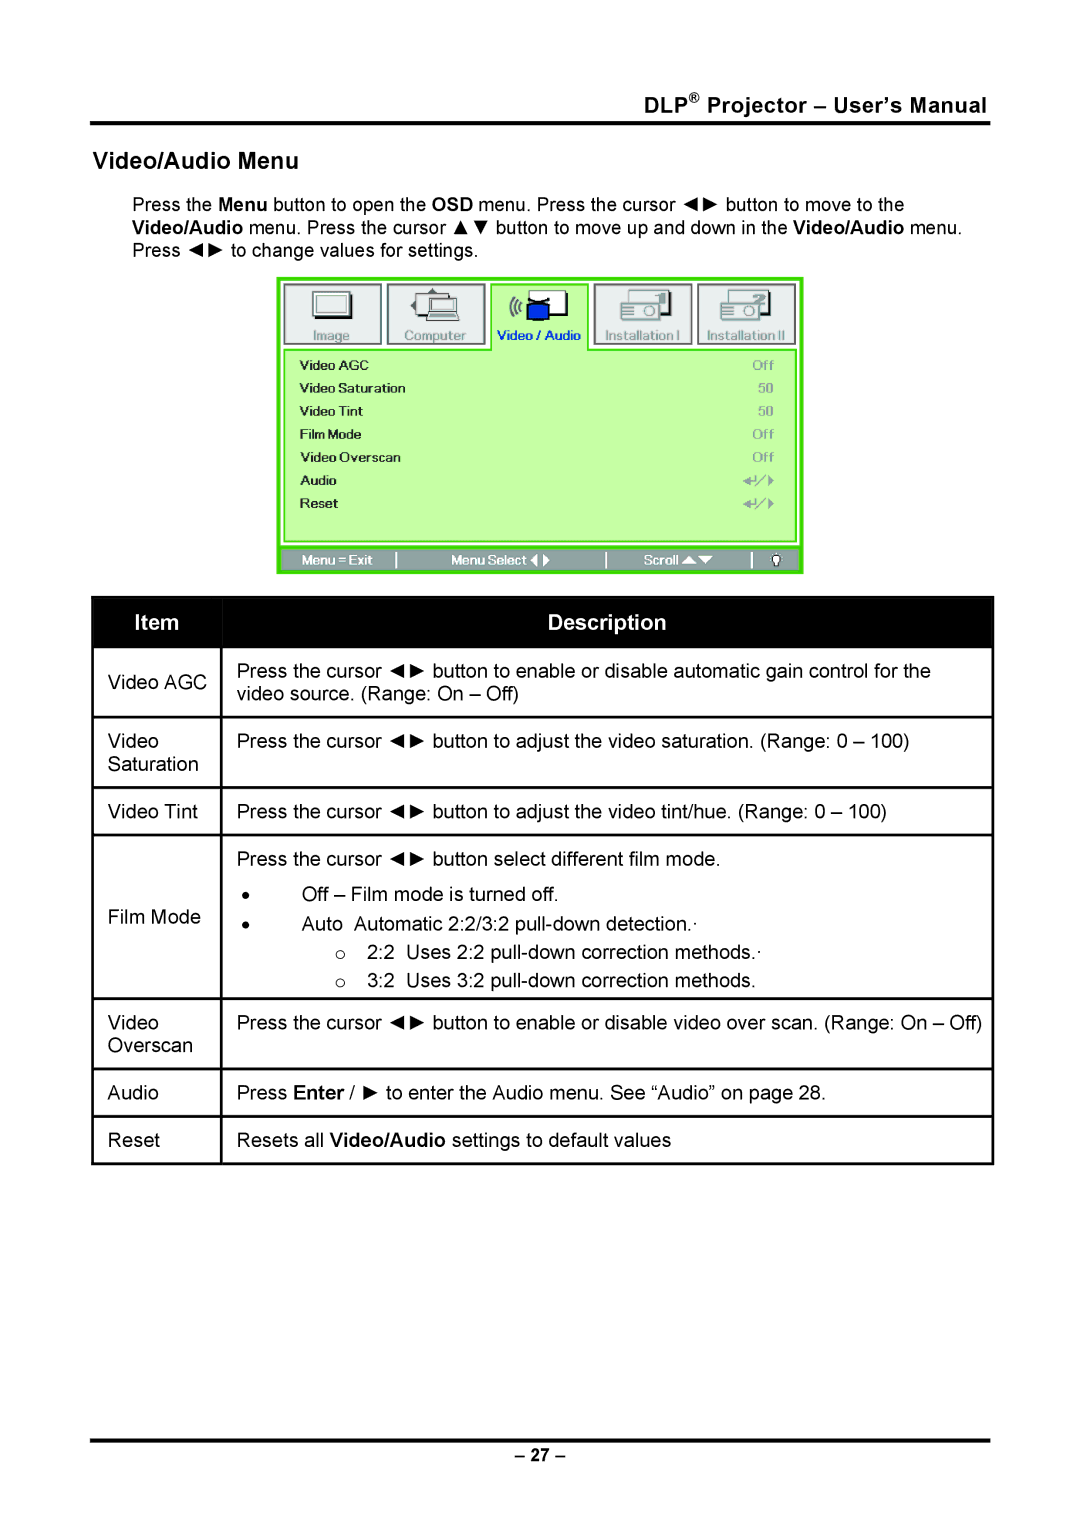
Press the Menu button to open the OSD menu. Press the cursor ◄► button to move to the Video/Audio menu. Press the cursor ▲▼ button to move up and down in the Video/Audio menu. Press ◄► to change values for settings.
| Item |
|
|
|
|
| Description |
|
|
|
|
|
|
| |||
| Video AGC |
|
| Press the cursor ◄► button to enable or disable automatic gain control for the |
| |||
|
|
| video source. (Range: On – Off) |
| ||||
|
|
|
|
| ||||
|
|
|
|
|
| |||
| Video |
|
| Press the cursor ◄► button to adjust the video saturation. (Range: 0 – 100) |
| |||
| Saturation |
|
|
|
|
|
|
|
|
|
|
|
|
| |||
| Video Tint |
|
| Press the cursor ◄► button to adjust the video tint/hue. (Range: 0 – 100) |
| |||
|
|
|
|
|
| |||
|
|
|
| Press the cursor ◄► button select different film mode. |
| |||
| Film Mode |
|
| • | Off – Film mode is turned off. |
| ||
|
|
| • | Auto | Automatic 2:2/3:2 |
| ||
|
|
|
|
| ||||
|
|
|
|
| o | 2:2 | Uses 2:2 |
|
|
|
|
|
| o | 3:2 | Uses 3:2 |
|
| Video |
|
| Press the cursor ◄► button to enable or disable video over scan. (Range: On – Off) |
| |||
| Overscan |
|
|
|
|
|
|
|
|
|
|
|
|
| |||
| Audio |
|
| Press Enter / ► to enter the Audio menu. See “Audio” on page 28. |
| |||
|
|
|
|
|
| |||
| Reset |
|
| Resets all Video/Audio settings to default values |
| |||
|
|
|
|
|
|
|
|
|
– 27 –
