For Macintosh® Users: | MAC |
|
•Transferring and Viewing the Pictures and Video Clips on Mac
![]()
![]()
![]()
![]()
![]()
![]() NOTE:
NOTE:
For MAC user, directly
1.Turn on the camera
2.Set the Driver Type to Mass Storage mode.
3.Connect the camera with MAC via USB cable, the systems will automatically recognize the MASS
STORAGE drive. (System will automatically a Mass Storage named “untitled”)
NOTE:
This Drive name will vary from different version of MAC OS system.
4.Double click the folder “untitled”
5.Double click the folder “100 Media” to enter
6.You can copy the pictures and video clips from the
9 Using the Camera as a Web Cam
•Setting up NetMeeting
![]()
![]()
![]()
![]()
![]()
![]() NOTE:
NOTE:
Set the Driver Type to WDM before starting NetMeeting, for further detail please refer to Mass Storage/WDM.
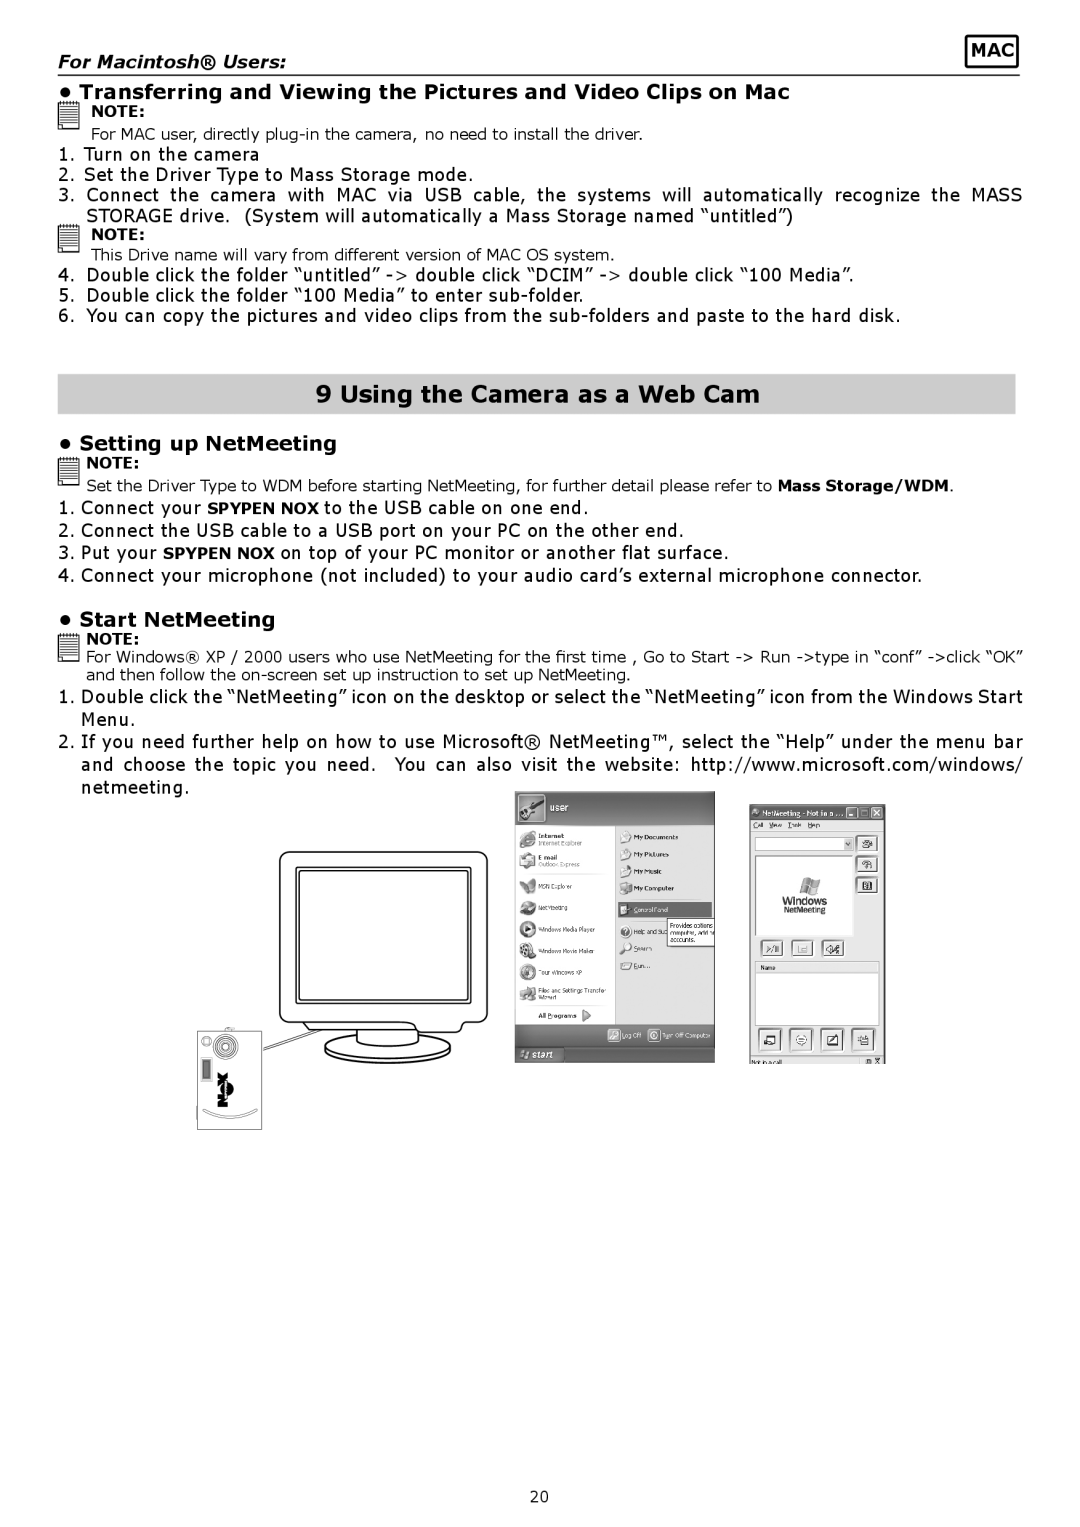
1.Connect your SPYPEN NOX to the USB cable on one end.
2.Connect the USB cable to a USB port on your PC on the other end.
3.Put your SPYPEN NOX on top of your PC monitor or another flat surface.
4.Connect your microphone (not included) to your audio card’s external microphone connector.
•Start NetMeeting
![]()
![]()
![]()
![]()
![]()
![]() NOTE:
NOTE:
![]() For Windows® XP / 2000 users who use NetMeeting for the first time , Go to Start
For Windows® XP / 2000 users who use NetMeeting for the first time , Go to Start
and then follow the
1.Double click the “NetMeeting” icon on the desktop or select the “NetMeeting” icon from the Windows Start Menu.
2.If you need further help on how to use Microsoft® NetMeeting™, select the “Help” under the menu bar and choose the topic you need. You can also visit the website: http://www.microsoft.com/windows/ netmeeting.
20