Diagnostics
Mic (Microphone) Test
You may test the SoundStation2 Avaya’s microphones to ensure that they are working optimally.
1.Press the Menu button  , choose Admin Setup and press
the Select button ![]()
![]() , enter passcode (if required) and press the ENTER soft key. Choose Diagnostics using the Scroll-
, enter passcode (if required) and press the ENTER soft key. Choose Diagnostics using the Scroll-
ing buttons ![]() , and press the
, and press the
Select button ![]()
![]() .
.
2.Choose Mic Test using the
Scrolling buttons ![]() , and press
, and press
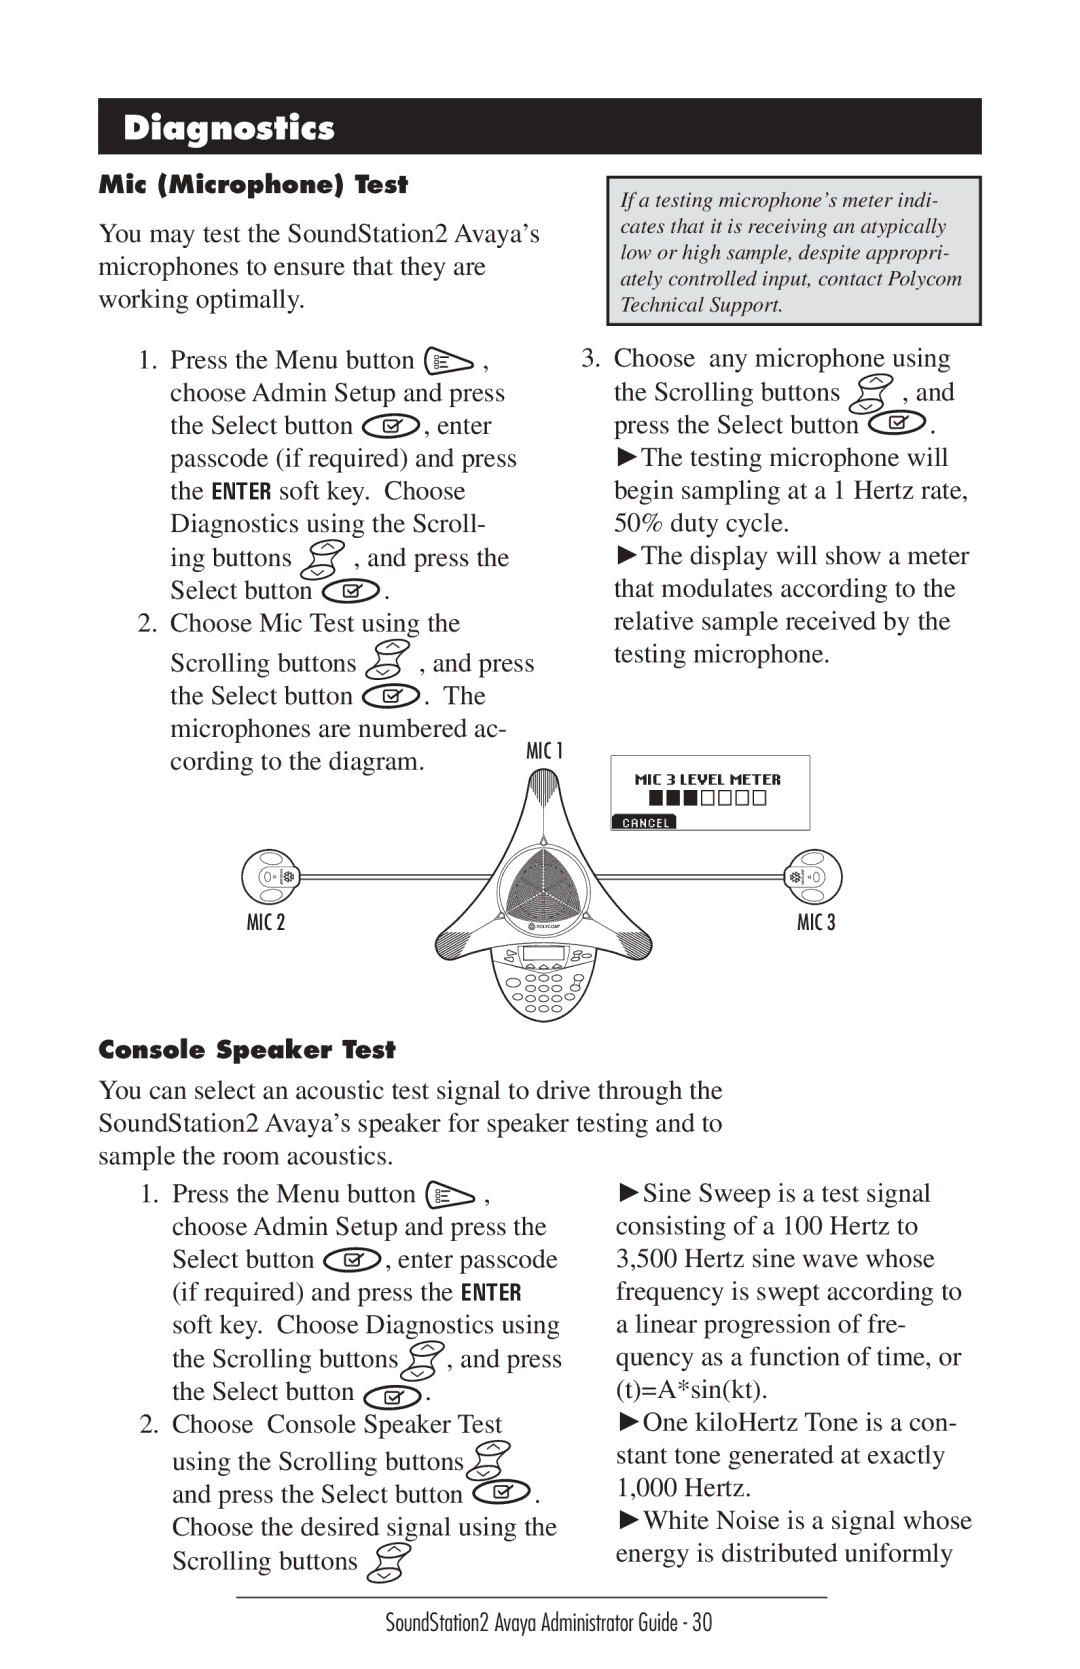
the Select button ![]() . The microphones are numbered ac- cording to the diagram.
. The microphones are numbered ac- cording to the diagram.
MIC 2
If a testing microphone’s meter indi- cates that it is receiving an atypically low or high sample, despite appropri- ately controlled input, contact Polycom Technical Support.
3.Choose any microphone using
the Scrolling buttons ![]() , and
, and
press the Select button ![]() . ►The testing microphone will begin sampling at a 1 Hertz rate,
. ►The testing microphone will begin sampling at a 1 Hertz rate,
50% duty cycle.
►The display will show a meter that modulates according to the relative sample received by the testing microphone.
MIC 3 LEVEL METER
CANCEL
MIC 3
Console Speaker Test
You can select an acoustic test signal to drive through the SoundStation2 Avaya’s speaker for speaker testing and to sample the room acoustics.
1. Press the Menu button | , |
| ►Sine Sweep is a test signal | |
choose Admin Setup and press the | consisting of a 100 Hertz to | |||
Select button | , enter passcode | 3,500 Hertz sine wave whose | ||
(if required) and press the ENTER |
| frequency is swept according to | ||
soft key. Choose Diagnostics using | a linear progression of fre- | |||
the Scrolling buttons | , and press | quency as a function of time, or | ||
the Select button |
| . |
| (t)=A*sin(kt). |
2. Choose Console Speaker Test |
| ►One kiloHertz Tone is a con- | ||
using the Scrolling buttons |
| stant tone generated at exactly | ||
and press the Select button | . | 1,000 Hertz. | ||
Choose the desired signal using the | ►White Noise is a signal whose | |||
Scrolling buttons | energy is distributed uniformly |
| |
| SoundStation2 Avaya Administrator Guide - 30 |
