Charger Options
Dual Charger
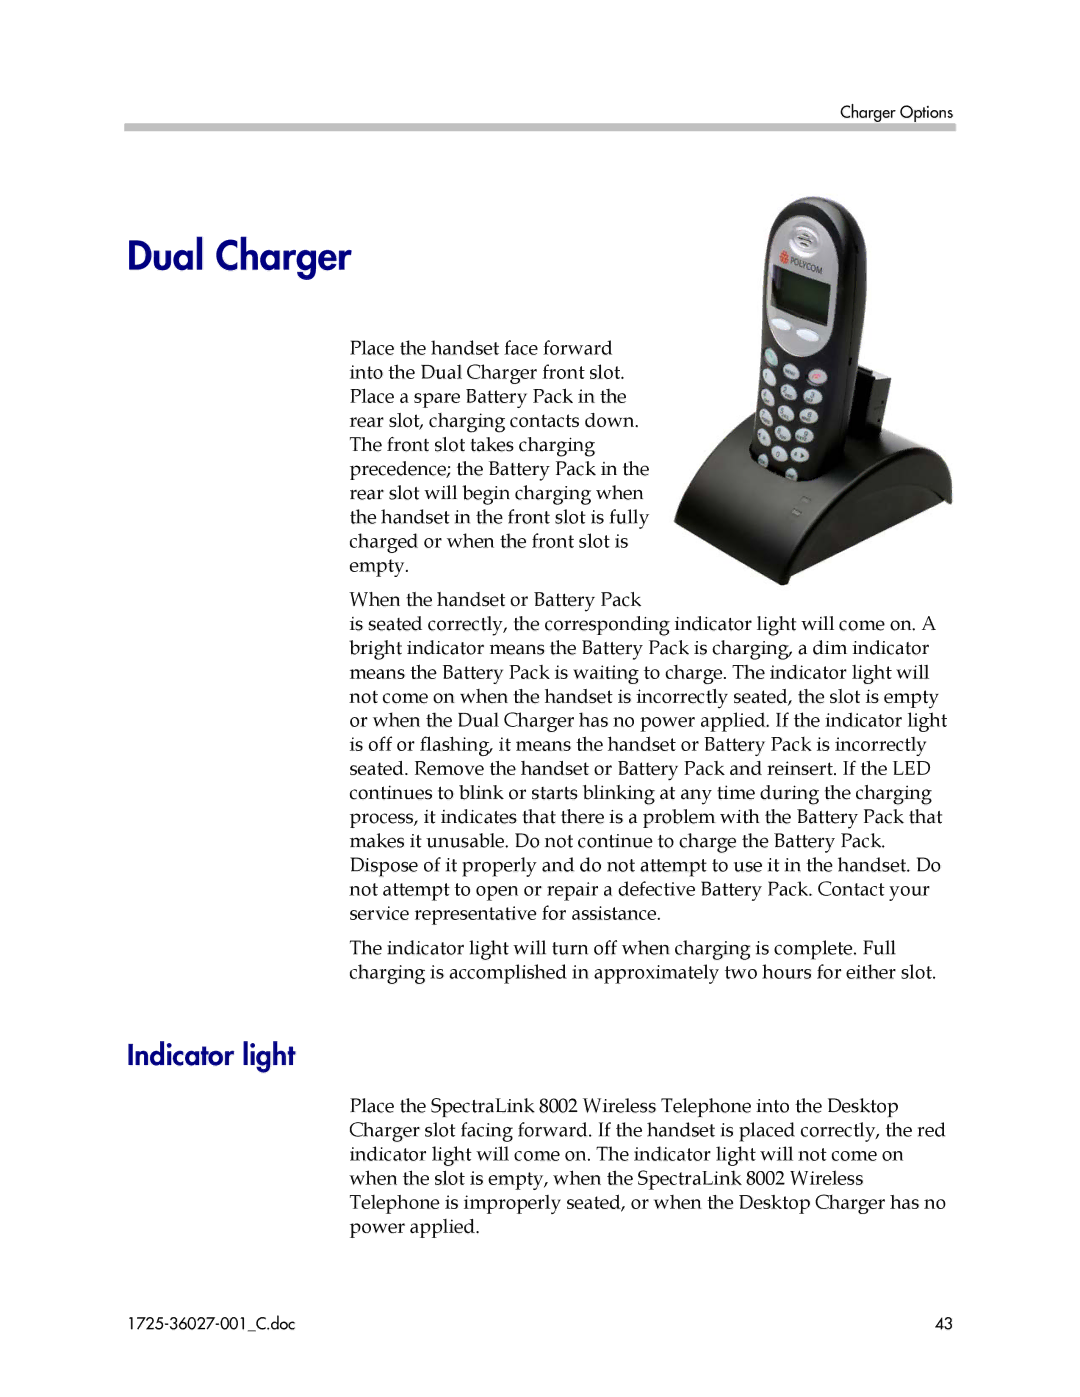
Place the handset face forward into the Dual Charger front slot. Place a spare Battery Pack in the rear slot, charging contacts down. The front slot takes charging precedence; the Battery Pack in the rear slot will begin charging when the handset in the front slot is fully charged or when the front slot is empty.
When the handset or Battery Pack
is seated correctly, the corresponding indicator light will come on. A bright indicator means the Battery Pack is charging, a dim indicator means the Battery Pack is waiting to charge. The indicator light will not come on when the handset is incorrectly seated, the slot is empty or when the Dual Charger has no power applied. If the indicator light is off or flashing, it means the handset or Battery Pack is incorrectly seated. Remove the handset or Battery Pack and reinsert. If the LED continues to blink or starts blinking at any time during the charging process, it indicates that there is a problem with the Battery Pack that makes it unusable. Do not continue to charge the Battery Pack. Dispose of it properly and do not attempt to use it in the handset. Do not attempt to open or repair a defective Battery Pack. Contact your service representative for assistance.
The indicator light will turn off when charging is complete. Full charging is accomplished in approximately two hours for either slot.
Indicator light
Place the SpectraLink 8002 Wireless Telephone into the Desktop Charger slot facing forward. If the handset is placed correctly, the red indicator light will come on. The indicator light will not come on when the slot is empty, when the SpectraLink 8002 Wireless Telephone is improperly seated, or when the Desktop Charger has no power applied.
| 43 |
