appropriate position of sensor block. The default height of near end sensor is the lowest position.
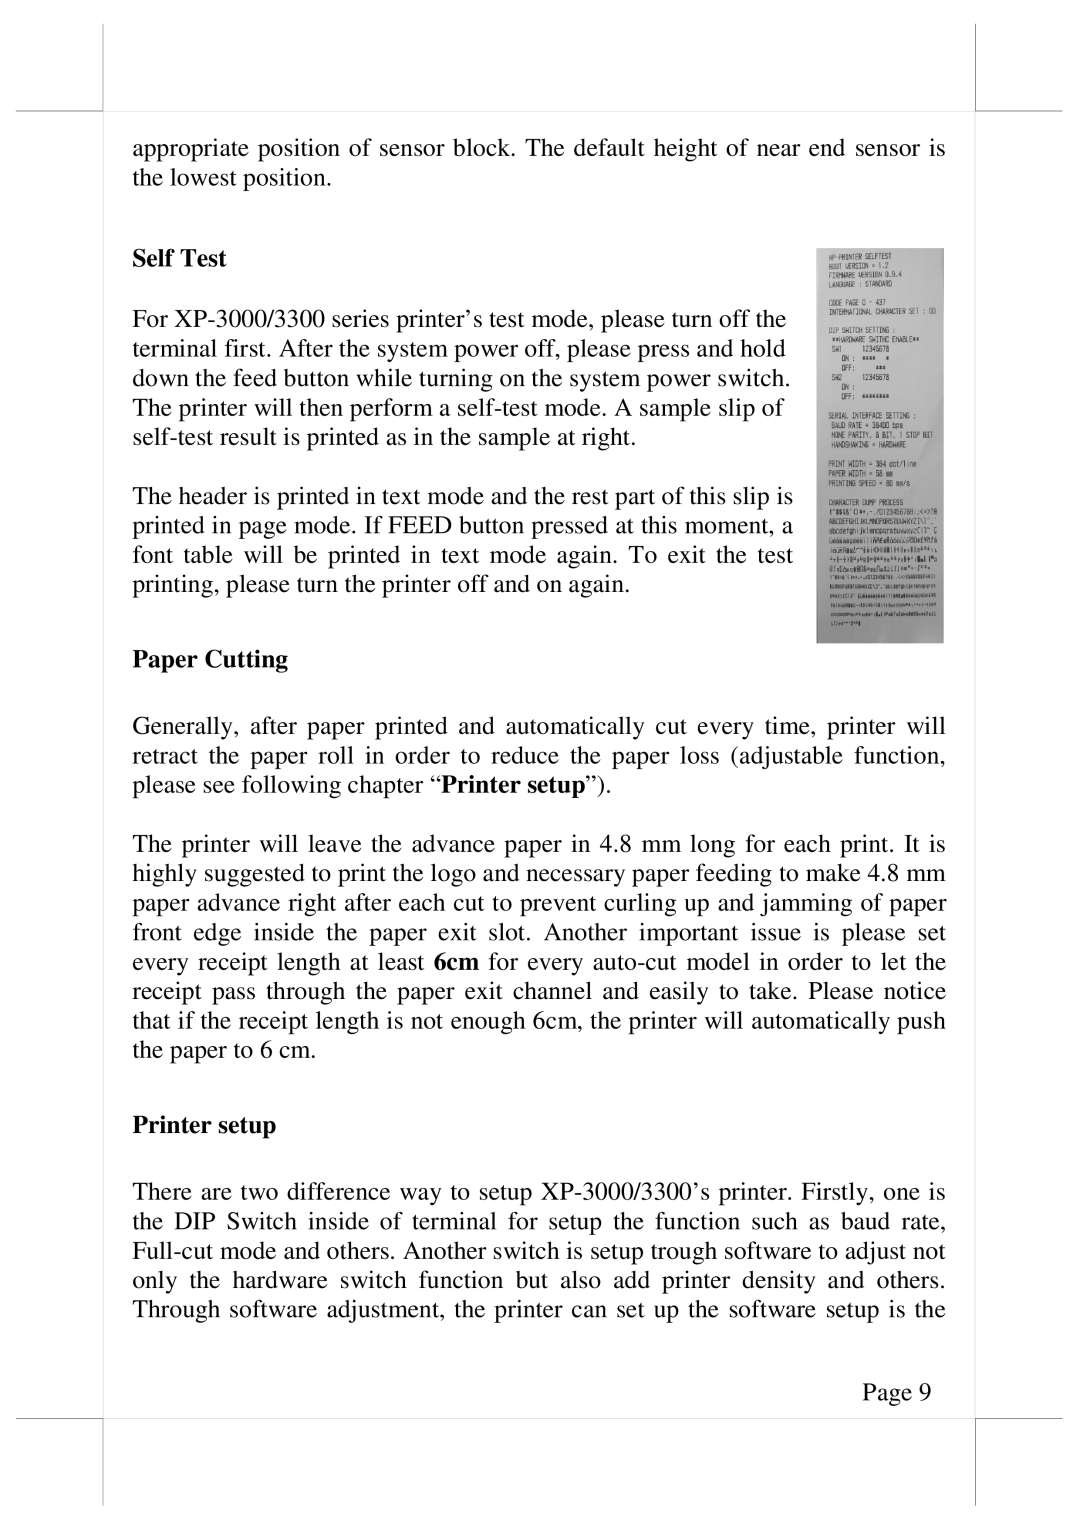
Self Test
For
The header is printed in text mode and the rest part of this slip is printed in page mode. If FEED button pressed at this moment, a font table will be printed in text mode again. To exit the test printing, please turn the printer off and on again.
Paper Cutting
Generally, after paper printed and automatically cut every time, printer will retract the paper roll in order to reduce the paper loss (adjustable function, please see following chapter “Printer setup”).
The printer will leave the advance paper in 4.8 mm long for each print. It is highly suggested to print the logo and necessary paper feeding to make 4.8 mm paper advance right after each cut to prevent curling up and jamming of paper front edge inside the paper exit slot. Another important issue is please set every receipt length at least 6cm for every
Printer setup
There are two difference way to setup
Page 9