Assembly
Tools required for assembly:
crane with hoist; or forklift 9/16", 7/16" and 1/2" wrenches level
1.Remove all wood crating from around the shaper.
2.Remove the bolts securing the machine to the skid.
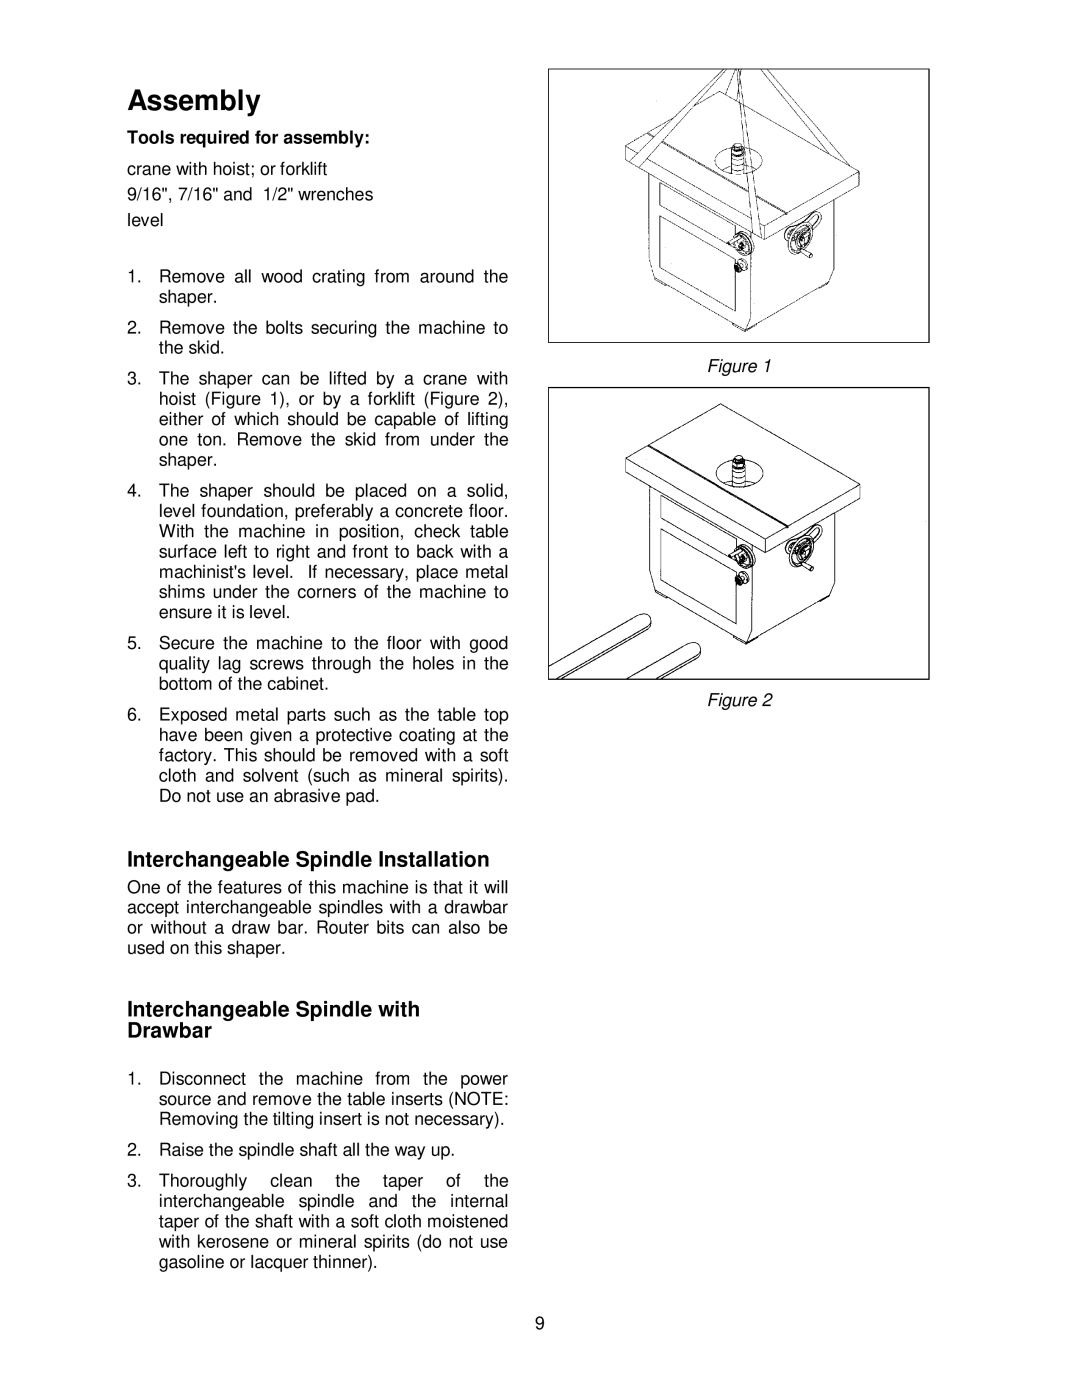
3.The shaper can be lifted by a crane with hoist (Figure 1), or by a forklift (Figure 2), either of which should be capable of lifting one ton. Remove the skid from under the shaper.
4.The shaper should be placed on a solid, level foundation, preferably a concrete floor. With the machine in position, check table surface left to right and front to back with a machinist's level. If necessary, place metal shims under the corners of the machine to ensure it is level.
5.Secure the machine to the floor with good quality lag screws through the holes in the bottom of the cabinet.
6.Exposed metal parts such as the table top have been given a protective coating at the factory. This should be removed with a soft cloth and solvent (such as mineral spirits). Do not use an abrasive pad.
Interchangeable Spindle Installation
One of the features of this machine is that it will accept interchangeable spindles with a drawbar or without a draw bar. Router bits can also be used on this shaper.
Interchangeable Spindle with
Drawbar
1.Disconnect the machine from the power source and remove the table inserts (NOTE: Removing the tilting insert is not necessary).
2.Raise the spindle shaft all the way up.
3.Thoroughly clean the taper of the interchangeable spindle and the internal taper of the shaft with a soft cloth moistened with kerosene or mineral spirits (do not use gasoline or lacquer thinner).
9
Figure 1
Figure 2