X . C A R E A N D M A I N T E N A N C E
CLEANING INSTRUCTIONS
CAUTION! Never hose off your Jazzy or place it in direct contact with water. Your Jazzy has a painted, ABS plastic body shroud that allows it to be easily wiped clean with a damp cloth.
CAUTION! Never use any chemicals to clean a vinyl seat, as they may cause the seat to become slippery or dry out and crack. Use soapy water and dry the seat thoroughly.
ANTI-SCUFF DECAL APPLICATION
Your Jazzy comes with contoured
41.These decals help protect the rear corners of your Jazzy’s body shroud. They are made from translucent, textured polyurethane plastic that provides a tough, attractive finish. Each piece has an adhesive back for easy application.
To apply your anti-scuff decals:
1.Peel the backing away from the
2.Apply the decal along the contour of the shroud as shown in figure 41.
TIRES AND TUBES
If your Jazzy 1100 is equipped with pneumatic tires, you should check the air pressure at least once a week. This prolongs the life of your tires and helps ensure the perfect operation of your chair. If you should have a flat tire, replace the tube. Replacement tires and tubes are readily available at the pro- vider shop where you purchased your Jazzy 1100.
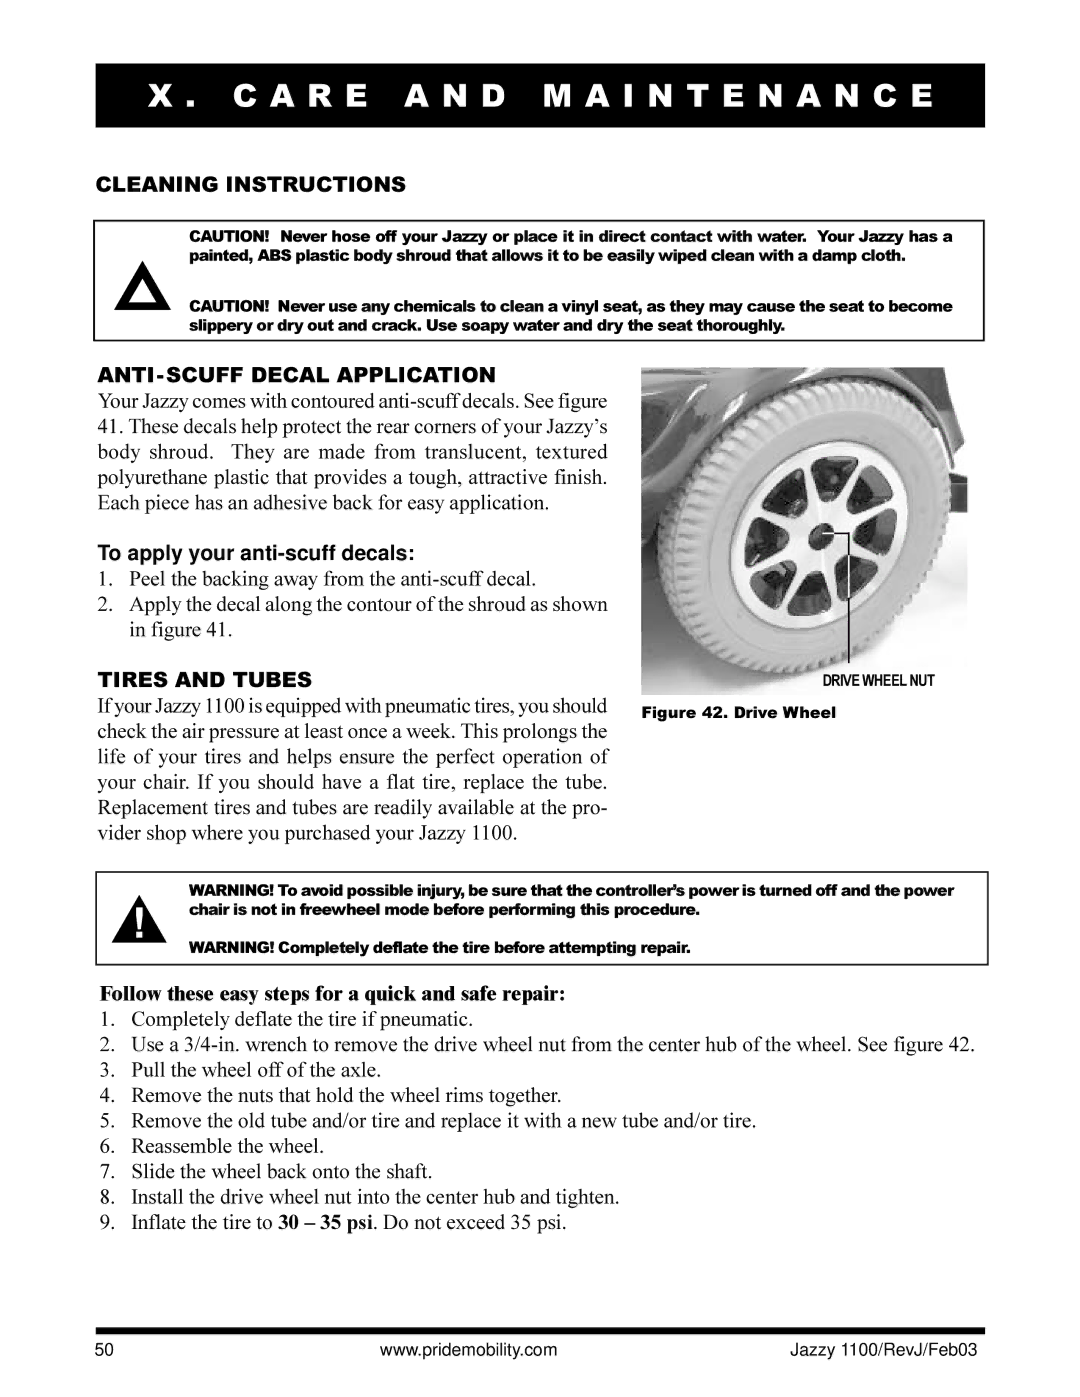
DRIVE WHEEL NUT
Figure 42. Drive Wheel
WARNING! To avoid possible injury, be sure that the controller’s power is turned off and the power chair is not in freewheel mode before performing this procedure.
WARNING! Completely deflate the tire before attempting repair.
Follow these easy steps for a quick and safe repair:
1.Completely deflate the tire if pneumatic.
2.Use a
3.Pull the wheel off of the axle.
4.Remove the nuts that hold the wheel rims together.
5.Remove the old tube and/or tire and replace it with a new tube and/or tire.
6.Reassemble the wheel.
7.Slide the wheel back onto the shaft.
8.Install the drive wheel nut into the center hub and tighten.
9.Inflate the tire to 30 – 35 psi. Do not exceed 35 psi.
50 | www.pridemobility.com | Jazzy 1100/RevJ/Feb03 |
