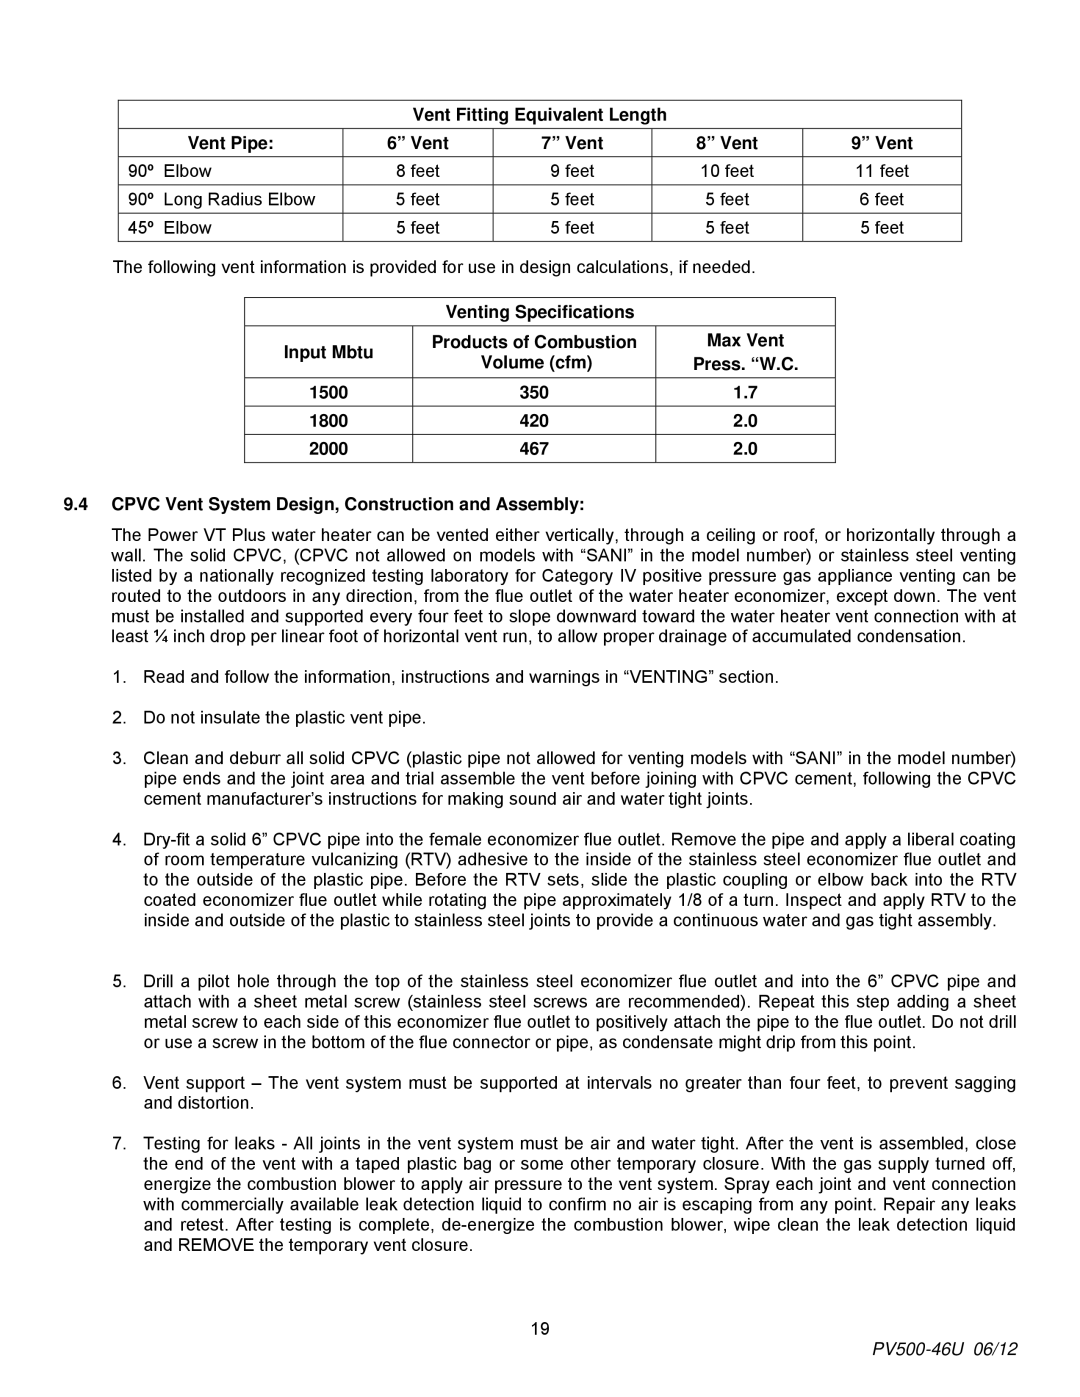
150, 180 specifications
PVI Industries has established itself as a prominent manufacturer in the water heating industry, particularly known for its range of commercial water heaters. Among their well-regarded products is the PVI Industries 150,180, a robust unit engineered to meet the demanding needs of various commercial applications.The PVI Industries 150,180 is designed to deliver high-efficiency performance, catering primarily to large-scale operations such as hotels, hospitals, and other facilities that require a constant supply of hot water. The unit boasts impressive heating capacity, enabling it to serve multiple points of use simultaneously. With a focus on reliability and durability, the construction of the 150,180 incorporates high-quality materials that ensure longevity even in the most challenging environments.
One of the standout features of the PVI 150,180 is its advanced heating technology. The unit utilizes a state-of-the-art gas-fired burner system, which not only ensures rapid heating but also maximizes energy efficiency. This attention to energy performance is crucial for businesses aiming to reduce operational costs and minimize their environmental impact. Furthermore, the unit supports a range of fuel types, including natural gas and propane, providing flexibility for different regional needs and preferences.
From a technological standpoint, the PVI Industries 150,180 includes an intuitive control system that allows users to monitor and adjust settings easily. This sophisticated interface provides real-time data on water temperature, operational status, and maintenance alerts, significantly enhancing user experience and system management.
Safety features are paramount in PVI’s design philosophy. The 150,180 comes equipped with multiple safety mechanisms, including a high-temperature limit switch and a pressure relief valve, ensuring safe operation and compliance with strict industry regulations.
In terms of installation, the PVI Industries 150,180 is engineered with versatility in mind. It can be installed in various configurations, making it adaptable to the spatial constraints of any facility. Maintenance is straightforward, with accessible components designed to reduce downtime and service costs.
Overall, the PVI Industries 150,180 represents a leading choice for commercial water heating solutions, characterized by its efficiency, reliability, and advanced technology, meeting the diverse needs of modern businesses while upholding the highest standards of safety and performance.

