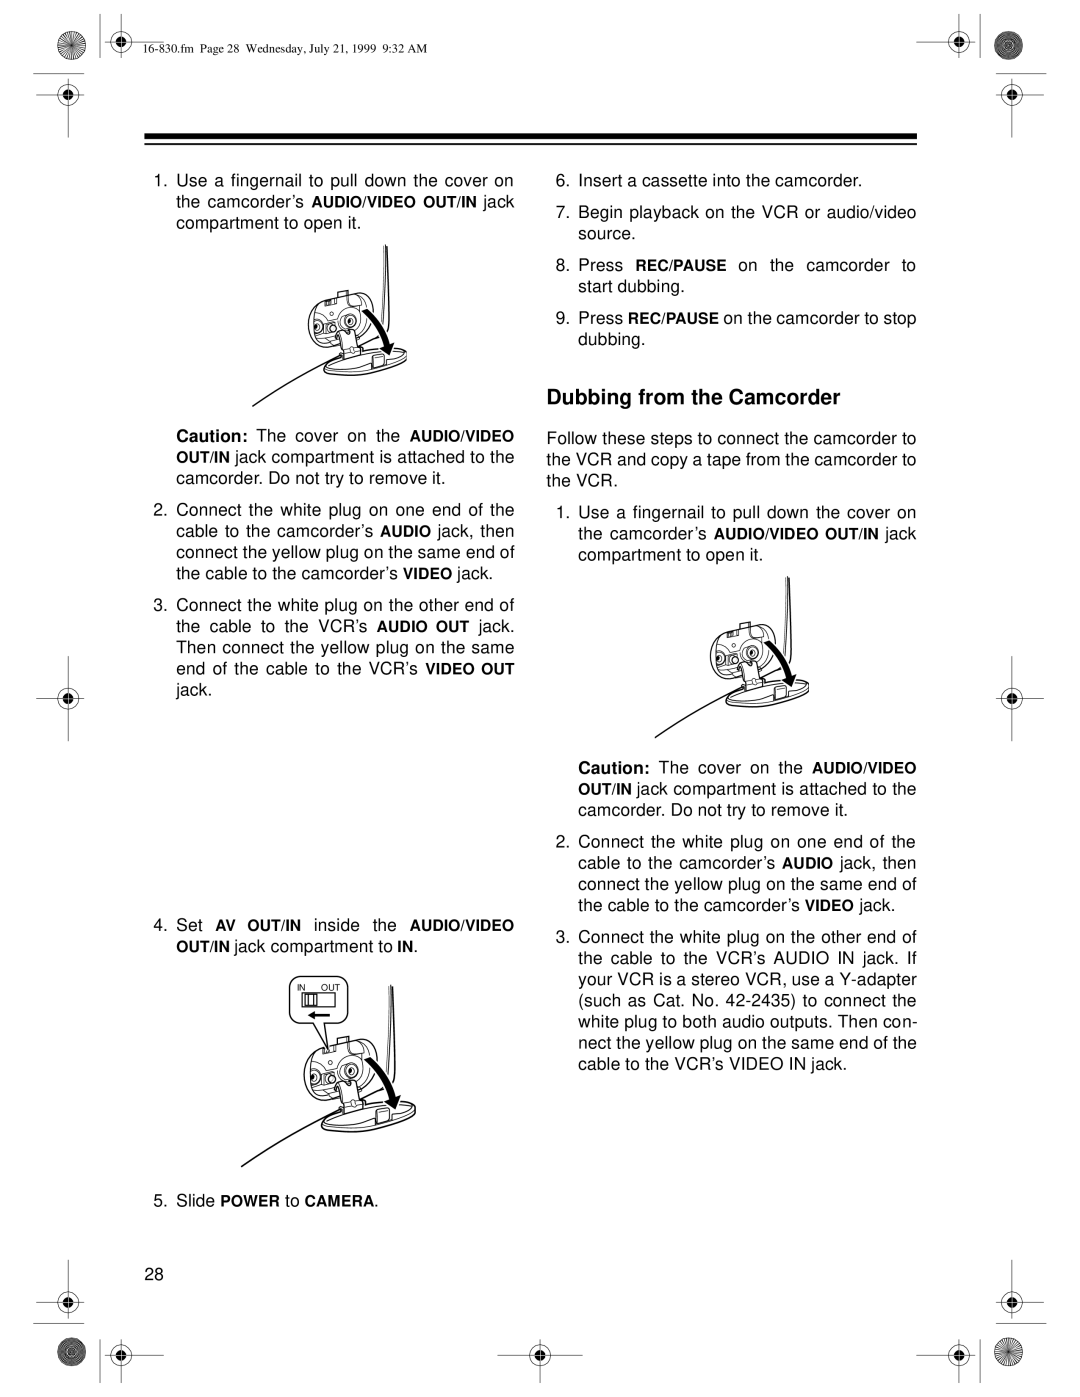
1.Use a fingernail to pull down the cover on the camcorder’s AUDIO/VIDEO OUT/IN jack compartment to open it.
Caution: The cover on the AUDIO/VIDEO OUT/IN jack compartment is attached to the camcorder. Do not try to remove it.
2.Connect the white plug on one end of the cable to the camcorder’s AUDIO jack, then connect the yellow plug on the same end of the cable to the camcorder’s VIDEO jack.
3.Connect the white plug on the other end of the cable to the VCR’s AUDIO OUT jack. Then connect the yellow plug on the same end of the cable to the VCR’s VIDEO OUT jack.
4.Set AV OUT/IN inside the AUDIO/VIDEO OUT/IN jack compartment to IN.
IN OUT
5.Slide POWER to CAMERA.
6.Insert a cassette into the camcorder.
7.Begin playback on the VCR or audio/video source.
8.Press REC/PAUSE on the camcorder to start dubbing.
9.Press REC/PAUSE on the camcorder to stop dubbing.
Dubbing from the Camcorder
Follow these steps to connect the camcorder to the VCR and copy a tape from the camcorder to the VCR.
1.Use a fingernail to pull down the cover on the camcorder’s AUDIO/VIDEO OUT/IN jack compartment to open it.
Caution: The cover on the AUDIO/VIDEO OUT/IN jack compartment is attached to the camcorder. Do not try to remove it.
2.Connect the white plug on one end of the cable to the camcorder’s AUDIO jack, then connect the yellow plug on the same end of the cable to the camcorder’s VIDEO jack.
3.Connect the white plug on the other end of the cable to the VCR’s AUDIO IN jack. If your VCR is a stereo VCR, use a
28