WARNING  SERVICING TO BE CARRIED OUT ONLY BY AN AUTHORISED PERSON

Disconnect from electricity and gas before servicing. Check appliance is safe when you have finished.

Taking care not to damage the burner electrodes, carefully lift the hotplate, from underneath disconnect the earth lead at the right hand rear from the rear cross member and withdraw the hotplate.

Reassemble in reverse order ensuring that the leads are reconnected. Take care not to damage the ignition electrodes of the burners.

It is important that the rear earthing leads are replaced when the fixing screws are refitted as they from part of the cooker earthing.

Check for correct burner operation.

3.To Remove Side Panels

Disconnect from electricity supply.

Remove the Control Panel - see 1. Pull the cooker forward. Remove the 4 retaining screws for each panel (1 at the front base, 1 on the front top and 2 at the rear).

Reassemble in reverse order.

4.To Remove Light Switch

Disconnect from electricity supply. Remove the Control Panel - see 1.

NB. The old switch may be destroyed during removal. Remove the old switch from its bezel by griping the switch body behind the control panel and twisting sharply. The switch bezel can then be removed by folding back its locking wings and pushing forward. Fit the new bezel to the control panel by first lining up the raised key on its body with the cutout in the control panel and pushing it in from the front. Assemble the new switch to the bezel by lining up the key sections and pushing home. Fit the new button by pushing in from the front.

Replace Control Panel in reverse order and test for correct operation.

7.To Remove a Thermostat

Disconnect from the electricity supply.

Remove control panel and hotplate (see 1 & 2). Open oven door. Remove oven furniture and slide out oven roof liner if fitted.

Left hand oven

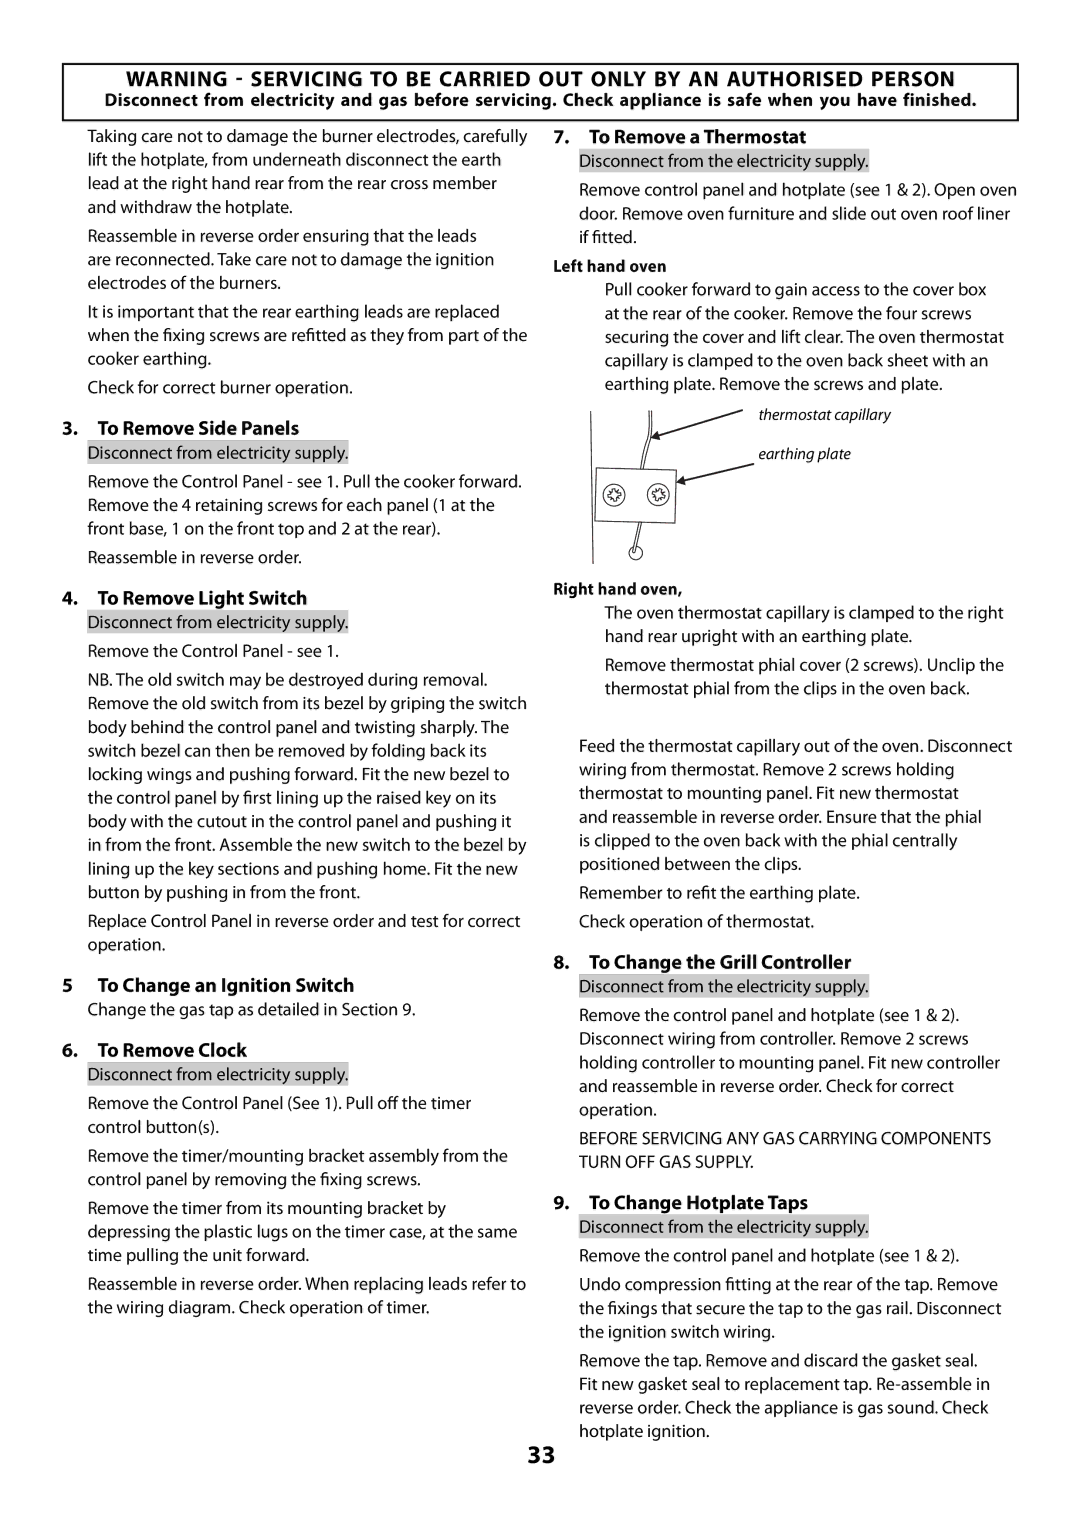
Pull cooker forward to gain access to the cover box at the rear of the cooker. Remove the four screws securing the cover and lift clear. The oven thermostat capillary is clamped to the oven back sheet with an earthing plate. Remove the screws and plate.

thermostat capillary

earthing plate

Right hand oven,

The oven thermostat capillary is clamped to the right hand rear upright with an earthing plate.

Remove thermostat phial cover (2 screws). Unclip the thermostat phial from the clips in the oven back.

Feed the thermostat capillary out of the oven. Disconnect wiring from thermostat. Remove 2 screws holding thermostat to mounting panel. Fit new thermostat

and reassemble in reverse order. Ensure that the phial is clipped to the oven back with the phial centrally positioned between the clips.

Remember to refit the earthing plate.

Check operation of thermostat.

8. To Change the Grill Controller

5To Change an Ignition Switch

Change the gas tap as detailed in Section 9.

6. To Remove Clock

Disconnect from electricity supply.

Remove the Control Panel (See 1). Pull off the timer control button(s).

Remove the timer/mounting bracket assembly from the control panel by removing the fixing screws.

Disconnect from the electricity supply.

Remove the control panel and hotplate (see 1 & 2). Disconnect wiring from controller. Remove 2 screws holding controller to mounting panel. Fit new controller and reassemble in reverse order. Check for correct operation.

BEFORE SERVICING ANY GAS CARRYING COMPONENTS TURN OFF GAS SUPPLY.

Remove the timer from its mounting bracket by depressing the plastic lugs on the timer case, at the same time pulling the unit forward.

Reassemble in reverse order. When replacing leads refer to the wiring diagram. Check operation of timer.

9.To Change Hotplate Taps

Disconnect from the electricity supply.

Remove the control panel and hotplate (see 1 & 2).

Undo compression fitting at the rear of the tap. Remove the fixings that secure the tap to the gas rail. Disconnect the ignition switch wiring.

Remove the tap. Remove and discard the gasket seal. Fit new gasket seal to replacement tap. Re-assemble in reverse order. Check the appliance is gas sound. Check hotplate ignition.

33

Page 33
Image 33
Rangemaster U109300 - 01 manual To Remove Side Panels, To Remove Light Switch, To Remove a Thermostat, To Remove Clock

U109300 - 01 specifications

The Rangemaster U109300-01 is a remarkable appliance designed to enhance cooking experiences in modern kitchens. This versatile range cooker blends functionality with aesthetic appeal, making it a popular choice for both amateur cooks and professional chefs.

One of the standout features of the U109300-01 is its dual fuel system. This technology combines the precision of gas cooking with the even heat distribution offered by electric ovens. Home chefs can enjoy the immediate heat response of gas burners on the cooktop alongside the consistent baking results delivered by the electric oven. This dual functionality not only optimizes cooking performance but also provides users with the flexibility to cook a wide variety of dishes with precision.

Another notable characteristic of this model is its spacious oven cavity. The Rangemaster U109300-01 boasts multiple cooking zones, allowing users to prepare multiple dishes simultaneously. It is equipped with multiple shelf positions and a generous capacity, making it ideal for meal prepping, baking, or entertaining guests.

In addition to its cooking power, the U109300-01 features advanced technologies designed to improve user experience and safety. The catalytic liners in the oven are specially designed to break down grease and food particles during cooking, making cleaning effortless. Furthermore, the appliance includes a flame failure device, which automatically shuts off the gas supply if a flame is not detected, ensuring safety in the kitchen.

The design of the Rangemaster U109300-01 is equally impressive. With its sleek finish and professional styling, it adds a touch of elegance to any kitchen decor. Available in a variety of colors, this range cooker can fit seamlessly into diverse kitchen aesthetics.

To enhance user convenience, the U109300-01 comes with a programmable timer and a range of cooking modes. Whether baking, roasting, grilling, or simmering, users can select the appropriate settings to achieve the best results.

In summary, the Rangemaster U109300-01 is a feature-rich range cooker that combines modern technology with a classic design. Its dual fuel system, spacious oven, advanced cleaning technologies, and safety features make it an essential addition to any kitchen, appealing to cooks of all skill levels who value performance and style.