2 Minute Tour - continued
THE MAIN (GAS) OVEN More about the oven on page 9
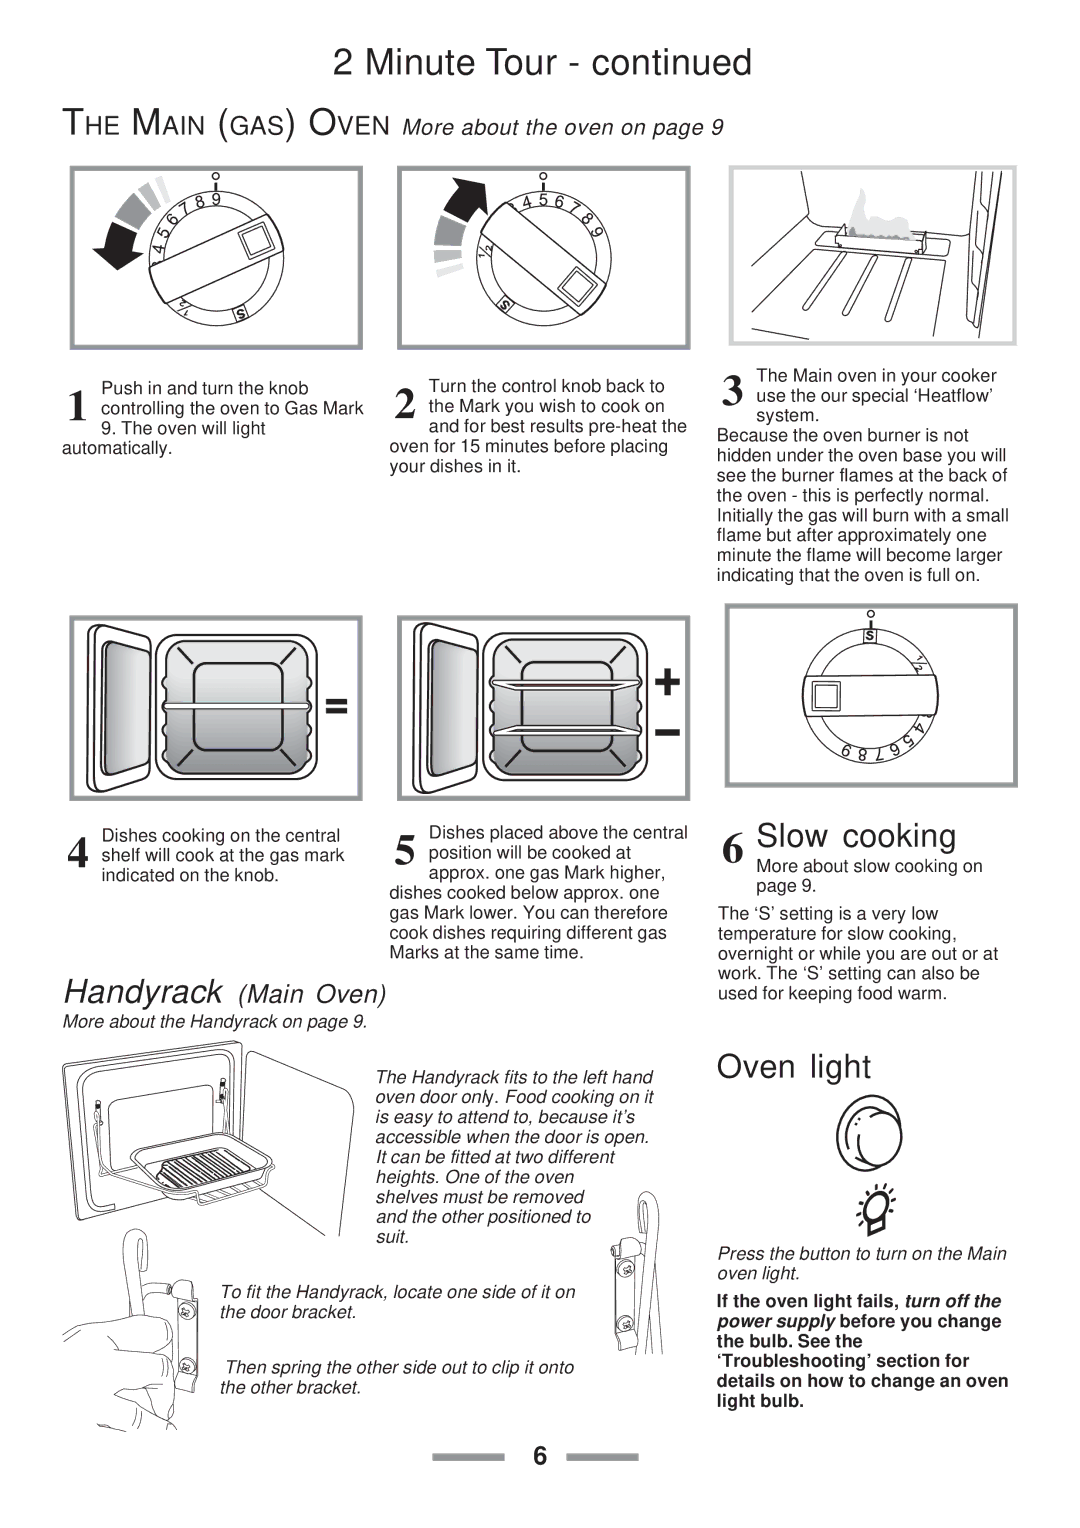
Push in and turn the knob
1 controlling the oven to Gas Mark
9.The oven will light automatically.
Dishes cooking on the central
4 shelf will cook at the gas mark indicated on the knob.
Turn the control knob back to
2 the Mark you wish to cook on and for best results
oven for 15 minutes before placing your dishes in it.
Dishes placed above the central
5 position will be cooked at approx. one gas Mark higher,
dishes cooked below approx. one gas Mark lower. You can therefore cook dishes requiring different gas Marks at the same time.
The Main oven in your cooker
3 use the our special ‘Heatflow’ system.
Because the oven burner is not hidden under the oven base you will see the burner flames at the back of the oven - this is perfectly normal. Initially the gas will burn with a small flame but after approximately one minute the flame will become larger indicating that the oven is full on.
6 Slow cooking
More about slow cooking on page 9.
The ‘S’ setting is a very low temperature for slow cooking, overnight or while you are out or at work. The ‘S’ setting can also be
Handyrack (Main Oven)
More about the Handyrack on page 9.
The Handyrack fits to the left hand oven door only. Food cooking on it is easy to attend to, because it’s accessible when the door is open. It can be fitted at two different heights. One of the oven shelves must be removed
and the other positioned to suit.
To fit the Handyrack, locate one side of it on the door bracket.
Then spring the other side out to clip it onto the other bracket.
used for keeping food warm.
Oven light
Press the button to turn on the Main oven light.
If the oven light fails, turn off the power supply before you change the bulb. See the ‘Troubleshooting’ section for details on how to change an oven light bulb.
6