DRC8335_EN(verB) 7/23/07 3:36 PM Page 14
Initial setup
Turn on the TV and the unit
1.Turn on the unit by pressing ON/STANDBY or ON¥OFF.
2.Turn on the TV and select the AV input mode connected with the unitÕs output signal. To do so, you usually press the AV or INPUT button on the TV remote control until you get to the video input channel that matches how the DVD recorder is connected to the TV. When you are on the right channel, you can see the unitÕs player menu.
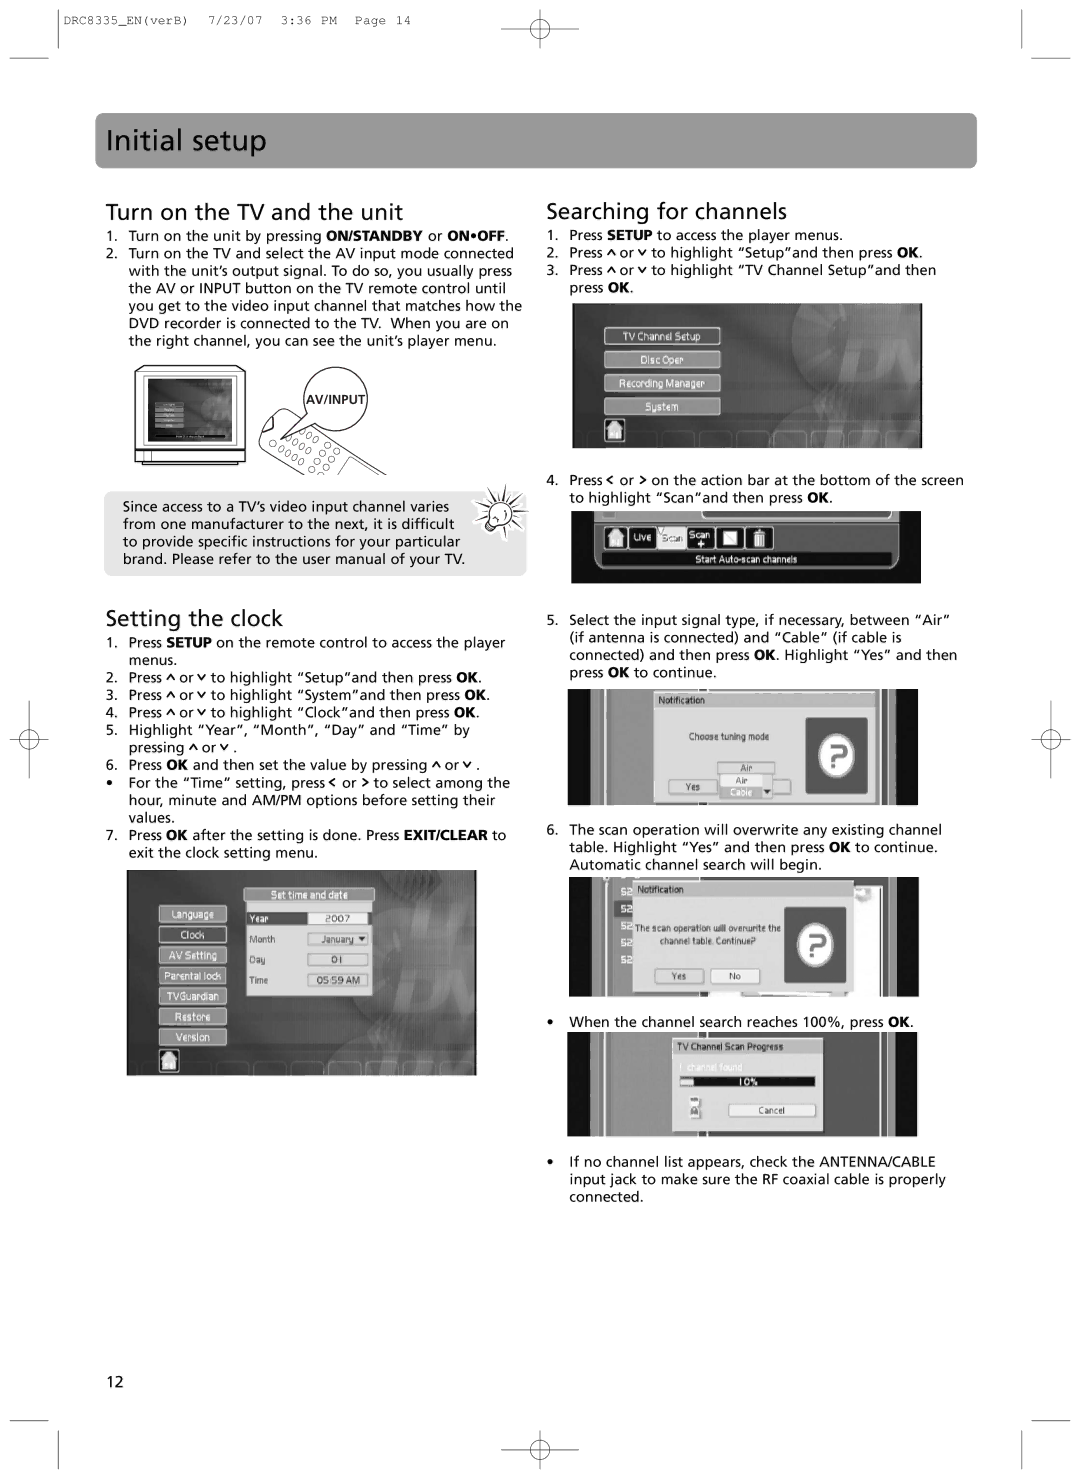
AV/INPUT
Searching for channels
1.Press SETUP to access the player menus.
2.Press ![]() or
or ![]() to highlight ÒSetupÓand then press OK.
to highlight ÒSetupÓand then press OK.
3.Press ![]() or
or ![]() to highlight ÒTV Channel SetupÓand then press OK.
to highlight ÒTV Channel SetupÓand then press OK.
Since access to a TVÕs video input channel varies from one manufacturer to the next, it is difficult to provide specific instructions for your particular brand. Please refer to the user manual of your TV.
4.Press ![]() or
or ![]() on the action bar at the bottom of the screen to highlight ÒScanÓand then press OK.
on the action bar at the bottom of the screen to highlight ÒScanÓand then press OK.
Setting the clock
1.Press SETUP on the remote control to access the player menus.
2.Press ![]() or
or ![]() to highlight ÒSetupÓand then press OK.
to highlight ÒSetupÓand then press OK.
3.Press ![]() or
or ![]() to highlight ÒSystemÓand then press OK.
to highlight ÒSystemÓand then press OK.
4.Press ![]() or
or ![]() to highlight ÒClockÓand then press OK.
to highlight ÒClockÓand then press OK.
5.Highlight ÒYearÓ, ÒMonthÓ, ÒDayÓ and ÒTimeÓ by pressing ![]() or
or ![]() .
.
6.Press OK and then set the value by pressing ![]() or
or ![]() .
.
¥For the ÒTimeÓ setting, press ![]() or
or ![]() to select among the
to select among the
hour, minute and AM/PM options before setting their values.
7.Press OK after the setting is done. Press EXIT/CLEAR to exit the clock setting menu.
5.Select the input signal type, if necessary, between ÒAirÓ (if antenna is connected) and ÒCableÓ (if cable is connected) and then press OK. Highlight ÒYesÓ and then press OK to continue.
6.The scan operation will overwrite any existing channel table. Highlight ÒYesÓ and then press OK to continue. Automatic channel search will begin.
¥When the channel search reaches 100%, press OK.
¥If no channel list appears, check the ANTENNA/CABLE input jack to make sure the RF coaxial cable is properly connected.
12