Major Features
1.Press MENU to bring up the Main Menu.
2.Point to Options and press SELECT.
3.Point to Locks, Limits, and Channel Lists and press SELECT.
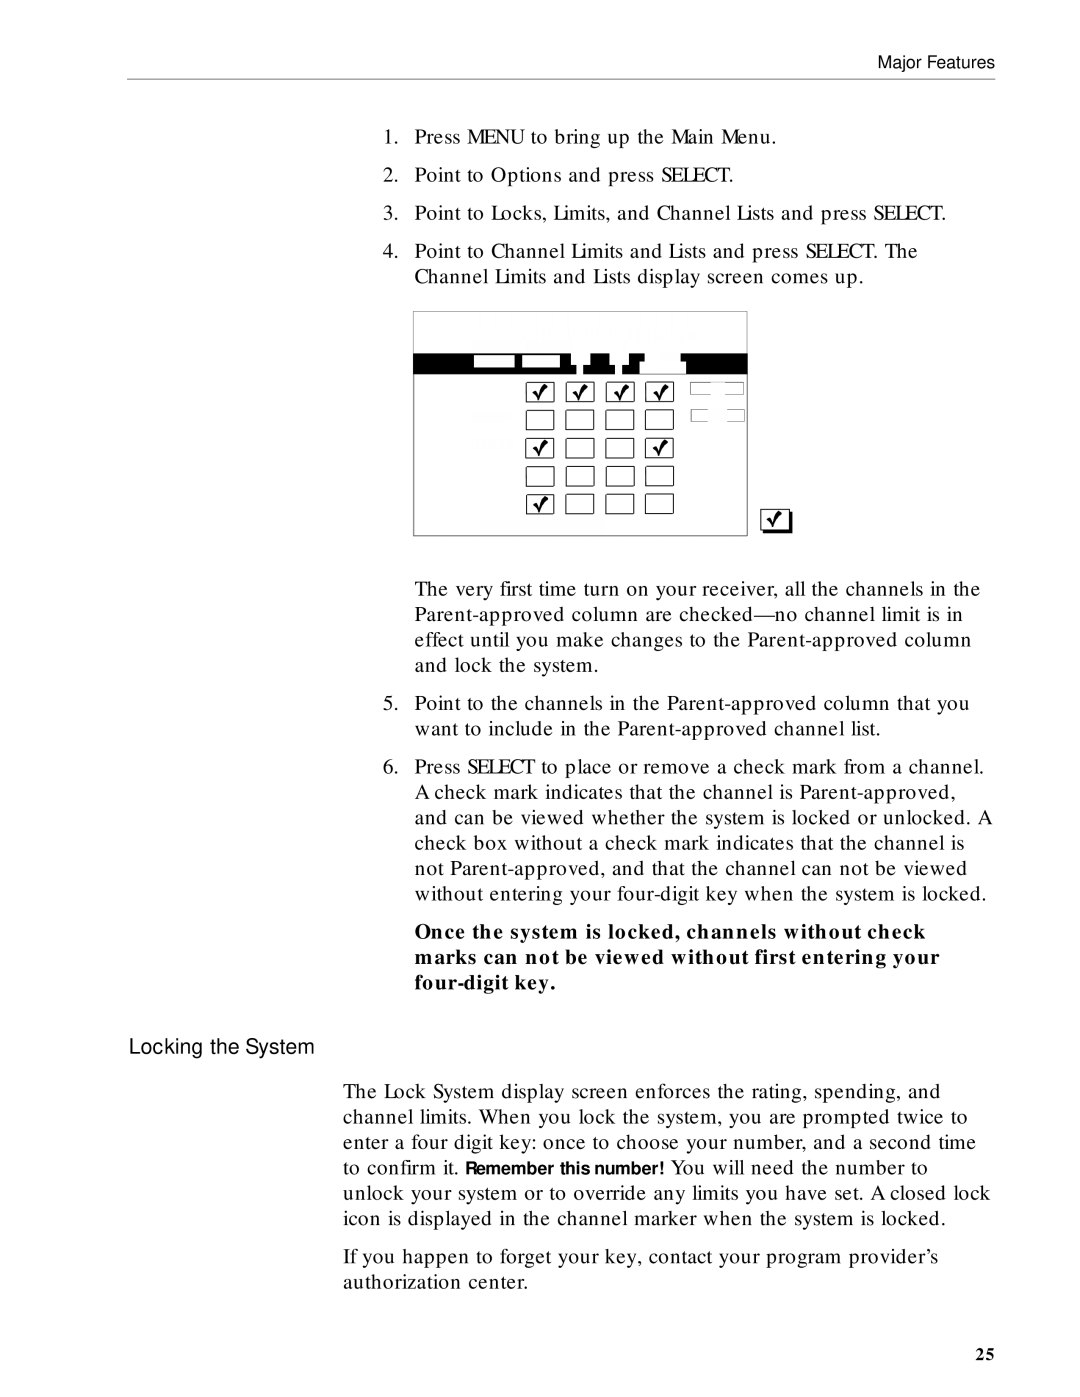
4.Point to Channel Limits and Lists and press SELECT. The Channel Limits and Lists display screen comes up.
The very first time turn on your receiver, all the channels in the
5.Point to the channels in the
6.Press SELECT to place or remove a check mark from a channel. A check mark indicates that the channel is
Once the system is locked, channels without check marks can not be viewed without first entering your
Locking the System
The Lock System display screen enforces the rating, spending, and channel limits. When you lock the system, you are prompted twice to enter a four digit key: once to choose your number, and a second time to confirm it. Remember this number! You will need the number to unlock your system or to override any limits you have set. A closed lock icon is displayed in the channel marker when the system is locked.
If you happen to forget your key, contact your program provider’s authorization center.
25