Using the TV’s Menu System
Menus, On-screen Help, and Control Panels
This section highlights your TV’s
Note: The Parental Controls menu items is discussed in the Features chapter, while Assisted Setup is discussed in the Connections and Setup chapter.
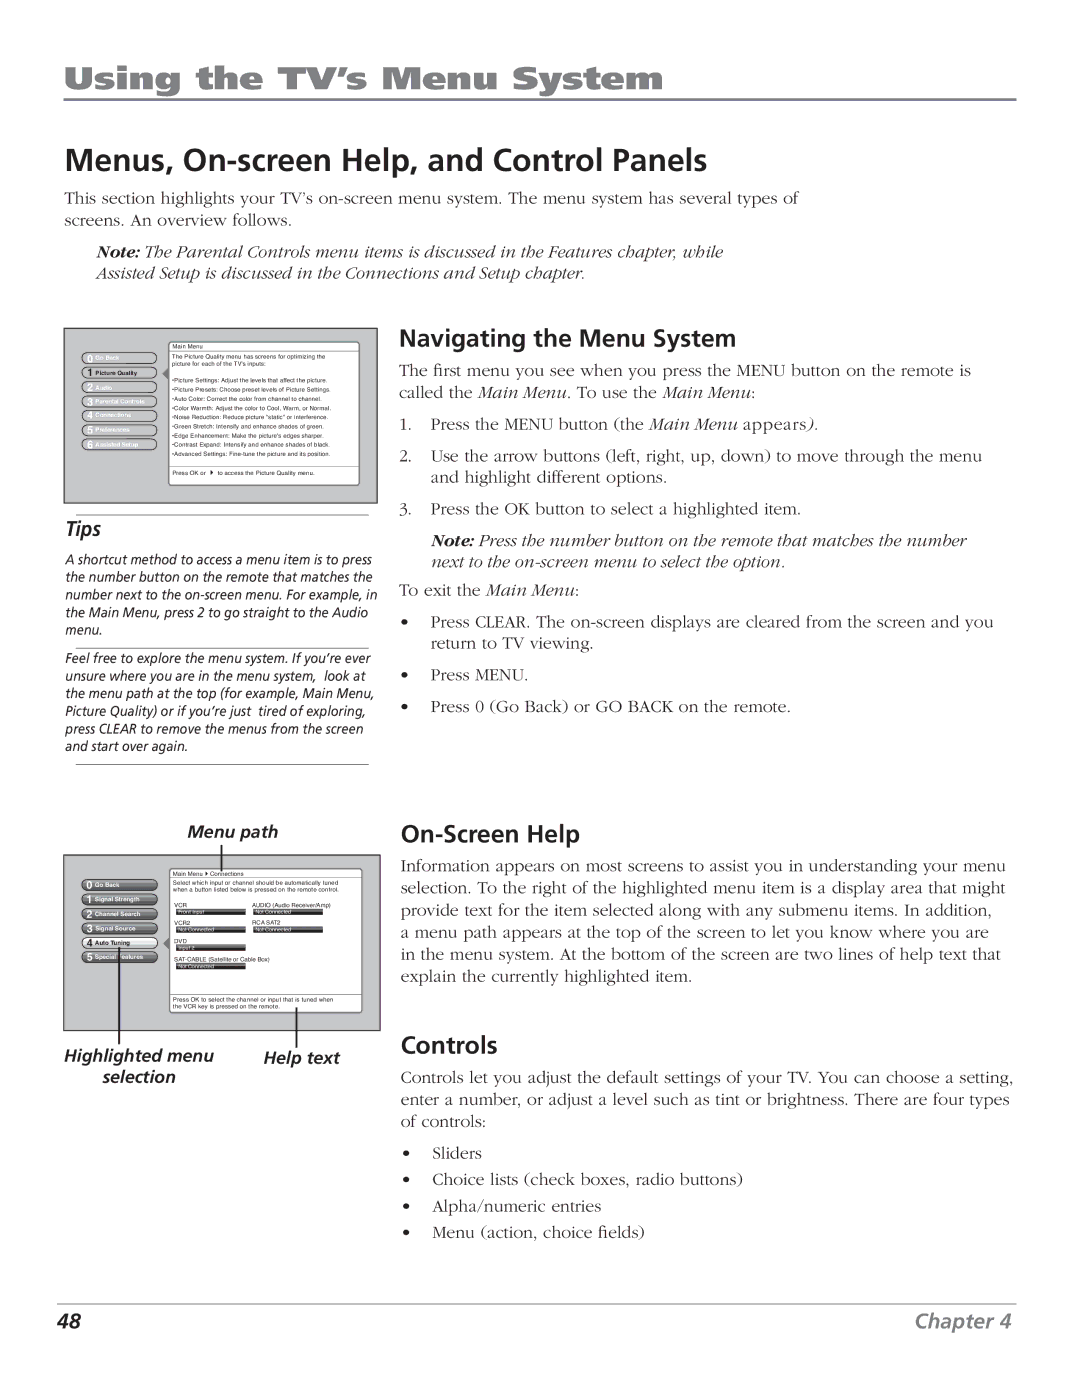
0Go Back
1Picture Quality
2Audio
3Parental Controls
4Connections
5Preferences
6Assisted Setup
Main Menu
The Picture Quality menu has screens for optimizing the picture for each of the TV's inputs:
•Picture Settings: Adjust the levels that affect the picture.
•Picture Presets: Choose preset levels of Picture Settings.
•Auto Color: Correct the color from channel to channel.
•Color Warmth: Adjust the color to Cool, Warm, or Normal.
•Noise Reduction: Reduce picture "static" or interference.
•Green Stretch: Intensify and enhance shades of green.
•Edge Enhancement: Make the picture's edges sharper.
•Contrast Expand: Intensify and enhance shades of black.
•Advanced Settings:
Press OK or 4 to access the Picture Quality menu.
Navigating the Menu System
The first menu you see when you press the MENU button on the remote is called the Main Menu. To use the Main Menu:
1.Press the MENU button (the Main Menu appears).
2.Use the arrow buttons (left, right, up, down) to move through the menu and highlight different options.
3.Press the OK button to select a highlighted item.
Tips
A shortcut method to access a menu item is to press the number button on the remote that matches the number next to the
Feel free to explore the menu system. If you’re ever unsure where you are in the menu system, look at the menu path at the top (for example, Main Menu, Picture Quality) or if you’re just tired of exploring, press CLEAR to remove the menus from the screen and start over again.
Note: Press the number button on the remote that matches the number next to the
To exit the Main Menu:
•Press CLEAR. The
•Press MENU.
•Press 0 (Go Back) or GO BACK on the remote.
Menu path
On-Screen Help
0Go Back
1Signal Strength
2Channel Search
3Signal Source
4Auto Tuning
5Special Features
Main Menu4Connections
Select which input or channel should be automatically tuned when a button listed below is pressed on the remote control.
VCR | AUDIO (Audio Receiver/Amp) |
Front Input | Not Connected |
VCR2 | RCA SAT2 |
Not Connected | Not Connected |
DVD |
|
Input 2 |
|
Not Connected
Press OK to select the channel or input that is tuned when the VCR key is pressed on the remote.
Information appears on most screens to assist you in understanding your menu selection. To the right of the highlighted menu item is a display area that might provide text for the item selected along with any submenu items. In addition, a menu path appears at the top of the screen to let you know where you are in the menu system. At the bottom of the screen are two lines of help text that explain the currently highlighted item.
Highlighted menu | Help text |
selection |
|
Controls
Controls let you adjust the default settings of your TV. You can choose a setting, enter a number, or adjust a level such as tint or brightness. There are four types of controls:
•Sliders
•Choice lists (check boxes, radio buttons)
•Alpha/numeric entries
•Menu (action, choice fields)
48 | Chapter 4 |