Using the TV’s Menu System
0Go Back
1Picture Settings
2Picture Presets
3Auto Color
4Color Warmth
5Noise Reduction
6Green Stretch
7Edge Enhancement
8Contrast Expand
9Advanced Settings
Main Menu4Picture Quality
![]() Off
Off
![]() Low
Low
![]() High
High
![]() A change in this screen is applied to Input 2.
A change in this screen is applied to Input 2.
Press 5 or 6 to point to an option, then press OK to select it. Press 3to return to the menu.
Contrast Expand
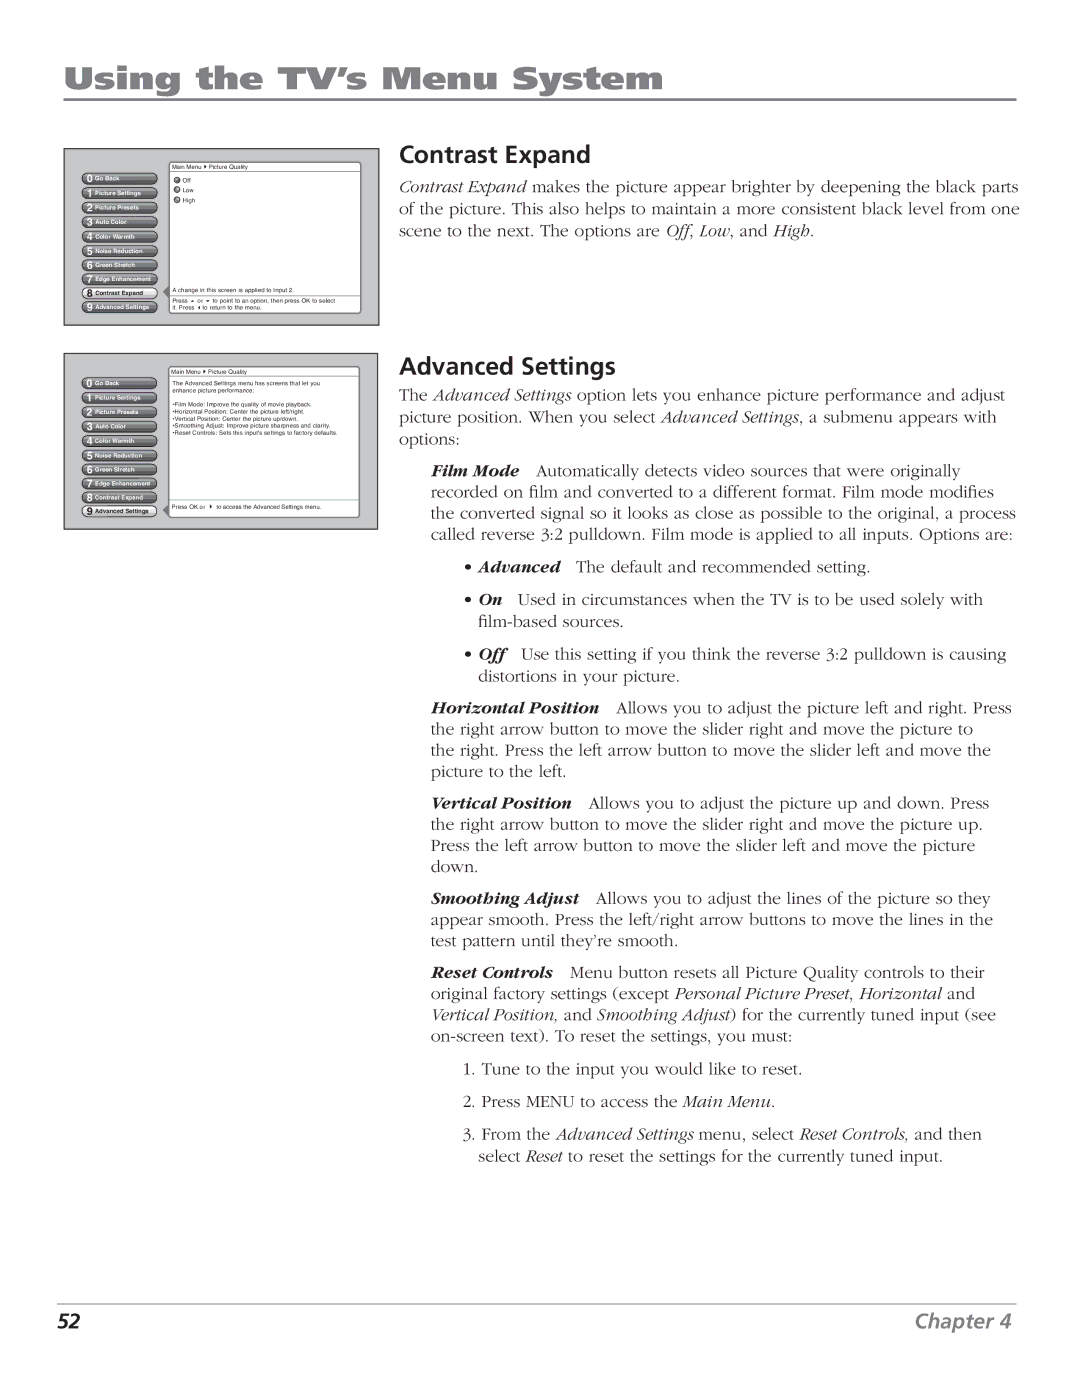
Contrast Expand makes the picture appear brighter by deepening the black parts of the picture. This also helps to maintain a more consistent black level from one scene to the next. The options are Off, Low, and High.
0Go Back
1Picture Settings
2Picture Presets
3Auto Color
4Color Warmth
5Noise Reduction
6Green Stretch
7Edge Enhancement
8Contrast Expand
9Advanced Settings
Main Menu4Picture Quality
The Advanced Settings menu has screens that let you enhance picture performance:
•Film Mode: Improve the quality of movie playback.
•Horizontal Position: Center the picture left/right.
•Vertical Position: Center the picture up/down.
•Smoothing Adjust: Improve picture sharpness and clarity.
•Reset Controls: Sets this input's settings to factory defaults.
![]() Press OK or 4 to access the Advanced Settings menu.
Press OK or 4 to access the Advanced Settings menu.
Advanced Settings
The Advanced Settings option lets you enhance picture performance and adjust picture position. When you select Advanced Settings, a submenu appears with options:
Film Mode Automatically detects video sources that were originally recorded on film and converted to a different format. Film mode modifies the converted signal so it looks as close as possible to the original, a process called reverse 3:2 pulldown. Film mode is applied to all inputs. Options are:
•Advanced The default and recommended setting.
•On Used in circumstances when the TV is to be used solely with
•Off Use this setting if you think the reverse 3:2 pulldown is causing distortions in your picture.
Horizontal Position Allows you to adjust the picture left and right. Press the right arrow button to move the slider right and move the picture to the right. Press the left arrow button to move the slider left and move the picture to the left.
Vertical Position Allows you to adjust the picture up and down. Press the right arrow button to move the slider right and move the picture up. Press the left arrow button to move the slider left and move the picture down.
Smoothing Adjust Allows you to adjust the lines of the picture so they appear smooth. Press the left/right arrow buttons to move the lines in the test pattern until they’re smooth.
Reset Controls Menu button resets all Picture Quality controls to their original factory settings (except Personal Picture Preset, Horizontal and Vertical Position, and Smoothing Adjust) for the currently tuned input (see
1.Tune to the input you would like to reset.
2.Press MENU to access the Main Menu.
3.From the Advanced Settings menu, select Reset Controls, and then select Reset to reset the settings for the currently tuned input.
52 | Chapter 4 |
