Chapter 1: Connections and Setup
Resolution
A | PC |
|
|
|
|
|
|
| Resolution | Horizontal | Vertical |
| Frequency (kHz) | Frequency (Hz) | |
|
| ||
|
|
|
|
| 640 x 480 | 31.47 | 59.94 |
|
|
|
|
| 800 x 600 | 35.16 | 56.25 |
|
|
| |
| 37.88 | 60.32 | |
|
| ||
|
|
|
|
| 1024 x 768 | 48.36 | 60.00 |
|
|
|
|
A | HDMI |
|
|
|
|
|
|
| Resolution | Vertical |
|
| Frequency (Hz) |
| |
|
|
|
|
| 480/60P | 60.000 |
|
|
|
|
|
| 720/60P | 60.000 |
|
|
|
|
|
| 1080/60I | 60.000 |
|
|
|
|
|
| 1080/60P | 60.000 |
|
|
|
|
|
Note
a.The synchronization input form is separate.
b.If the resolution is not supported, ‘Not Support!’ message will be displayed.
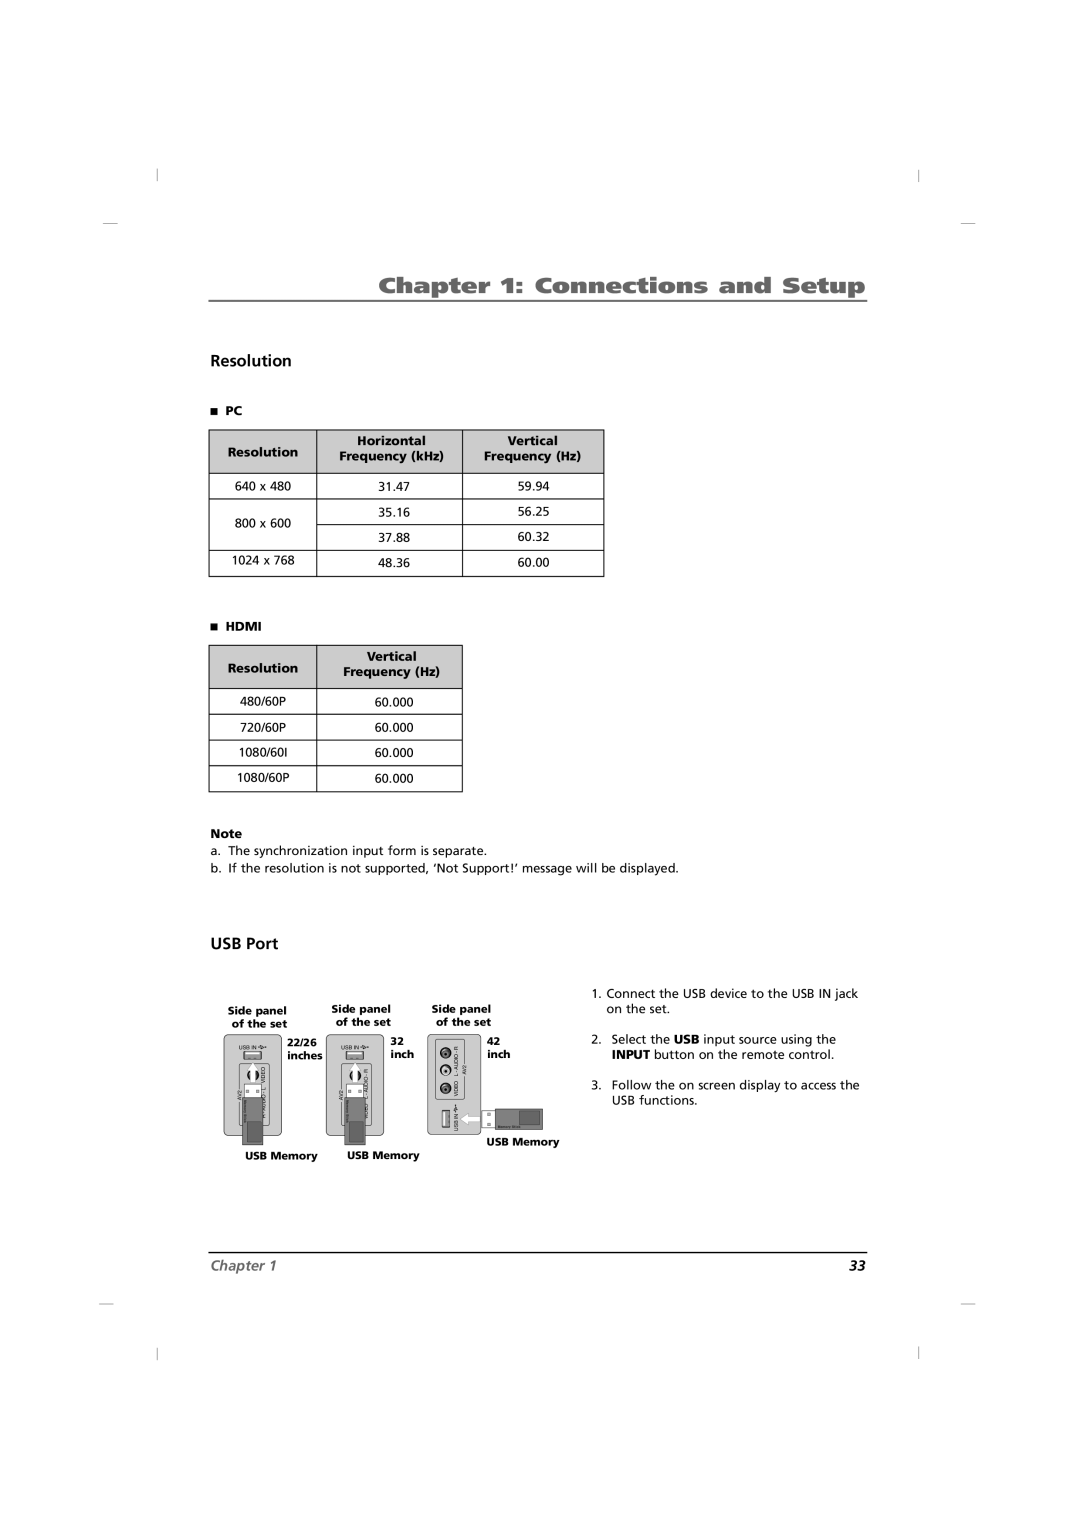
USB Port
Side panel | Side panel | Side panel |
of the set | of the set | of the set |
USB IN | 22/26 | USB IN | 32 | R | 42 |
| inches |
| inch | - | inch |
AV2 | R - AUDIO - L VIDEO | AV2 | VIDEO L - AUDIO - R | IN VIDEO L - AUDIO | AV2 |
|
|
|
| USB |
|
USB Memory
USB Memory | USB Memory |
1.Connect the USB device to the USB IN jack on the set.
2.Select the USB input source using the INPUT button on the remote control.
3.Follow the on screen display to access the USB functions.
Chapter 1 | 33 |
