OWNER’S MANUAL
OPERATING TILLER
Continued
CLEARING TINES OF
FOREIGN OBJECTS
During use, a stone or root could become lodged in the tines, or tall grass or weeds may become wrapped around the tine shaft.
To clear the tines, release the trigger lever. Unplug the tiller, and dislodge or remove any obstacles from the tines or tine shaft.
![]() WARNING: Always unplug the tiller before placing hands near the tines. Always wear gloves to protect your hands from the sharp edges of the tines.
WARNING: Always unplug the tiller before placing hands near the tines. Always wear gloves to protect your hands from the sharp edges of the tines.
To ease removal of tall grass or weeds that are wrapped around the tine shaft, remove one or more of the tines from the tine shaft. See Tine Removal and Installation, page 6.
When you have cleared the tines, reinstall tines onto tine shaft. Plug the tiller power cord into the extension cord. Firmly grasp the grip area of the handlebar with both hands and resume normal tilling operation.
CLEANING AND MAINTENANCE
![]() WARNING: Unplug tiller from power source before cleaning or servicing. Severe injury or death could occur from fire, electrical shock, or body contact with mov- ing tines.
WARNING: Unplug tiller from power source before cleaning or servicing. Severe injury or death could occur from fire, electrical shock, or body contact with mov- ing tines.
![]() WARNING: When cleaning tiller:
WARNING: When cleaning tiller:
•Do not submerge tiller in any liquids.
•Do not use products that contain ammonia, chlorine, or abrasives.
•Do not use chlorinated clean- ing solvents, carbon tetrachlo- ride, kerosene, or gasoline.
CLEANING TILLER
1.To clean front and rear cover and fender, use a soft cloth dampened with a mild soap and water mixture. Do not spray or pour water directly onto the front or rear cover. Wipe the front and rear covers and fender with the damp- ened cloth.
2.To remove soil and debris from the tines and transmission, use a stiff brush or a dampened cloth. Do not spray or pour water directly onto tiller.
3.For easier cleaning, remove the tines from the tine shaft. See Tine Removal and Installation, page 6.
4.Once cleaned, wipe the tine shaft dry and apply a light coat of oil to the shaft before reinstalling the tines.
CHECKING TRANSMISSION LUBRICANT
1.Unplug tiller from power source.
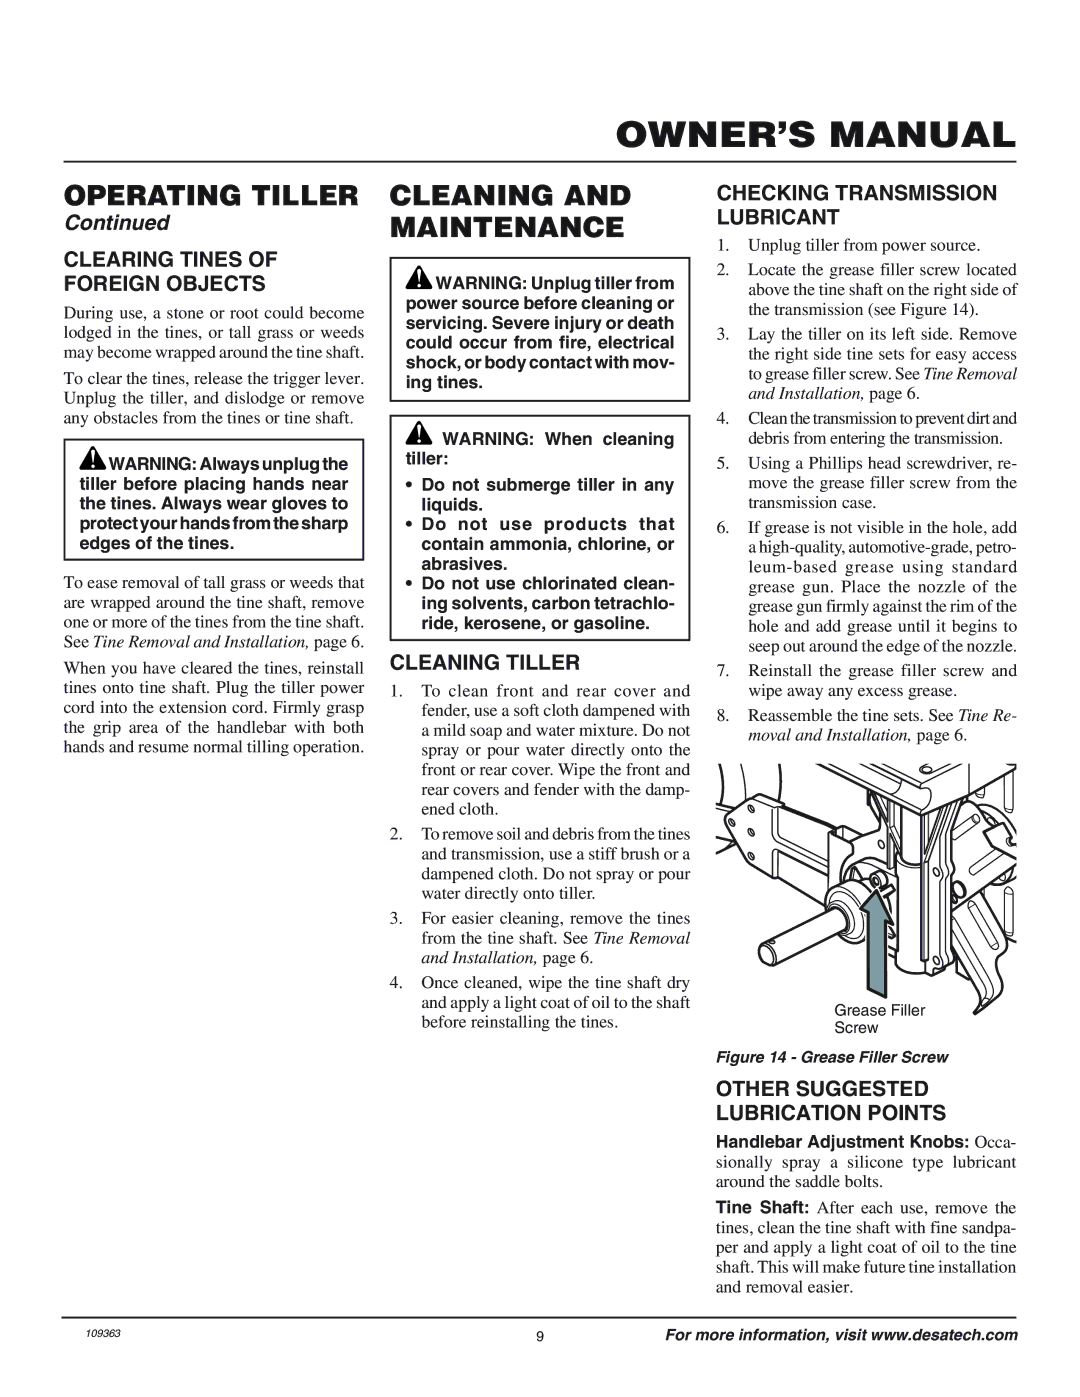
2.Locate the grease filler screw located above the tine shaft on the right side of the transmission (see Figure 14).
3.Lay the tiller on its left side. Remove the right side tine sets for easy access to grease filler screw. See Tine Removal and Installation, page 6.
4.Clean the transmission to prevent dirt and debris from entering the transmission.
5.Using a Phillips head screwdriver, re- move the grease filler screw from the transmission case.
6.If grease is not visible in the hole, add a
7.Reinstall the grease filler screw and wipe away any excess grease.
8.Reassemble the tine sets. See Tine Re- moval and Installation, page 6.
Grease Filler
Screw
Figure 14 - Grease Filler Screw
OTHER SUGGESTED LUBRICATION POINTS
Handlebar Adjustment Knobs: Occa- sionally spray a silicone type lubricant around the saddle bolts.
Tine Shaft: After each use, remove the tines, clean the tine shaft with fine sandpa- per and apply a light coat of oil to the tine shaft. This will make future tine installation and removal easier.
109363 | 9 | For more information, visit www.desatech.com |