![]() WARNING To avoid electric shock and electrical fires, never use an extension cord that is damaged or does not meet the following requirements:
WARNING To avoid electric shock and electrical fires, never use an extension cord that is damaged or does not meet the following requirements:
•The cord has pins on line plug that are similar in size and shape to those of the plug on the charger.
•The cord is rated as “W” or
•The cord has sufficient wire thickness (16 AWG below 50′/14 AWG
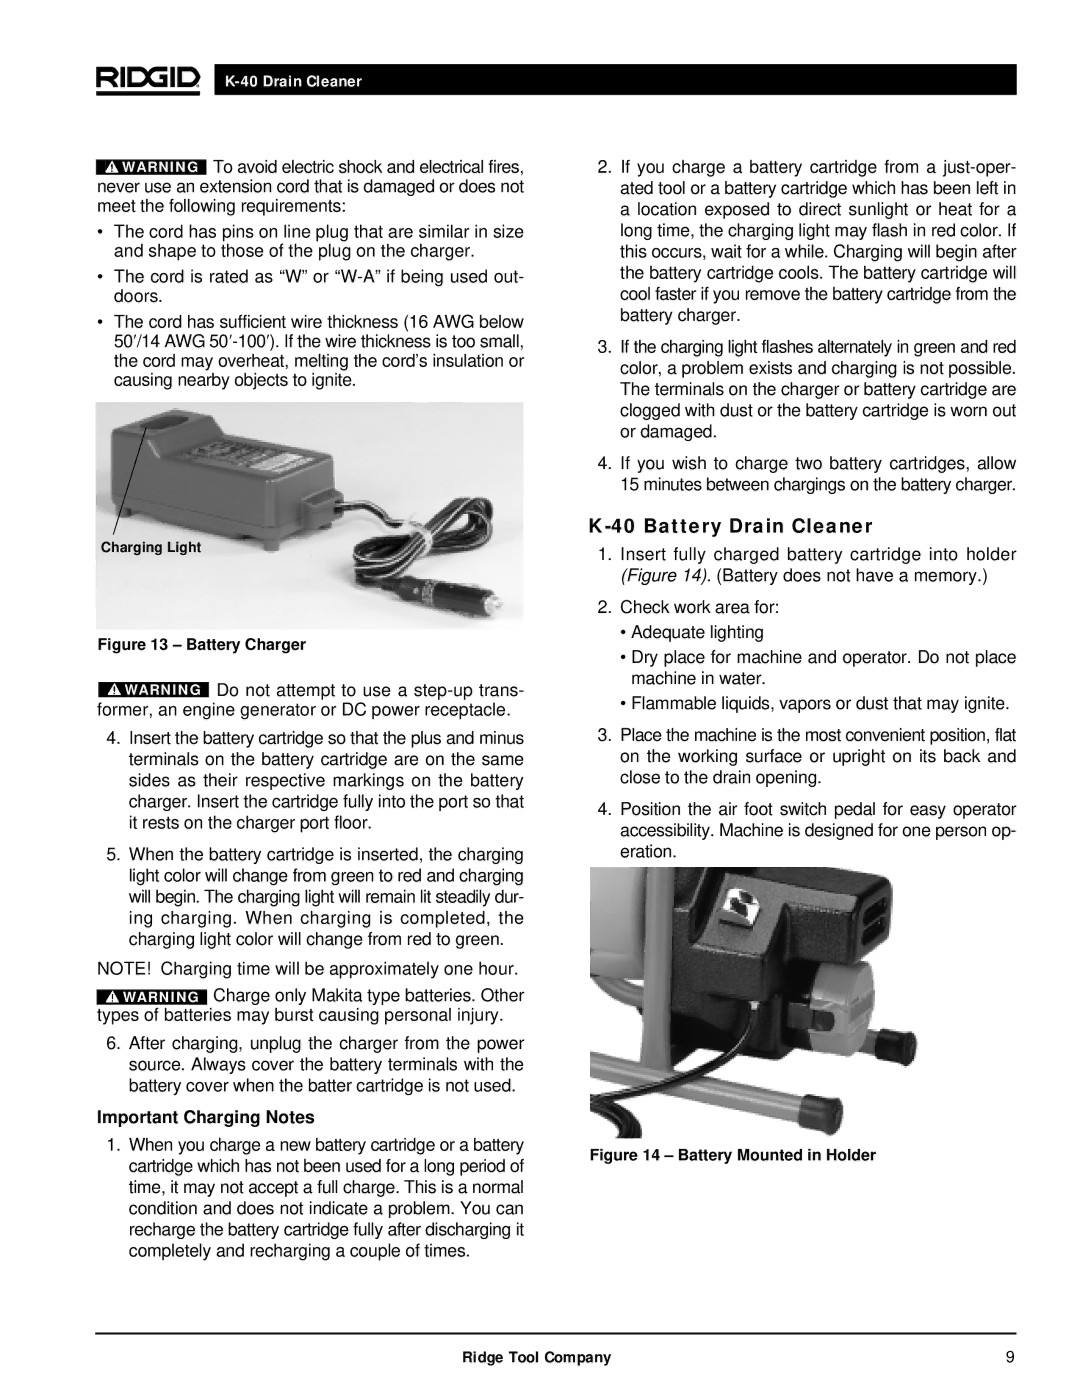
Charging Light
Figure 13 – Battery Charger
![]() WARNING Do not attempt to use a
WARNING Do not attempt to use a
4.Insert the battery cartridge so that the plus and minus terminals on the battery cartridge are on the same sides as their respective markings on the battery charger. Insert the cartridge fully into the port so that it rests on the charger port floor.
5.When the battery cartridge is inserted, the charging light color will change from green to red and charging will begin. The charging light will remain lit steadily dur- ing charging. When charging is completed, the charging light color will change from red to green.
NOTE! Charging time will be approximately one hour.
![]() WARNING Charge only Makita type batteries. Other types of batteries may burst causing personal injury.
WARNING Charge only Makita type batteries. Other types of batteries may burst causing personal injury.
6.After charging, unplug the charger from the power source. Always cover the battery terminals with the battery cover when the batter cartridge is not used.
Important Charging Notes
1.When you charge a new battery cartridge or a battery cartridge which has not been used for a long period of time, it may not accept a full charge. This is a normal condition and does not indicate a problem. You can recharge the battery cartridge fully after discharging it completely and recharging a couple of times.
2.If you charge a battery cartridge from a
3.If the charging light flashes alternately in green and red color, a problem exists and charging is not possible. The terminals on the charger or battery cartridge are clogged with dust or the battery cartridge is worn out or damaged.
4.If you wish to charge two battery cartridges, allow 15 minutes between chargings on the battery charger.
K-40 Battery Drain Cleaner
1.Insert fully charged battery cartridge into holder (Figure 14). (Battery does not have a memory.)
2.Check work area for:
•Adequate lighting
•Dry place for machine and operator. Do not place machine in water.
•Flammable liquids, vapors or dust that may ignite.
3.Place the machine is the most convenient position, flat on the working surface or upright on its back and close to the drain opening.
4.Position the air foot switch pedal for easy operator accessibility. Machine is designed for one person op- eration.
Figure 14 – Battery Mounted in Holder
Ridge Tool Company | 9 |
