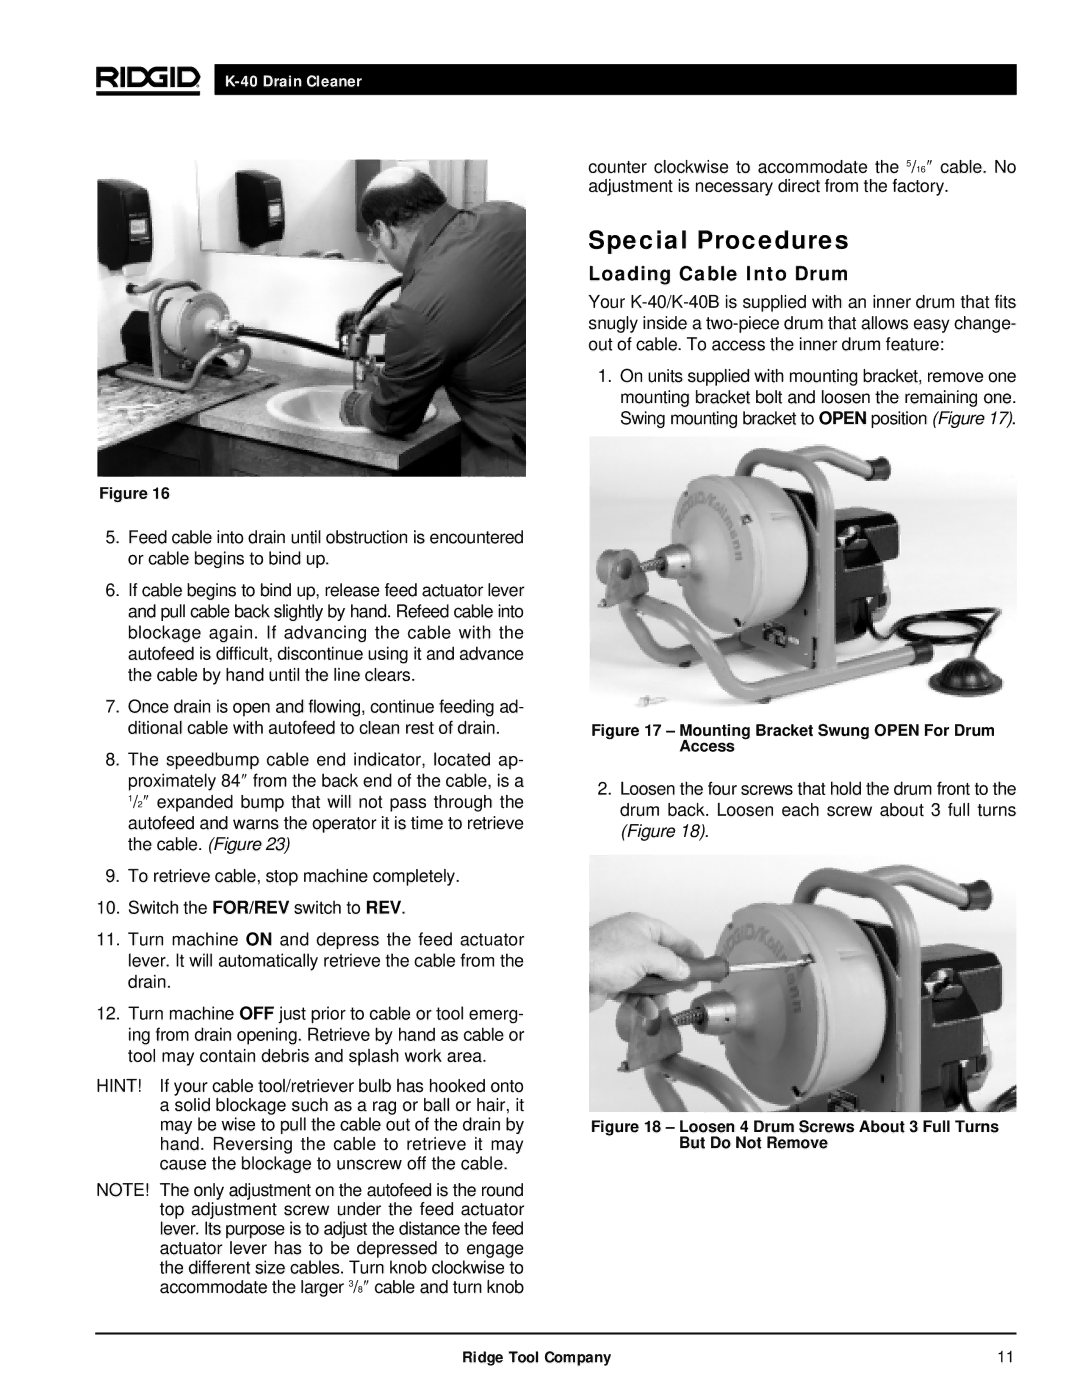
Figure 16
5.Feed cable into drain until obstruction is encountered or cable begins to bind up.
6.If cable begins to bind up, release feed actuator lever and pull cable back slightly by hand. Refeed cable into blockage again. If advancing the cable with the autofeed is difficult, discontinue using it and advance the cable by hand until the line clears.
7.Once drain is open and flowing, continue feeding ad- ditional cable with autofeed to clean rest of drain.
8.The speedbump cable end indicator, located ap- proximately 84″ from the back end of the cable, is a 1/2″ expanded bump that will not pass through the autofeed and warns the operator it is time to retrieve the cable. (Figure 23)
9.To retrieve cable, stop machine completely.
10.Switch the FOR/REV switch to REV.
11.Turn machine ON and depress the feed actuator lever. It will automatically retrieve the cable from the drain.
12.Turn machine OFF just prior to cable or tool emerg- ing from drain opening. Retrieve by hand as cable or tool may contain debris and splash work area.
HINT! If your cable tool/retriever bulb has hooked onto a solid blockage such as a rag or ball or hair, it may be wise to pull the cable out of the drain by hand. Reversing the cable to retrieve it may cause the blockage to unscrew off the cable.
NOTE! The only adjustment on the autofeed is the round top adjustment screw under the feed actuator lever. Its purpose is to adjust the distance the feed actuator lever has to be depressed to engage the different size cables. Turn knob clockwise to accommodate the larger 3/8″ cable and turn knob
counter clockwise to accommodate the 5/16″ cable. No adjustment is necessary direct from the factory.
Special Procedures
Loading Cable Into Drum
Your
1.On units supplied with mounting bracket, remove one mounting bracket bolt and loosen the remaining one. Swing mounting bracket to OPEN position (Figure 17).
Figure 17 – Mounting Bracket Swung OPEN For Drum Access
2.Loosen the four screws that hold the drum front to the drum back. Loosen each screw about 3 full turns (Figure 18).
Figure 18 – Loosen 4 Drum Screws About 3 Full Turns But Do Not Remove
Ridge Tool Company | 11 |
