ASSEMBLY
MOUNTING POWER TOOLS
![]() WARNING:
WARNING:
Failure to unplug the tool could result in accidental starting causing possible serious personal injury.
Before you start
RIDGID TS2400 table saw bolts directly onto this work stand. Most other tools, including miter saws, will need additional supports to aid in attaching a tool to work stand.
The hardware and mounting materials shown in this manual are the minimum size recommended for safe attachment of a power tool to this work stand. Any deviation from this is not recommended.
This stand is primarily recommended for use with portable table saws. Other applications such as miter saws and other tools weighing less than 100 pounds are described below.
We recommend using wooden mounting blocks as explained below to attach any tool other than the RIDGID TS2400 table saw. Any holes drilled in the work stand or screws attached to the table of the work stand may cause damage to the product or interfere with the function of the work stand.
NOTE: In miter saw applications you must build a wood base between the stand and saw. This will prevent interference of longer work pieces with the carry handle.
Make sure that you understand how to
![]() WARNING:
WARNING:
To avoid serious personal injury, always assure saw is fully supported and securely attached to a level work surface. If not, relocate to a more stable location.
![]() WARNING:
WARNING:
To reduce the risk of injury from the tool moving or falling off stand, always check that all mounting bolts and nuts are securely tightened before moving stand or using tool.
RIDGID 10-in. Table Saw Model TS2400
See Figure 12.
nPlace the stand in the
nAlign the four holes supplied in the work stand table with the four larger holes in the table saw base as shown.
nStarting at the carry handle end of the work stand, insert the four supplied carriage bolts up through the table of the work stand and then through the saw base.
nInstall the washer, lockwasher and wing nut on top and tighten securely.
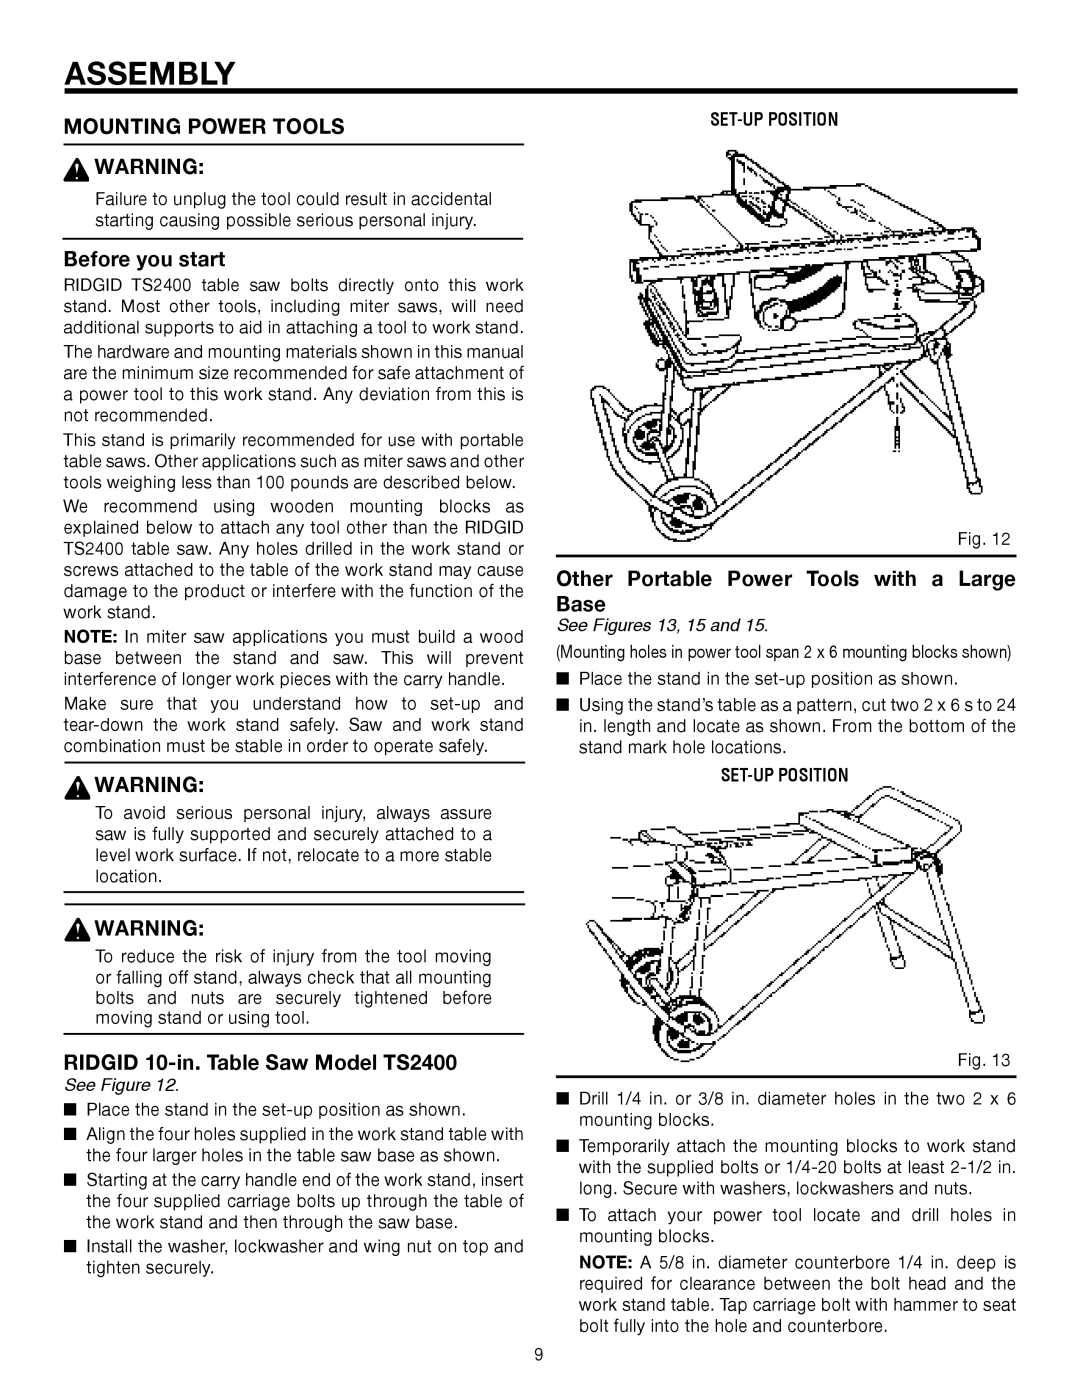
SET-UP POSITION
Fig. 12
Other Portable Power Tools with a Large Base
See Figures 13, 15 and 15.
(Mounting holes in power tool span 2 x 6 mounting blocks shown)
nPlace the stand in the
nUsing the stand’s table as a pattern, cut two 2 x 6 s to 24 in. length and locate as shown. From the bottom of the stand mark hole locations.
Fig. 13
nDrill 1/4 in. or 3/8 in. diameter holes in the two 2 x 6 mounting blocks.
nTemporarily attach the mounting blocks to work stand with the supplied bolts or
nTo attach your power tool locate and drill holes in mounting blocks.
NOTE: A 5/8 in. diameter counterbore 1/4 in. deep is required for clearance between the bolt head and the work stand table. Tap carriage bolt with hammer to seat bolt fully into the hole and counterbore.
9