Recording Your Performance
Selecting and Recording the Track for Each Hand Separately
If you want to
fig.panel4-4
| Harpsi- |
|
|
| Recorder |
| |
Reverb | Variation | Song | Play | Rec | Track | ||
Piano E.Piano chord Organ Strings | |||||||
|
| Dual Balance | Key Touch | 1 | 2 |
| |
|
|
|
|
|
1 3 4, 6 2, 5
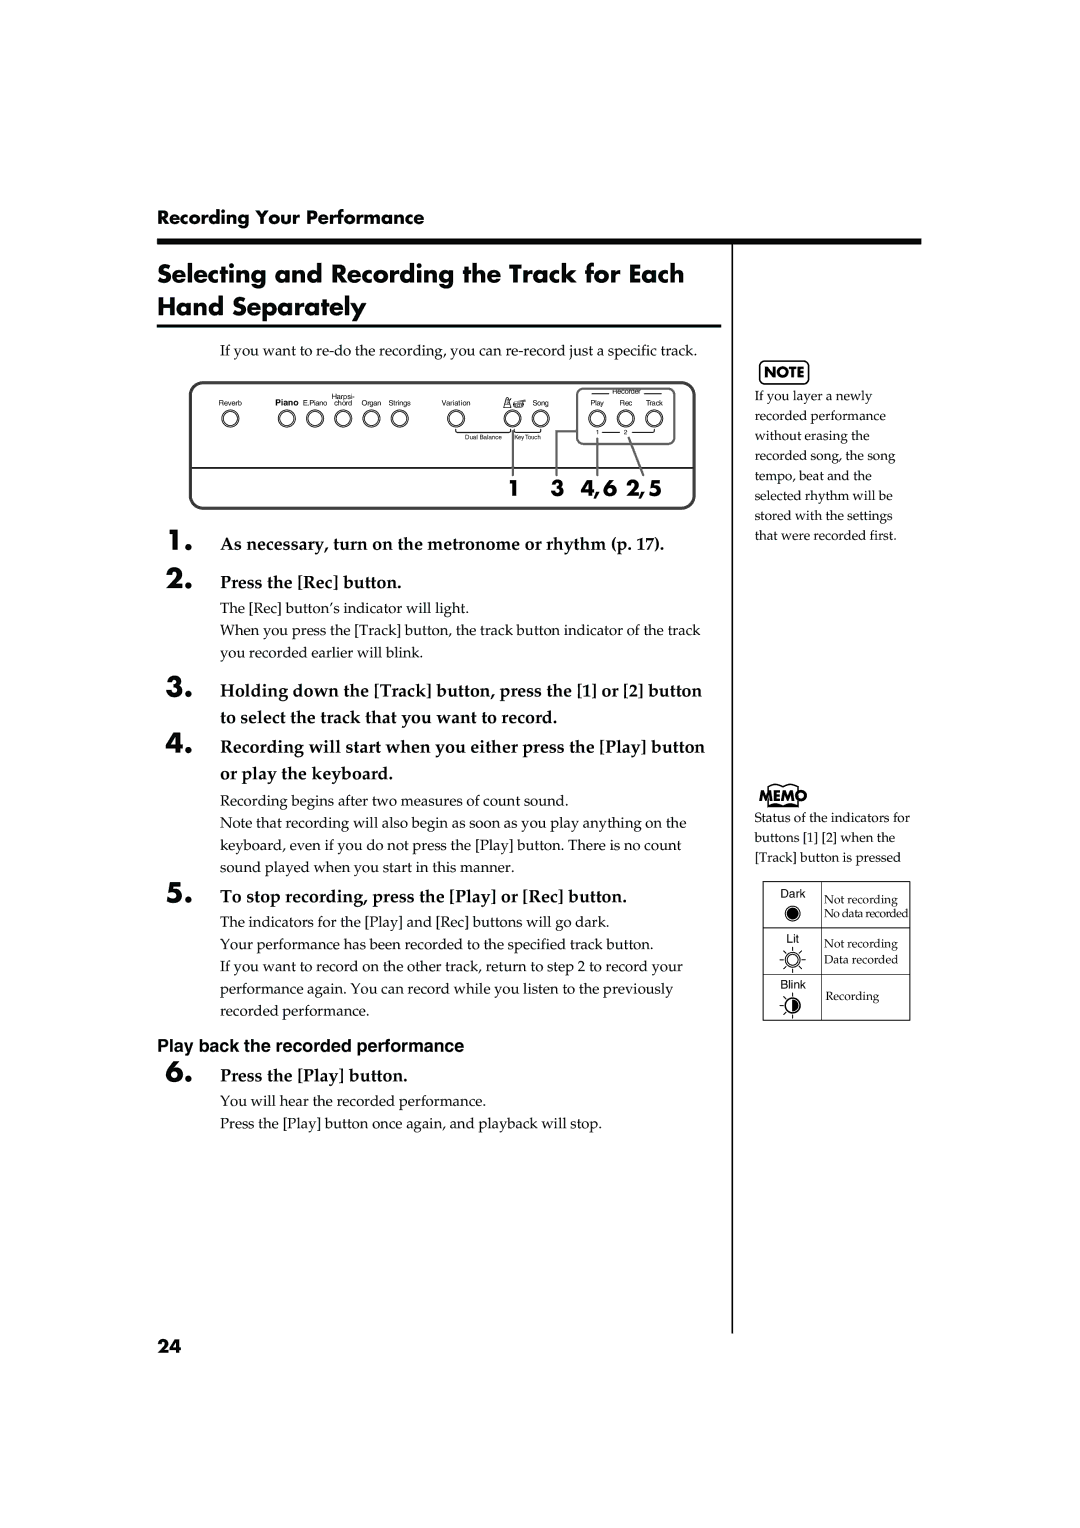
1. As necessary, turn on the metronome or rhythm (p. 17).
2. Press the [Rec] button.
The [Rec] button’s indicator will light.
When you press the [Track] button, the track button indicator of the track you recorded earlier will blink.
3. Holding down the [Track] button, press the [1] or [2] button to select the track that you want to record.
4. Recording will start when you either press the [Play] button or play the keyboard.
Recording begins after two measures of count sound.
Note that recording will also begin as soon as you play anything on the keyboard, even if you do not press the [Play] button. There is no count sound played when you start in this manner.
5. To stop recording, press the [Play] or [Rec] button.
The indicators for the [Play] and [Rec] buttons will go dark.
Your performance has been recorded to the specified track button.
If you want to record on the other track, return to step 2 to record your performance again. You can record while you listen to the previously recorded performance.
Play back the recorded performance
6. Press the [Play] button.
You will hear the recorded performance.
Press the [Play] button once again, and playback will stop.
NOTE
If you layer a newly recorded performance without erasing the recorded song, the song tempo, beat and the selected rhythm will be stored with the settings that were recorded first.
Status of the indicators for buttons [1] [2] when the [Track] button is pressed
Dark | Not recording |
| |
| No data recorded |
Lit | Not recording |
| |
| Data recorded |
Blink | Recording |
|
24
