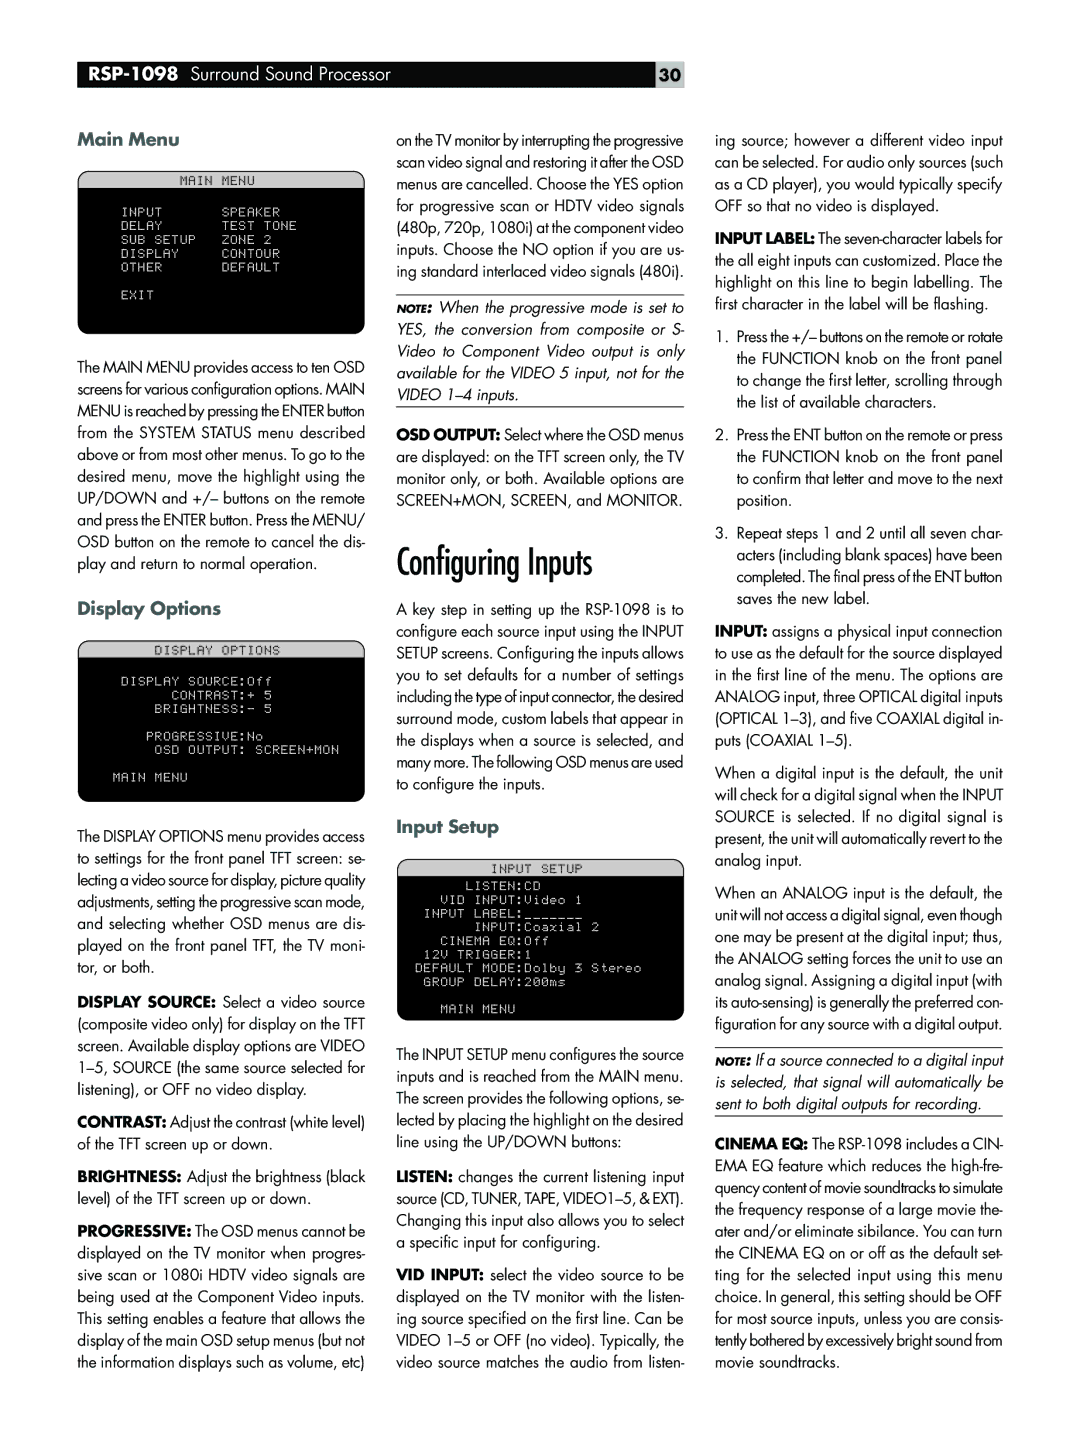
Main Menu
MAIN | MENU | |
INPUT | SPEAKER |
DELAY | TEST | TONE |
SUB SETUP | ZONE | 2 |
DISPLAY | CONTOUR |
OTHER | DEFAULT |
EXIT
The MAIN MENU provides access to ten OSD screens for various configuration options. MAIN MENU is reached by pressing the ENTER button from the SYSTEM STATUS menu described above or from most other menus. To go to the desired menu, move the highlight using the UP/DOWN and +/– buttons on the remote and press the ENTER button. Press the MENU/ OSD button on the remote to cancel the dis- play and return to normal operation.
Display Options
DISPLAY OPTIONS
DISPLAY SOURCE:Off
CONTRAST:+ 5
BRIGHTNESS:- 5
PROGRESSIVE:No
OSD OUTPUT: SCREEN+MON
MAIN MENU
The DISPLAY OPTIONS menu provides access to settings for the front panel TFT screen: se- lecting a video source for display, picture quality adjustments, setting the progressive scan mode, and selecting whether OSD menus are dis- played on the front panel TFT, the TV moni- tor, or both.
on the TV monitor by interrupting the progressive scan video signal and restoring it after the OSD menus are cancelled. Choose the YES option for progressive scan or HDTV video signals (480p, 720p, 1080i) at the component video inputs. Choose the NO option if you are us- ing standard interlaced video signals (480i).
NOTE: When the progressive mode is set to YES, the conversion from composite or S- Video to Component Video output is only available for the VIDEO 5 input, not for the VIDEO 1–4 inputs.
OSD OUTPUT: Select where the OSD menus
are displayed: on the TFT screen only, the TV monitor only, or both. Available options are SCREEN+MON, SCREEN, and MONITOR.
Configuring Inputs
A key step in setting up the RSP-1098 is to configure each source input using the INPUT SETUP screens. Configuring the inputs allows you to set defaults for a number of settings including the type of input connector, the desired surround mode, custom labels that appear in the displays when a source is selected, and many more. The following OSD menus are used to configure the inputs.
Input Setup
INPUT SETUP
LISTEN:CD
VID INPUT:Video 1
INPUT LABEL:_______
INPUT:Coaxial 2
CINEMA EQ:Off
12V TRIGGER:1
DEFAULT MODE:Dolby 3 Stereo
GROUP DELAY:200ms
ing source; however a different video input can be selected. For audio only sources (such as a CD player), you would typically specify OFF so that no video is displayed.
INPUT LABEL: The seven-character labels for the all eight inputs can customized. Place the highlight on this line to begin labelling. The first character in the label will be flashing.
1.Press the +/– buttons on the remote or rotate the FUNCTION knob on the front panel to change the first letter, scrolling through the list of available characters.
2.Press the ENT button on the remote or press the FUNCTION knob on the front panel to confirm that letter and move to the next position.
3.Repeat steps 1 and 2 until all seven char- acters (including blank spaces) have been completed. The final press of the ENT button saves the new label.
INPUT: assigns a physical input connection to use as the default for the source displayed in the first line of the menu. The options are ANALOG input, three OPTICAL digital inputs (OPTICAL 1–3), and five COAXIAL digital in- puts (COAXIAL 1–5).
When a digital input is the default, the unit will check for a digital signal when the INPUT SOURCE is selected. If no digital signal is present, the unit will automatically revert to the analog input.
When an ANALOG input is the default, the unit will not access a digital signal, even though one may be present at the digital input; thus, the ANALOG setting forces the unit to use an analog signal. Assigning a digital input (with
DISPLAY SOURCE: Select a video source (composite video only) for display on the TFT screen. Available display options are VIDEO 1–5, SOURCE (the same source selected for listening), or OFF no video display.
CONTRAST: Adjust the contrast (white level) of the TFT screen up or down.
BRIGHTNESS: Adjust the brightness (black level) of the TFT screen up or down.
PROGRESSIVE: The OSD menus cannot be displayed on the TV monitor when progres- sive scan or 1080i HDTV video signals are being used at the Component Video inputs. This setting enables a feature that allows the display of the main OSD setup menus (but not the information displays such as volume, etc)
MAIN MENU
The INPUT SETUP menu configures the source inputs and is reached from the MAIN menu. The screen provides the following options, se- lected by placing the highlight on the desired line using the UP/DOWN buttons:
LISTEN: changes the current listening input source (CD, TUNER, TAPE, VIDEO1–5, & EXT). Changing this input also allows you to select a specific input for configuring.
VID INPUT: select the video source to be displayed on the TV monitor with the listen- ing source specified on the first line. Can be VIDEO 1–5 or OFF (no video). Typically, the video source matches the audio from listen-
its auto-sensing) is generally the preferred con- figuration for any source with a digital output.
NOTE: If a source connected to a digital input is selected, that signal will automatically be sent to both digital outputs for recording.
CINEMA EQ: The RSP-1098 includes a CIN- EMA EQ feature which reduces the high-fre- quency content of movie soundtracks to simulate the frequency response of a large movie the- ater and/or eliminate sibilance. You can turn the CINEMA EQ on or off as the default set- ting for the selected input using this menu choice. In general, this setting should be OFF for most source inputs, unless you are consis- tently bothered by excessively bright sound from movie soundtracks.