RZ 2610001563 07-09:RZ 2610001563 07-09 7/24/09 10:13 AM Page 12
MAKE A FEW PRACTICE CUTS
After installing the bit into the tool and adjusting your depth guide, you should make a few practice cuts with the tool before attempting an actual job. A few exercises will give you the necessary practice to make clean, professional cuts.
Step 1: Make certain that the collet nut is securely tightened before turning the tool on.
Step 2: Hold the tool firmly and turn the tool ON to your desired speed.
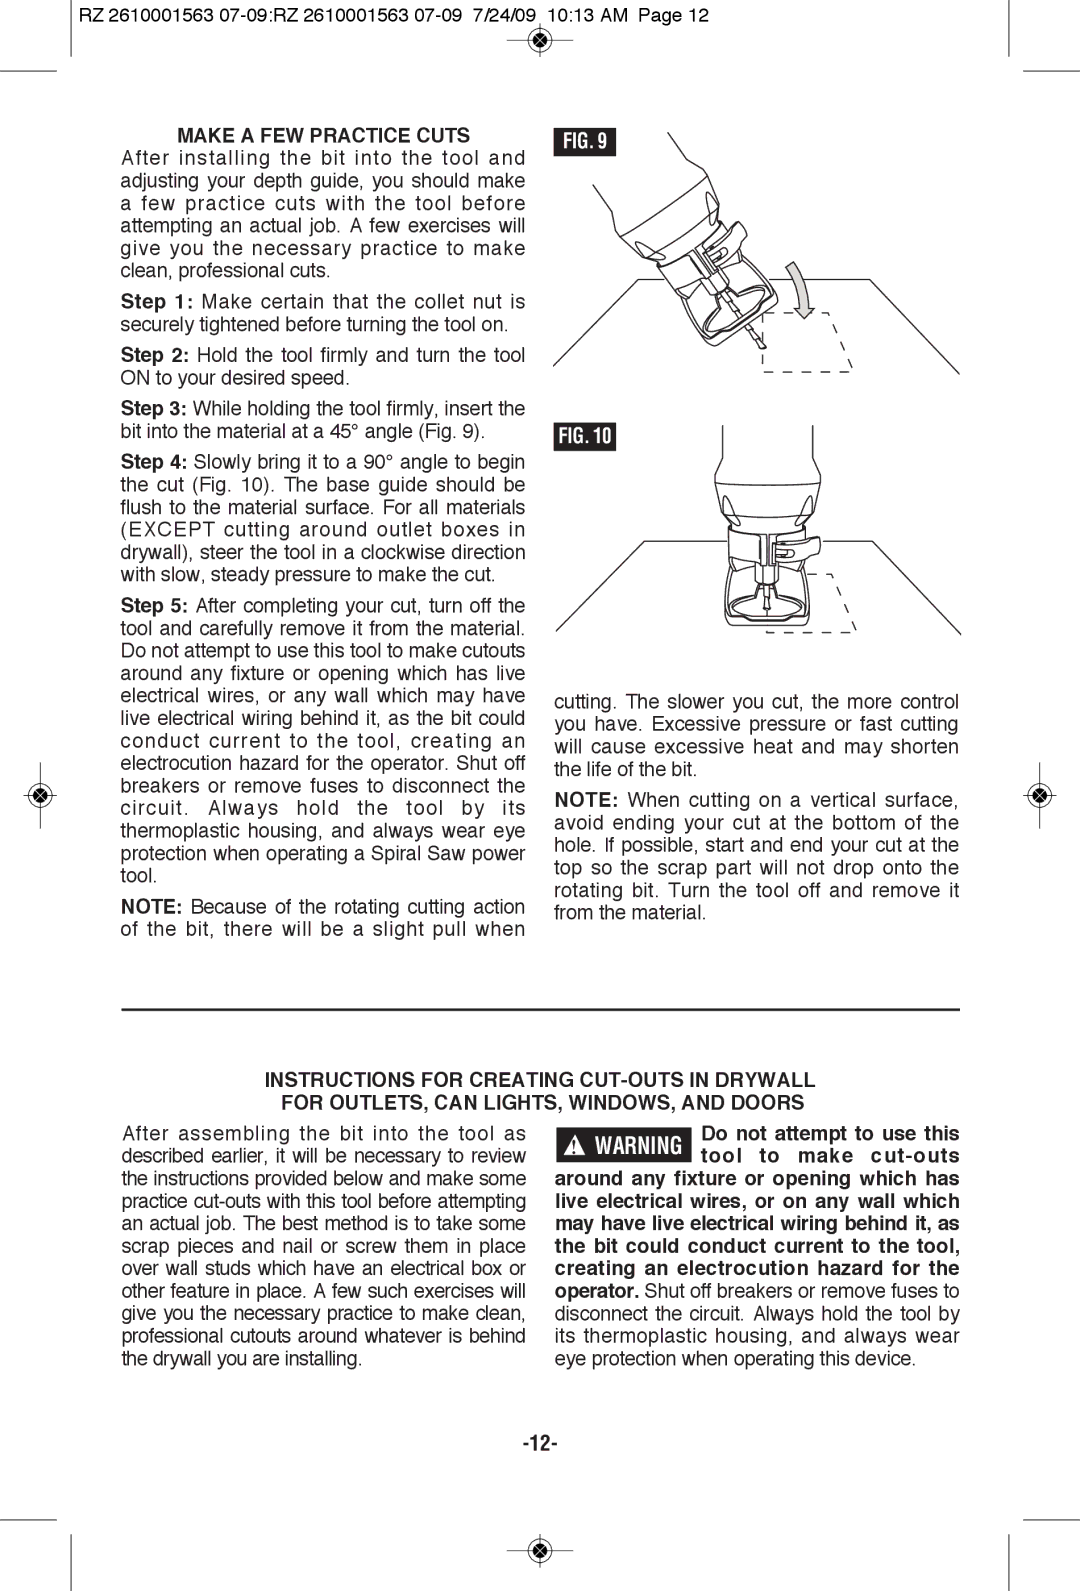
Step 3: While holding the tool firmly, insert the bit into the material at a 45° angle (Fig. 9).
Step 4: Slowly bring it to a 90° angle to begin the cut (Fig. 10). The base guide should be flush to the material surface. For all materials (EXCEPT cutting around outlet boxes in drywall), steer the tool in a clockwise direction with slow, steady pressure to make the cut.
Step 5: After completing your cut, turn off the tool and carefully remove it from the material. Do not attempt to use this tool to make cutouts around any fixture or opening which has live electrical wires, or any wall which may have live electrical wiring behind it, as the bit could conduct current to the tool, creating an electrocution hazard for the operator. Shut off breakers or remove fuses to disconnect the circuit. Always hold the tool by its thermoplastic housing, and always wear eye protection when operating a Spiral Saw power tool.
NOTE: Because of the rotating cutting action of the bit, there will be a slight pull when
FIG. 9
FIG. 10
cutting. The slower you cut, the more control you have. Excessive pressure or fast cutting will cause excessive heat and may shorten the life of the bit.
NOTE: When cutting on a vertical surface, avoid ending your cut at the bottom of the hole. If possible, start and end your cut at the top so the scrap part will not drop onto the rotating bit. Turn the tool off and remove it from the material.
INSTRUCTIONS FOR CREATING CUT-OUTS IN DRyWALL
FOR OUTLETS, CAN LIGHTS, WINDOWS, AND DOORS
After assembling the bit into the tool as described earlier, it will be necessary to review the instructions provided below and make some practice
Do not attempt to use this tool to make
live electrical wires, or on any wall which may have live electrical wiring behind it, as the bit could conduct current to the tool, creating an electrocution hazard for the operator. Shut off breakers or remove fuses to disconnect the circuit. Always hold the tool by its thermoplastic housing, and always wear eye protection when operating this device.