|
| Installation |
|
| |
If the screen is significantly higher or lower than the projector, you can also tilt the | Adjusting the Projection | |
projector at a slight angle. In a ceiling installation, you do this by adjusting the ceiling | Angle | |
mount. |
|
|
If you do this, you may need to shift the image using the |
| |
to compensate. For detailed instructions, refer to Using the |
| |
page 26. |
|
|
There are several methods for mounting the projector. Depending on your chosen | Mounting | |
installation, one method may be more suitable than another. |
| |
Floor Mounting: In typical front and rear screen installations, the projector can be |
| |
mounted to a secure and level surface such as a table or cart. Carts are useful when |
| |
moving a projector during a presentation or from site to site. If possible, lock the wheels |
| |
when it’s in position to prevent it from being moved during a presentation. |
| |
Ceiling Mounting: The projector can also be inverted and suspended from the ceiling |
| |
using a specially designed ceiling mount fixture. This type of mounting is recommended |
| |
for fixed installations and for those that want the projector out of sight or have a limited |
| |
space for projector and audience. |
| |
Note | Use only the |
|
projector. |
| |
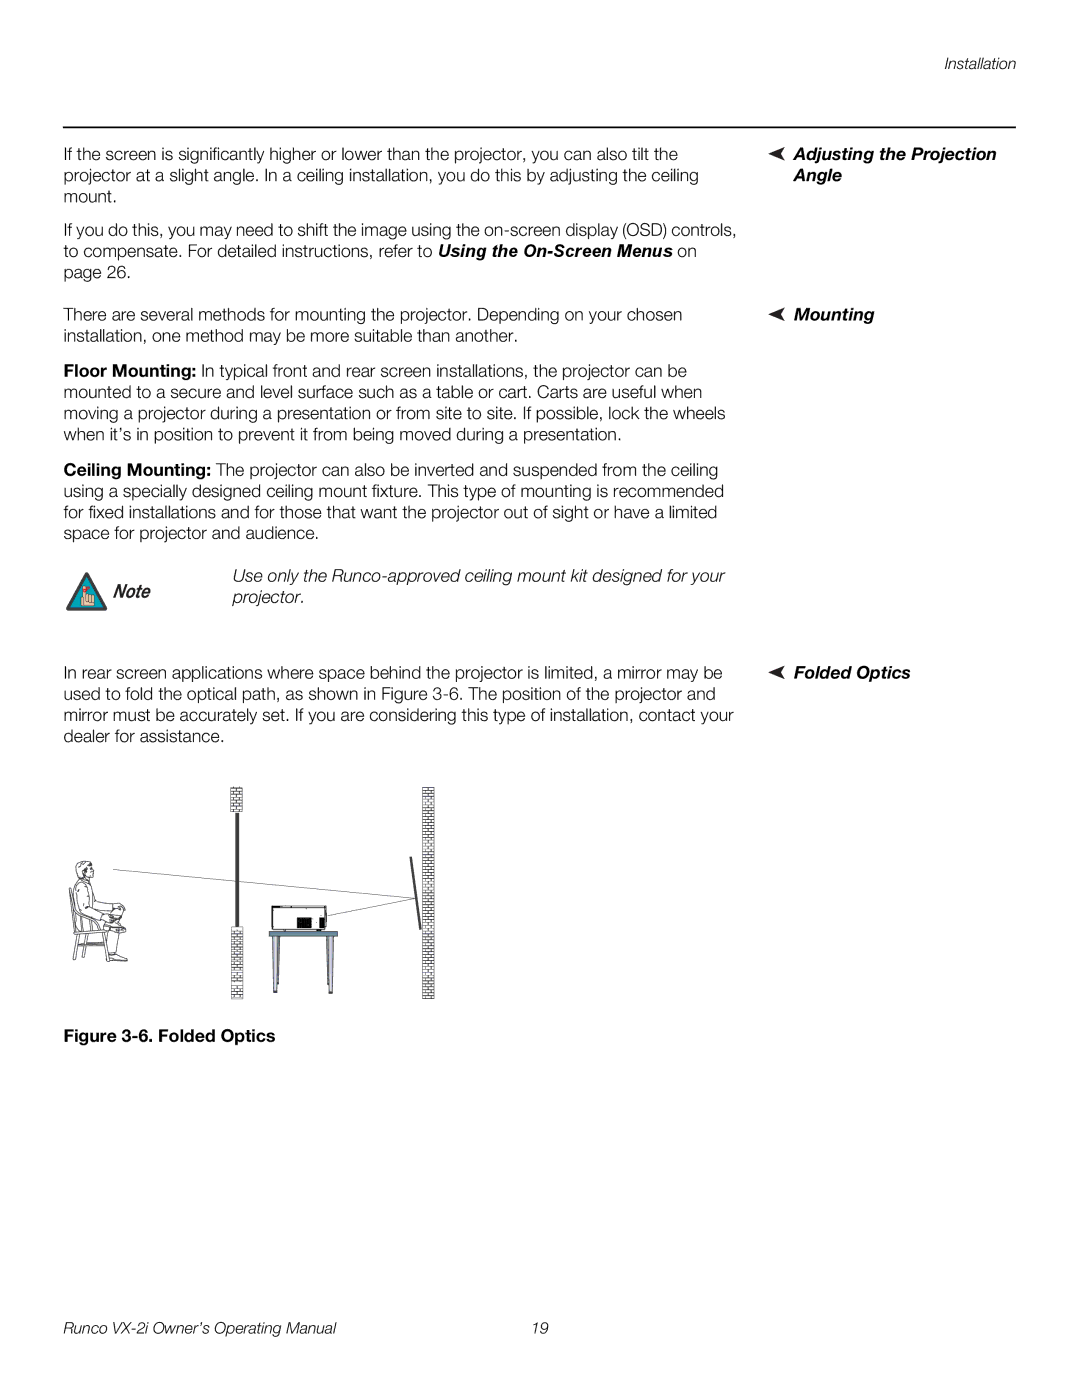
In rear screen applications where space behind the projector is limited, a mirror may be | Folded Optics | |
used to fold the optical path, as shown in Figure |
| |
mirror must be accurately set. If you are considering this type of installation, contact your dealer for assistance.
Figure 3-6. Folded Optics
Runco | 19 |