Installation
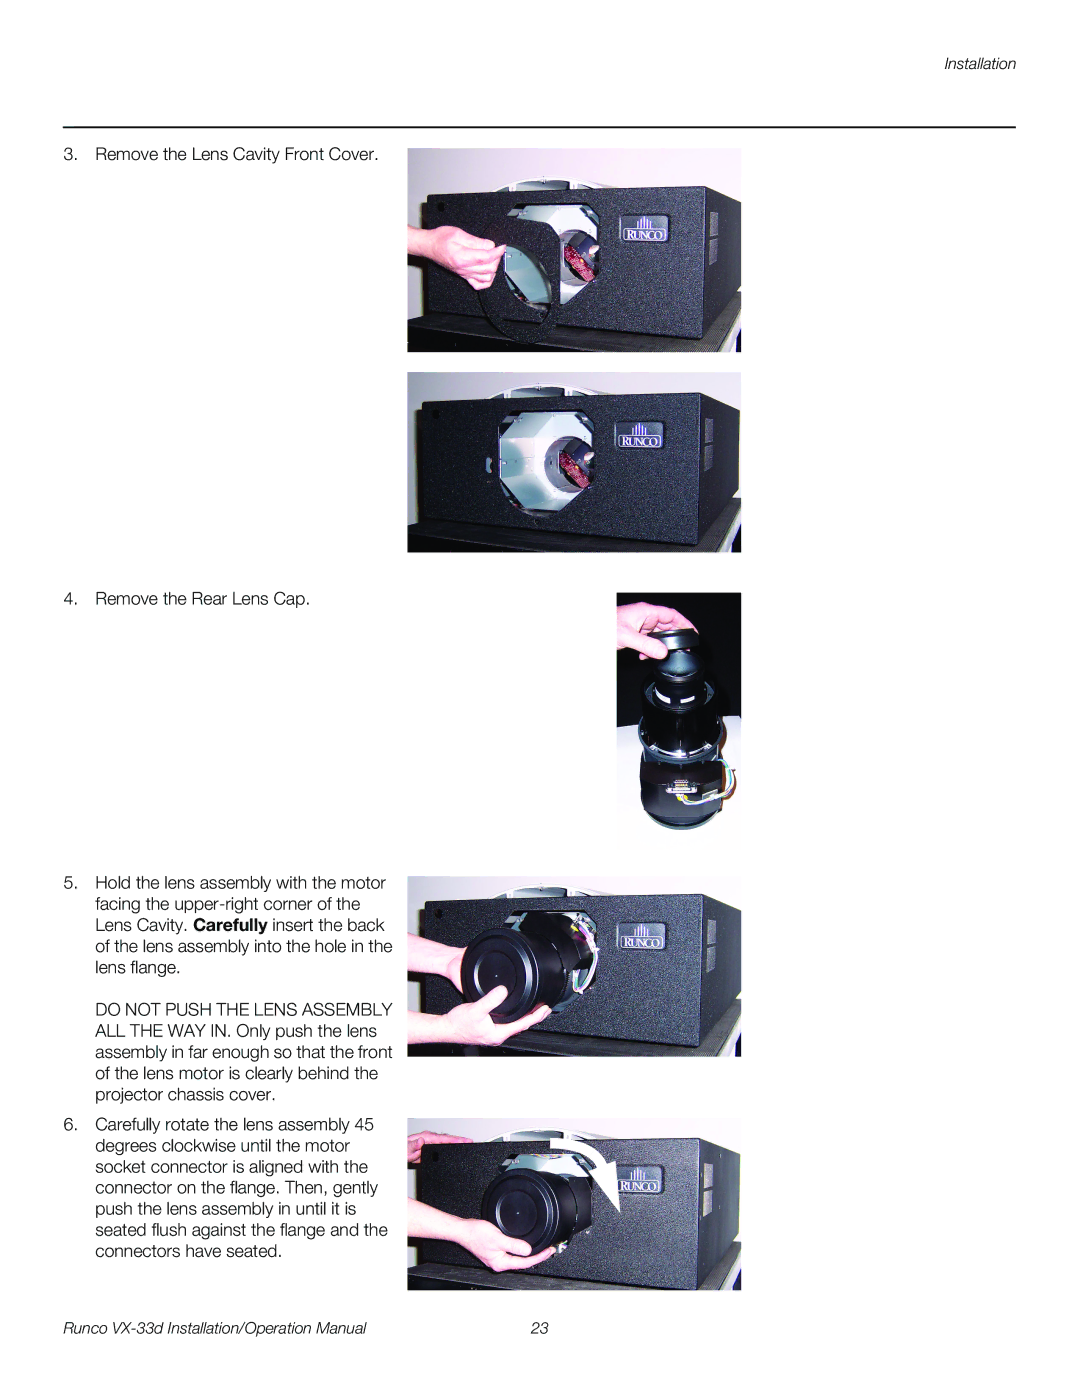
3. Remove the Lens Cavity Front Cover.
4. Remove the Rear Lens Cap.
5.Hold the lens assembly with the motor facing the
DO NOT PUSH THE LENS ASSEMBLY ALL THE WAY IN. Only push the lens assembly in far enough so that the front of the lens motor is clearly behind the projector chassis cover.
6.Carefully rotate the lens assembly 45
degrees clockwise until the motor socket connector is aligned with the connector on the flange. Then, gently push the lens assembly in until it is seated flush against the flange and the connectors have seated.
Runco | 23 |